(Example) Change the Display Name for a Custom Picklist
This example shows how to change the display name for a custom picklist in Data Entities.
Background and Setup
Prerequisites
- A custom picklist.
For more information, refer to:
- One of these permission groups:
For more information, refer to Data Entities Permissions screen.
Good to Know
- This example shows how to change the name of the custom picklist Account Type to Payment Method.
How to Start
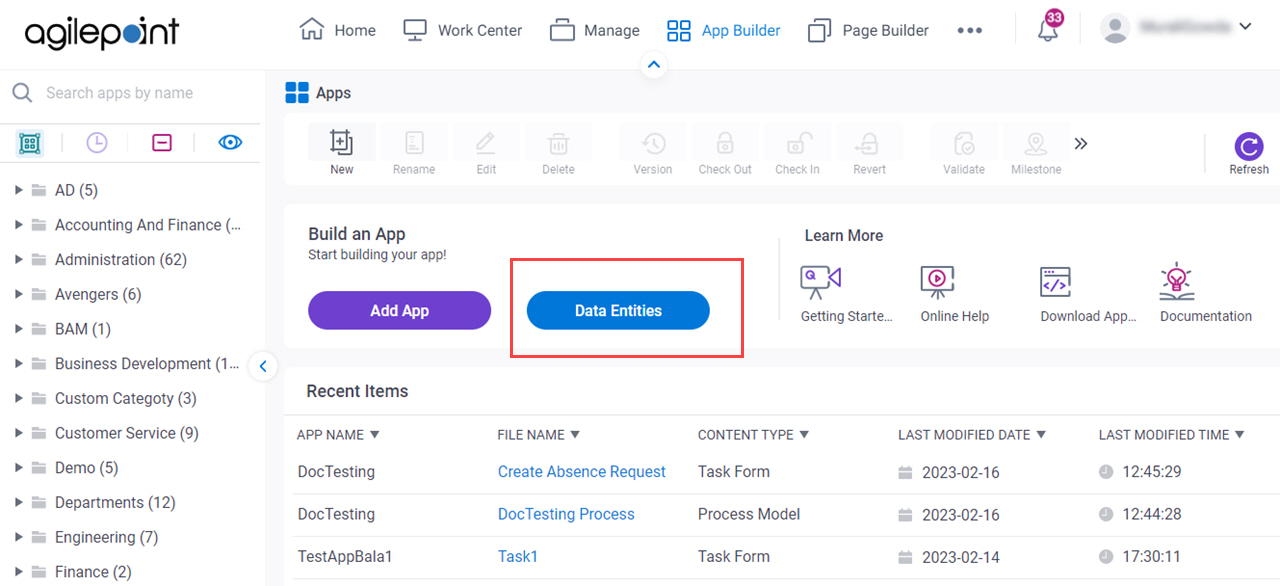
- Click App Builder.

- On the App Explorer screen,
click Data Entities.
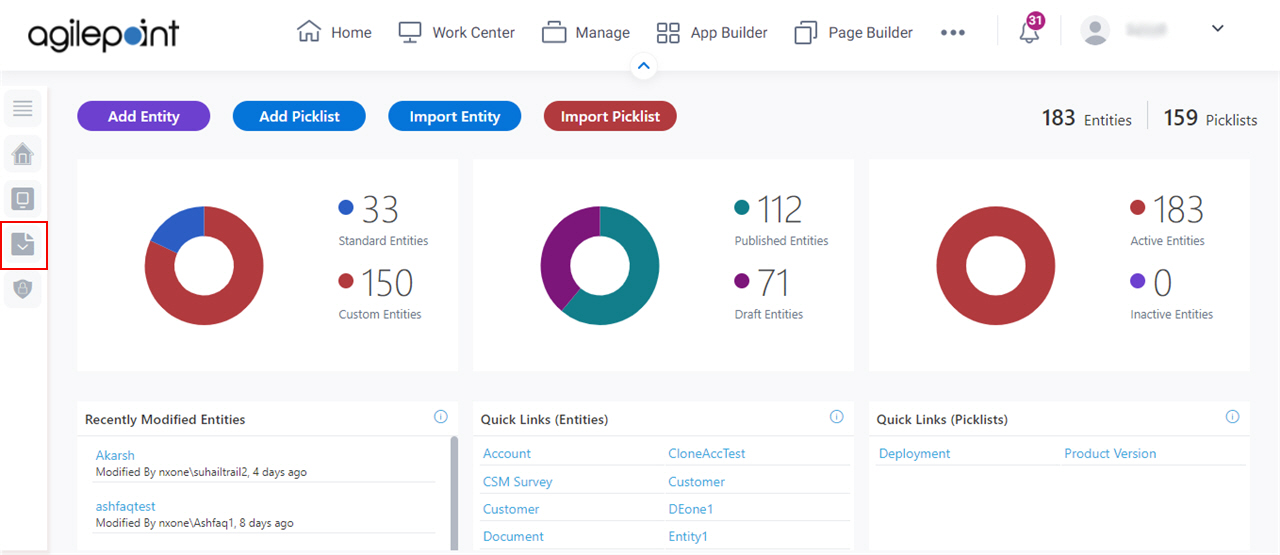
- On the Data Entities Home screen,
click Picklists.
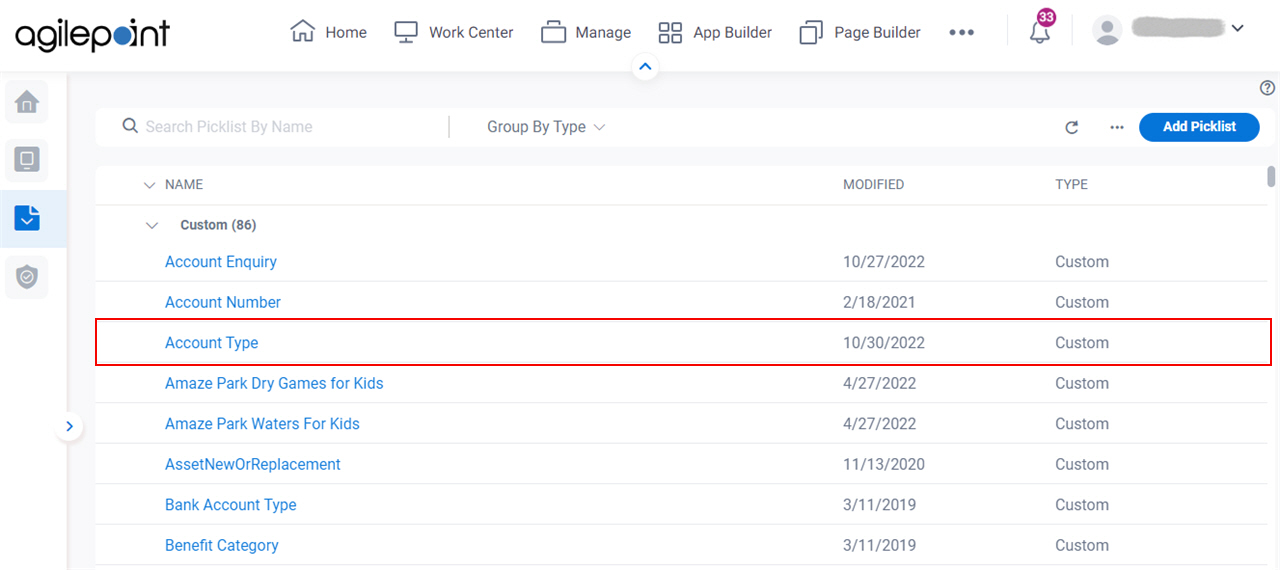
- On the
Picklists screen, click the picklist whose name to change.
In this example, the picklist name is Account Type.
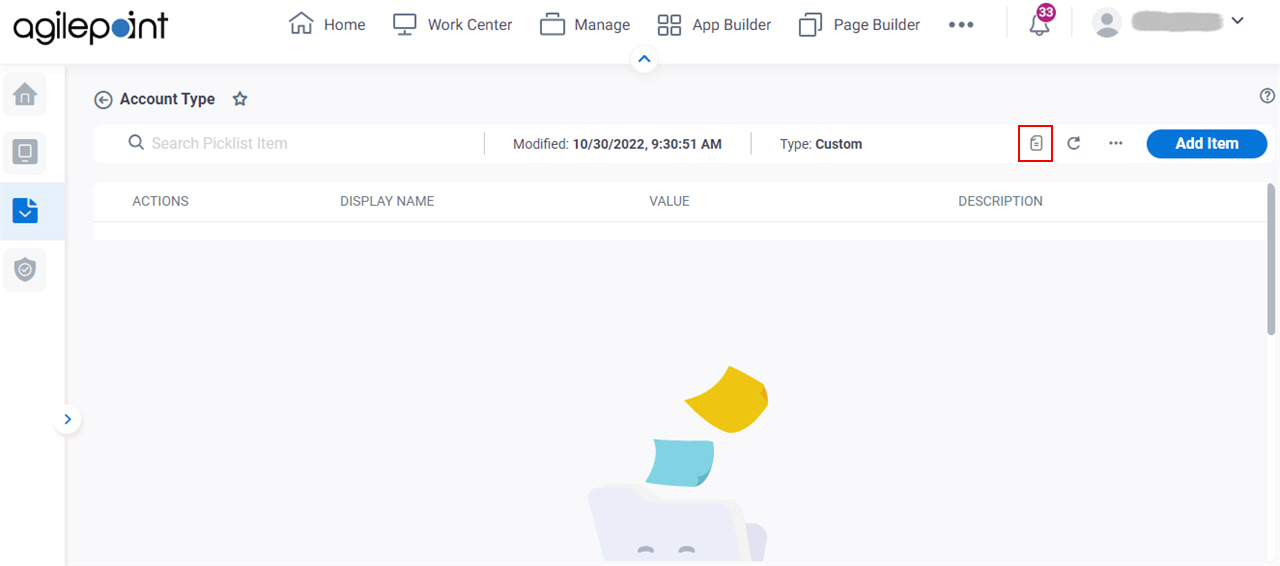
- On the
Picklists screen, click Picklist Details.
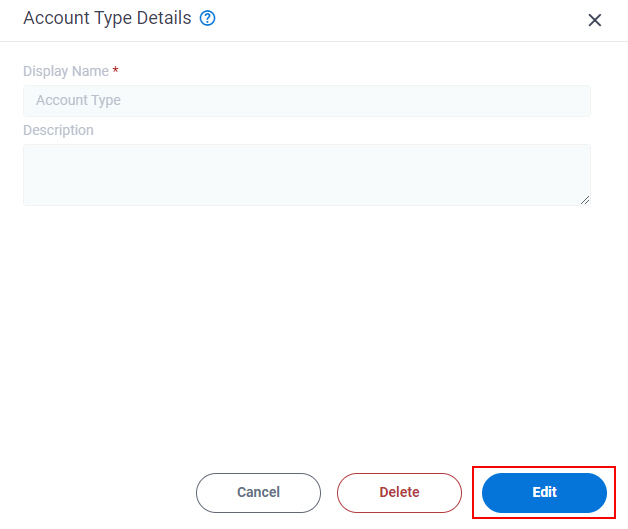
- On the Picklist Details screen, click Edit.
Procedure
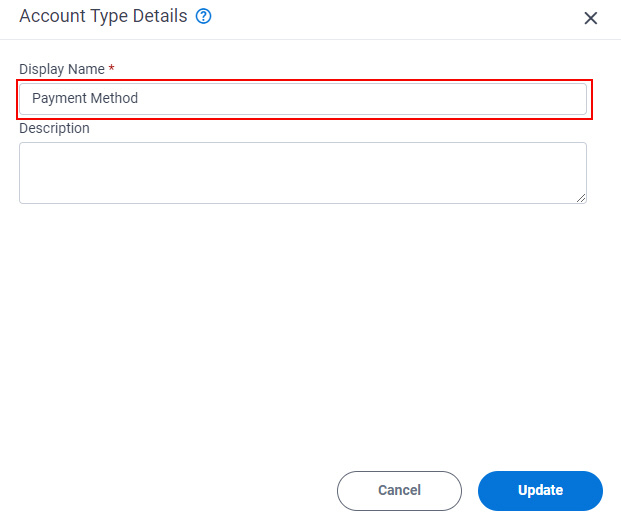
- On the Picklist Details screen, in the Display Name field, enter the name that shows for the Account Typepicklist.
In this example, the name is Payment Method.
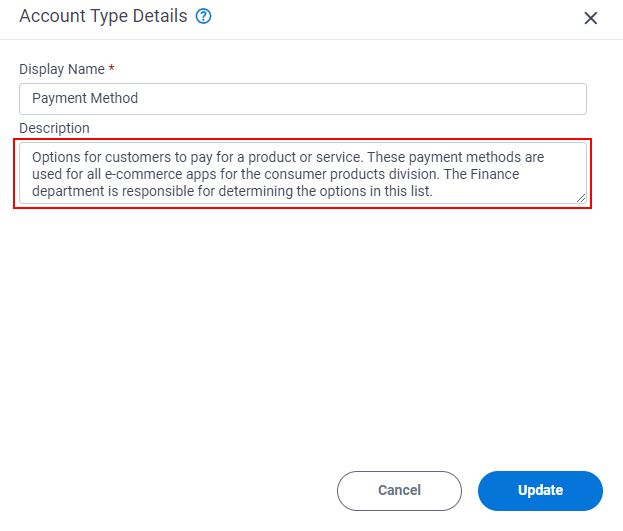
- In the Description field, enter the description for the picklist.
In this example, the description is Options for customers to pay for a product or service. These payment methods are used for all e-commerce apps for the consumer products division. The Finance department is responsible for determining the options in this list.
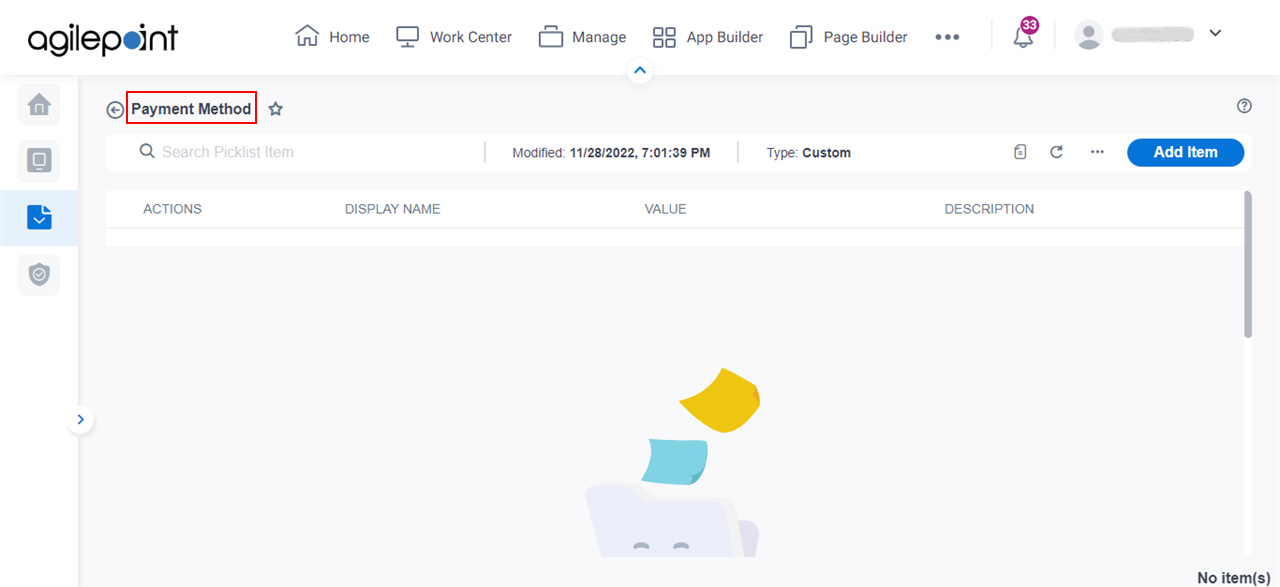
- Click Update.
The custom picklist shows with the new name, Payment Method.