
Set Status (Dynamics CRM) activity
Configure the Set Status activity
To configure the Set Status activity, do the procedure in this topic.
Examples
Good to Know
- To send an e-mail notification, click
Advanced
 >
E-mail Notifications
>
E-mail Notifications  .
. For more information, refer to Configure E-mail Notifications for Any Activity.
- In most text fields, you can use process data variables as an alternative to literal data values.
- You can configure whether this activity waits for other activities before it runs.
For more information, refer to How Do I Configure an Activity to Wait for Other Incoming Activities?
- Some information about third-party integrations is outside the scope of the AgilePoint NX Product Documentation, and it is the responsibility of the vendors who create and maintain these technologies to provide this information. This includes specific business uses cases and examples; explanations for third-party concepts; details about the data models and input and output data formats for third-party technologies; and various types of IDs, URL patterns, connection string formats, and other technical information that is specific to the third-party technologies. For more information, refer to Where Can I Find Information and Examples for Third-Party Integrations?
How to Start
- On the Application Explorer screen, do one of these:
- Do one of these:
- Add an activity:
- In the Process Builder, in the Activity Library,
open the Dynamics CRM
 tab.
tab. - On the Dynamics CRM
tab,
drag the Set Status
 activity onto your process.
- In the Process Builder, in the Activity Library,
open the Dynamics CRM
- Change an activity:
- In your process, double-click your activity.
- Add an activity:
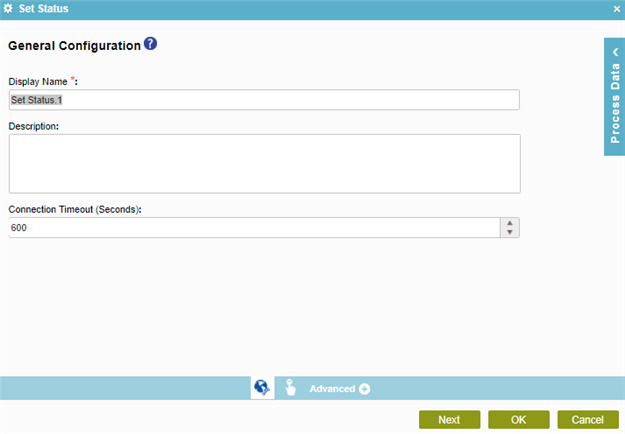
General Configuration
Specifies the basic settings for the Set Status activity.
Fields
| Field Name | Definition |
|---|---|
|
Display Name |
|
|
Description |
|
|
Connection Timeout (Seconds) |
|
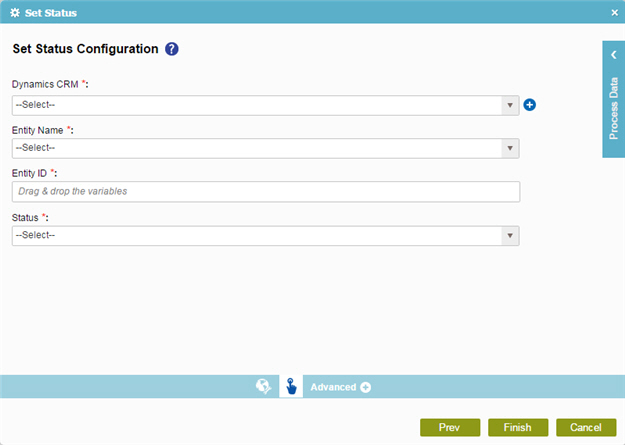
Set Status Configuration
Changes the status of an entity.
Fields
| Field Name | Definition |
|---|---|
|
Dynamics CRM |
|
|
Add Token |
|
|
Entity Name |
|
|
Entity ID |
|
|
Status |
|