
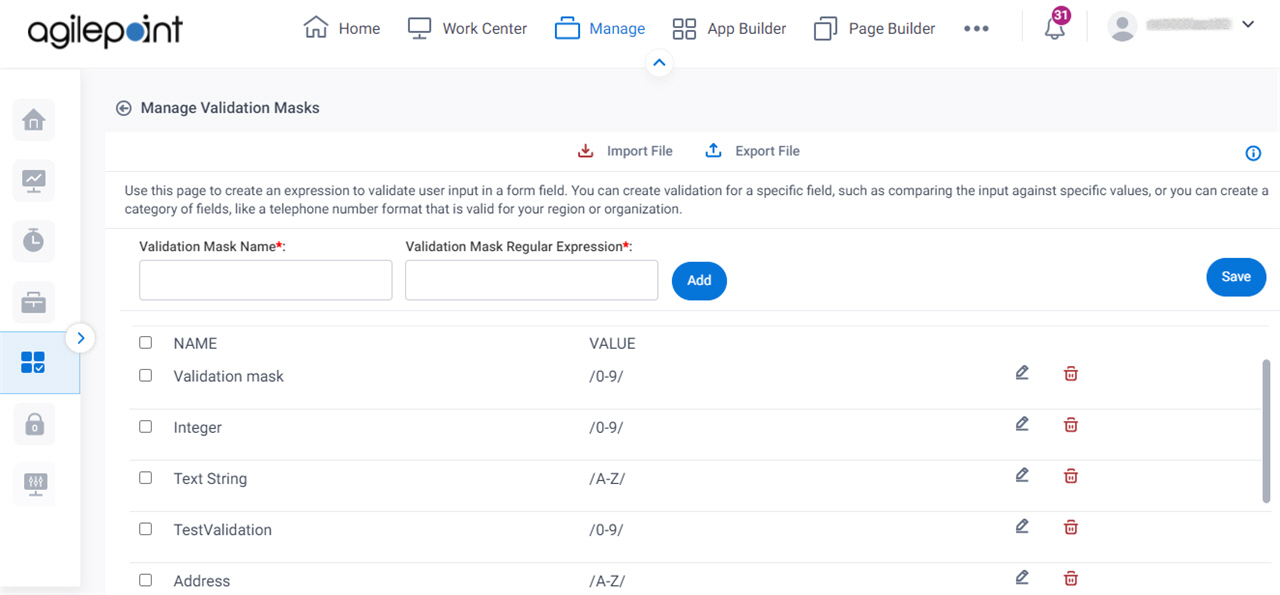
Manage Validation Masks screen
Creates expressions that validate user input in form fields. You can create a validation expression for a specific field, such as comparing the input against specific values. You can also create a validation expression a category of fields, like a telephone number format that is valid for your region or organization.
Video: Manage Your Organization
How to Start
- Click Manage.

- In the Manage Center, click App Builder
> eForms Settings.
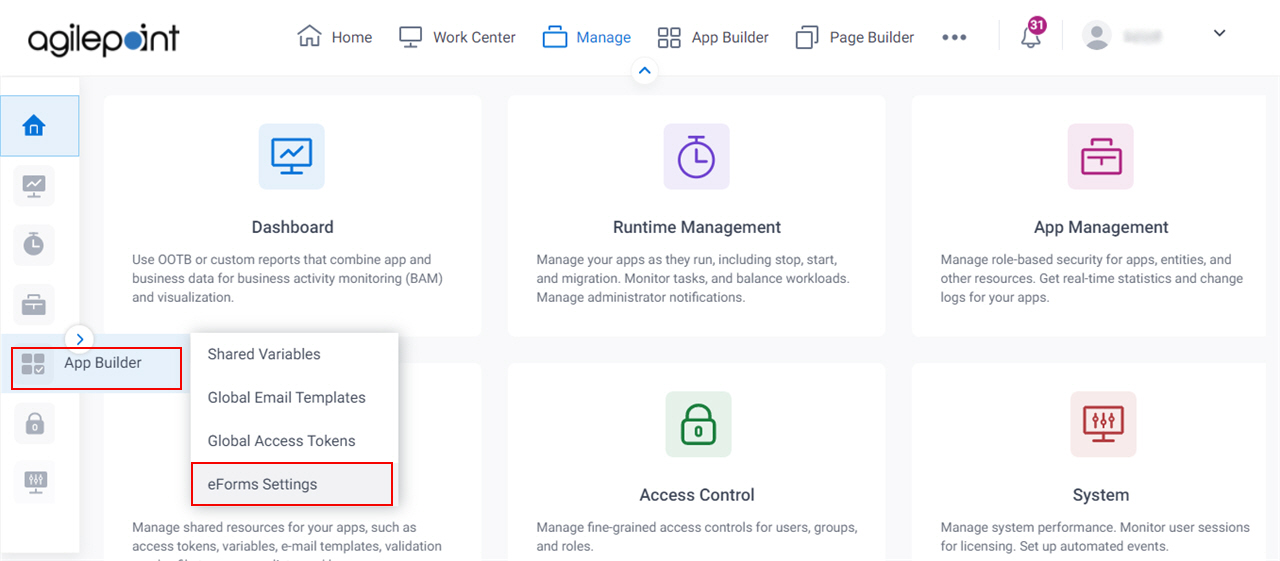
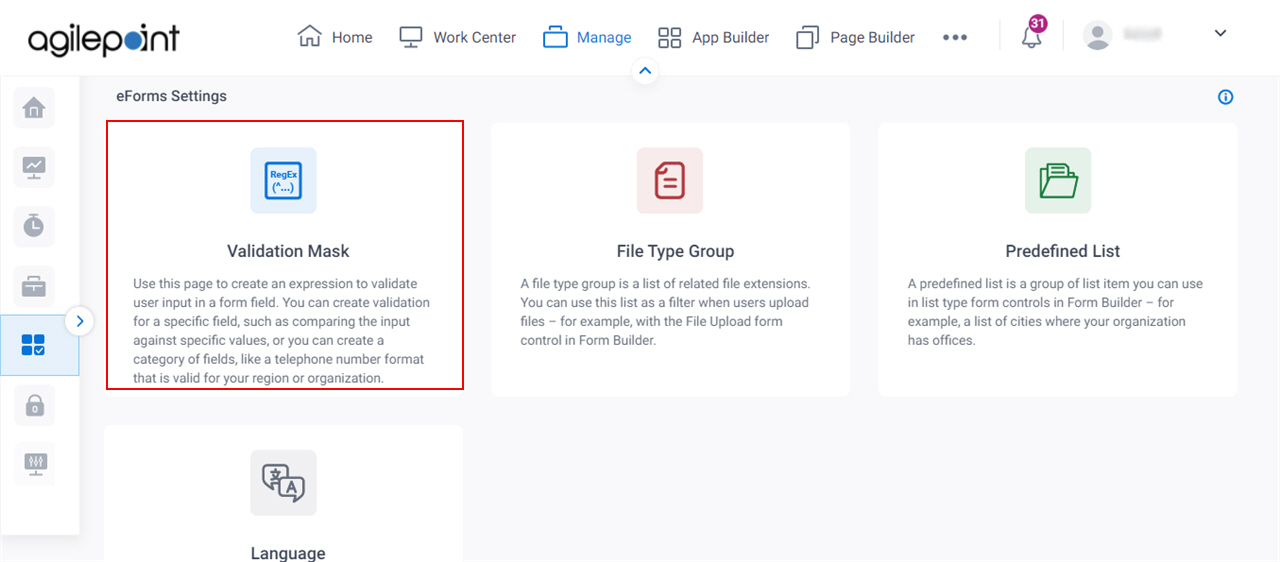
- On the eForms Settings screen, click Validation Mask.
Fields
| Field Name | Definition |
|---|---|
Import File |
|
Export File |
|
Validation Mask Name |
|
Validation Mask Regular Expression |
|
Delete |
|
Add |
|
Edit |
|
Update |
|


