


Generate a Form from a Microsoft Excel File
This topic shows how to create your eForm from an Excel file, and configure the fields for your eForm created with GenAI.
Background and Setup
Examples
- (External) AgilePoint + Generative AI: From Spreadsheets to Smart Apps
- Examples - Step-by-step use case examples, information about what types of examples are provided in the AgilePoint NX Product Documentation, and other resources where you can find more examples.
Prerequisites
- To create an app with GenAI,
these prerequisites apply:
- An AgilePoint license that supports GenAI.
- These access rights:
- Enable App Builder Access
- Create, Delete, And Import Apps
- Create Process Models
- Allow Generative AI Access
For more information, refer to:
- You must be a member of the Entity Designers or Global Data Entities Permission Managers permission group.
- On the App Builder > Common > Settings tab, turn on these settings:
- Generative AI
- Excel
- Image
- Let AI Decide
- The Microsoft Excel file you use must follow the requirements in this topic:
Good to Know
- GenAI creates the form fields based on the uploaded file or the form description you entered. You can add, change, and delete fields based on your business requirements.
- You can drag the form fields to change the order.
- An entity from Data Entities is like a database table that stores the data for your app. Most apps only have one entity. More complex apps may have one or more secondary entities.
- If you use GenAI to create a form, the data source is Data Entities.
If you want to use a different data source, on the Do you want AI to create your form? screen, select Auto-Generate Form Based On A Data Source.
- You can use a Microsoft Excel file as a template for your form. The Excel file must meet these requirements:
- The file cannot be larger than 10 MB.
- Only the first sheet is considered.
- The first row is considered the field name.
How to Start
- Create an app.
For more information, refer to Create an app.
- On the Do you want AI to create your form? screen,
click Create Form With AI.
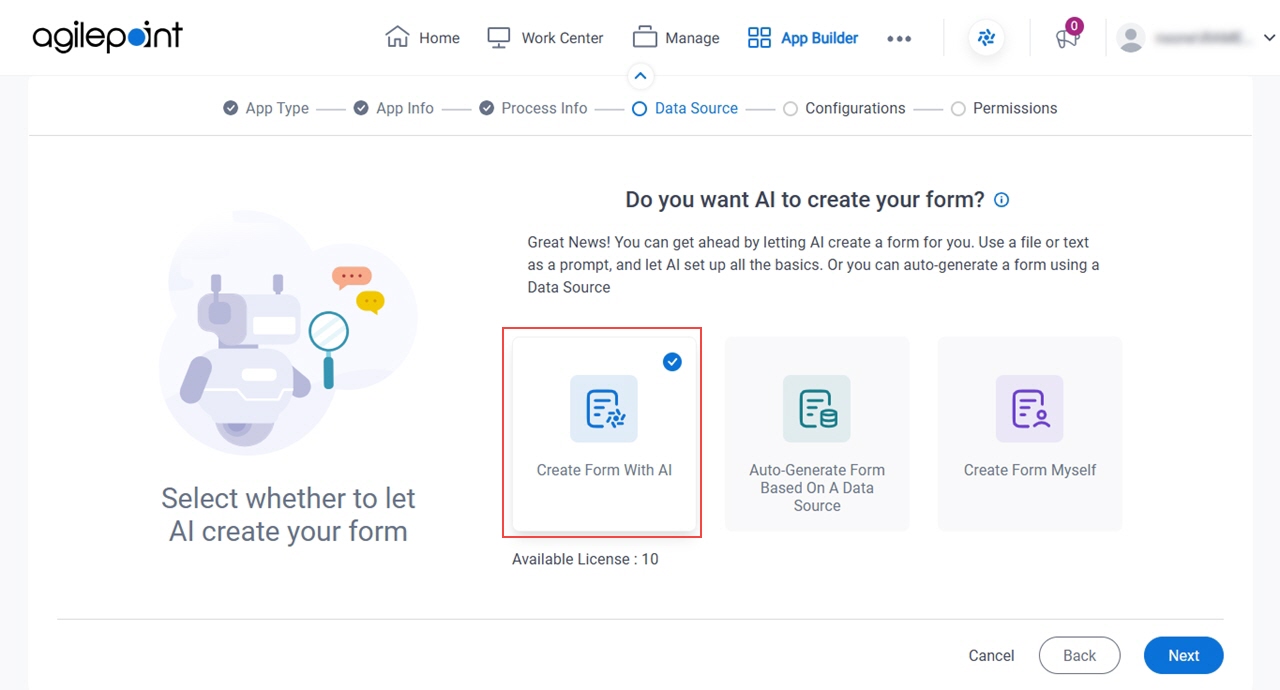
- Click Next.
- On the How do you want the AI to create the form? screen,
click Excel.
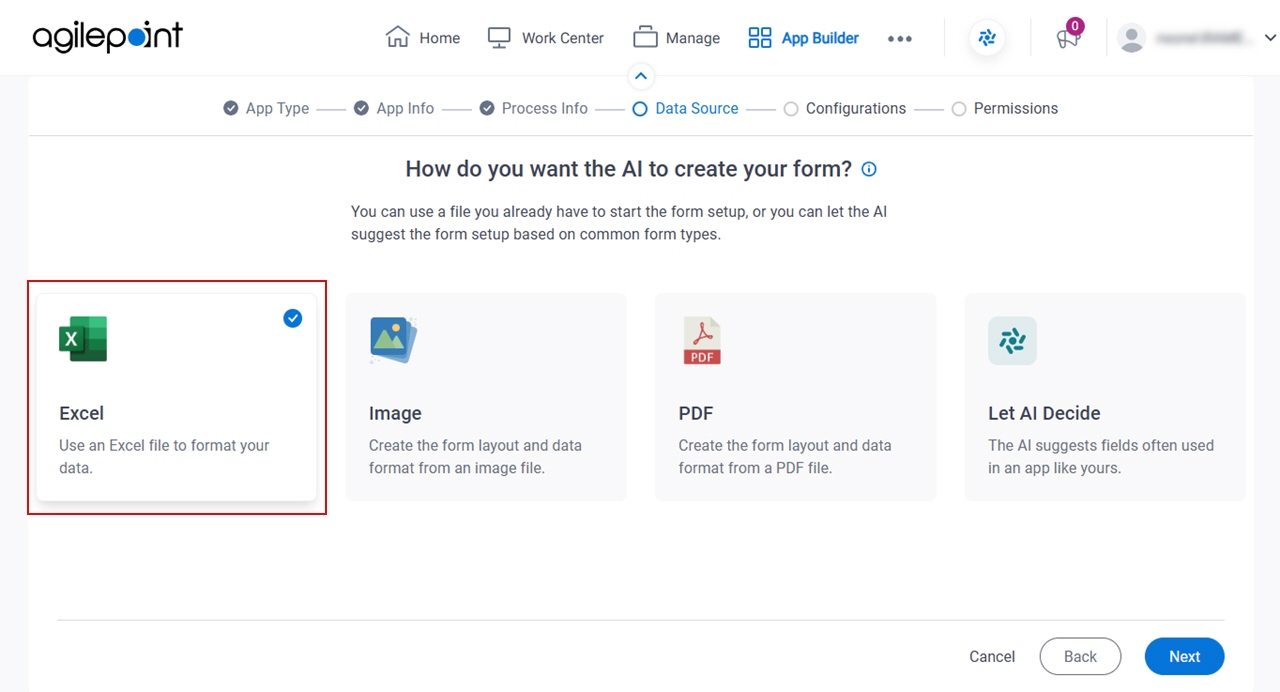
- Click Next.
Select the repository that contains your form's template screen (Excel)
Specifies the location of the Microsoft Excel file for your form template.
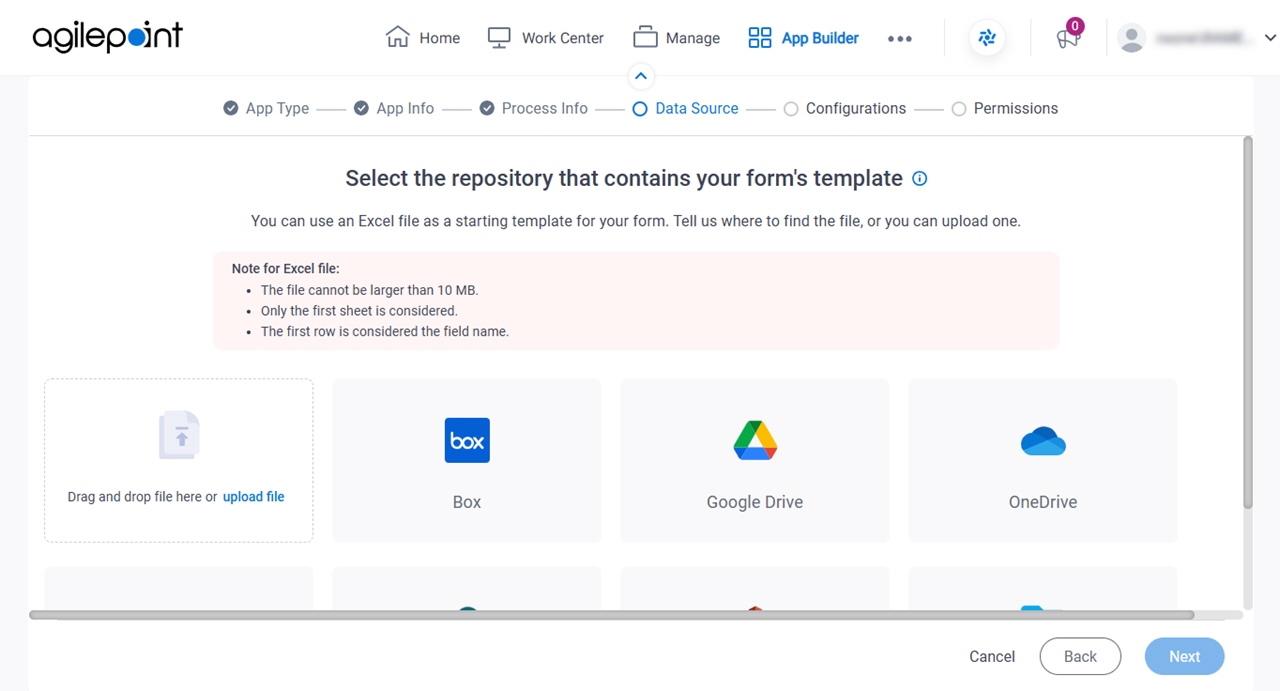
Fields
| Field Name | Definition |
|---|---|
Upload File |
|
|
Box |
|
|
Google Drive |
|
|
OneDrive |
|
|
OneDrive For Business |
|
|
SharePoint |
|
Review the data fields for your app screen
Configures the fields for your eForm.
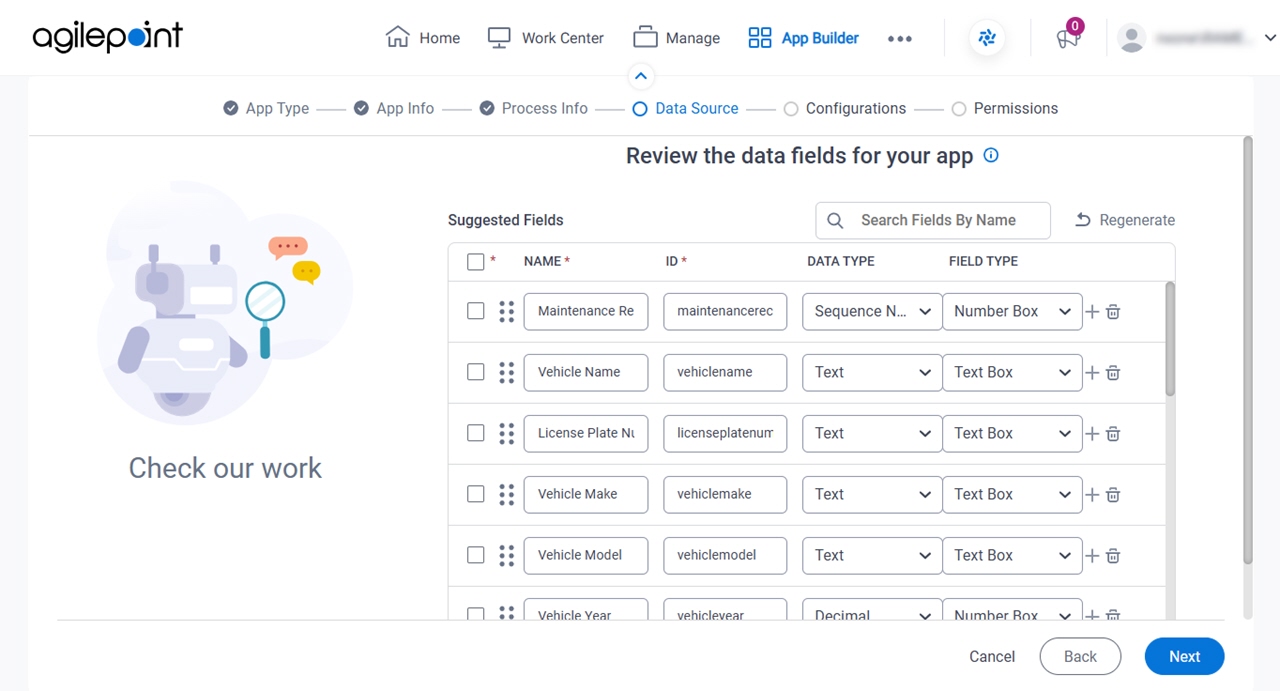
Fields
| Field Name | Definition |
|---|---|
|
Select All |
|
|
Name |
|
ID |
|
|
Data Type |
|
|
Field Type |
|
Regenerate |
|
|
Apply Layout |
|
Add Field |
|
Delete Field |
|
|
Configure Picklist | |
|
Configure Child Table |
|
|
Mark as Mandatory |
|
|
Number Of Columns |
|
|
Show Line Break Fields |
|


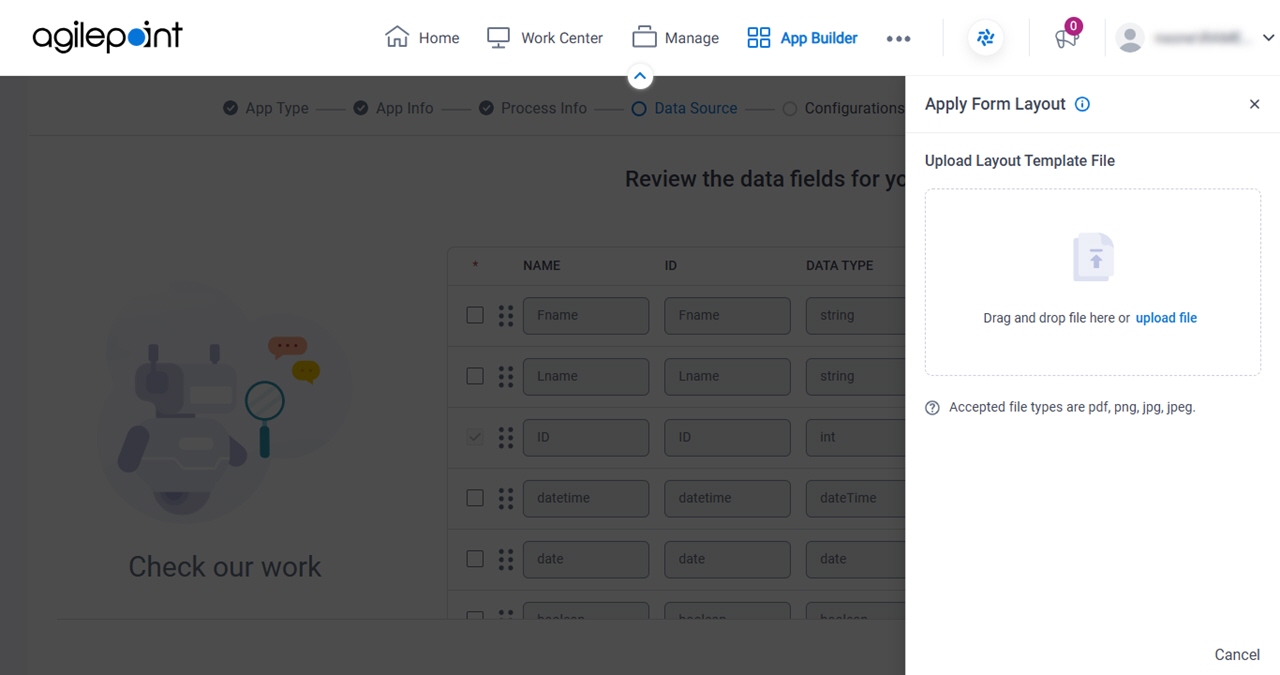
Apply Fields Layout screen
Specifies a file that depicts a form layout, and it applies the layout to the eForm.
Good to Know
- You can use a file that represents a form layout, and the system applies the layout to your form.
The supported file types are .pdf, .png, .jpg, and .jpeg.
Fields
| Field Name | Definition |
|---|---|
Upload Layout Template File |
|
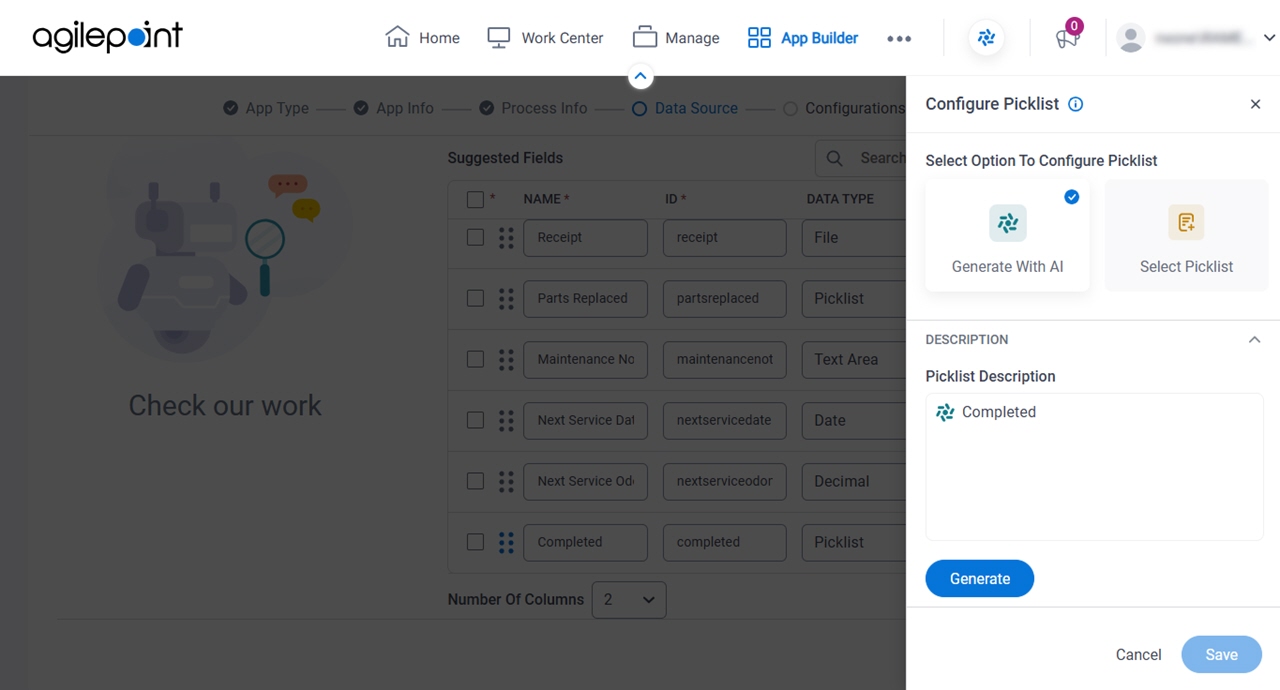
Configure Picklist > Generate With AI screen
Good to Know
- This screen applies to the Generate With AI option on the Configure Picklist screen. For the Select Picklist option, refer to Configure Picklist > Select Picklist screen.
How to Start
- On the Review the data fields for your app screen, in the Data Type field, select Picklist.
- Click Configure
 .
.
Fields
| Field Name | Definition |
|---|---|
|
Select Option To Configure Picklist |
|
|
Picklist Description |
|
Generate | |
Display Name |
|
Internal Name |
|
|
Name |
|
Value |
|
Add Field |
|
Delete Field |
|
|
Save |
|
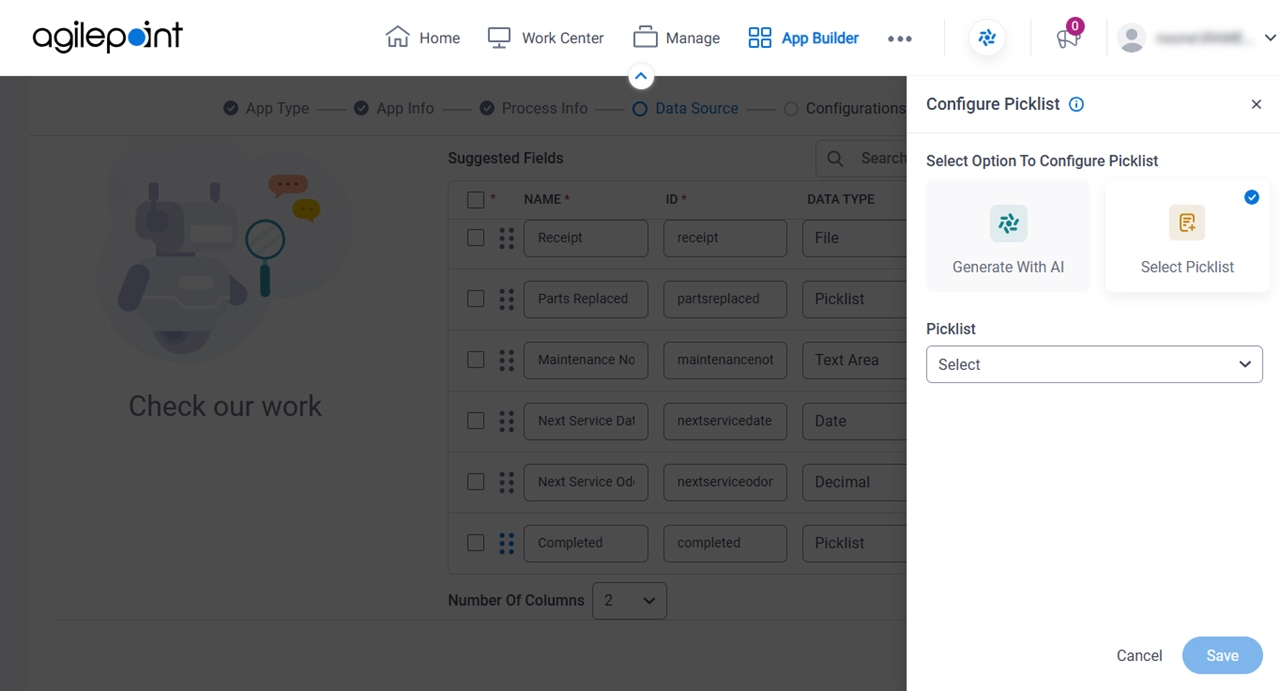
Configure Picklist > Select Picklist screen
Configures the picklist that exists in AgilePoint NX.
Good to Know
- This screen applies to the Select Picklist option on the Configure Picklist screen. For the Generate With AI option, refer to Configure Picklist > Generate With AI screen.
How to Start
- On the Review the data fields for your app screen, in the Data Type field, select Picklist.
- Click Configure .
Fields
| Field Name | Definition |
|---|---|
|
Select Option To Configure Picklist |
|
|
Picklist |
|
|
Name |
|
Value |
|
|
Save |
|
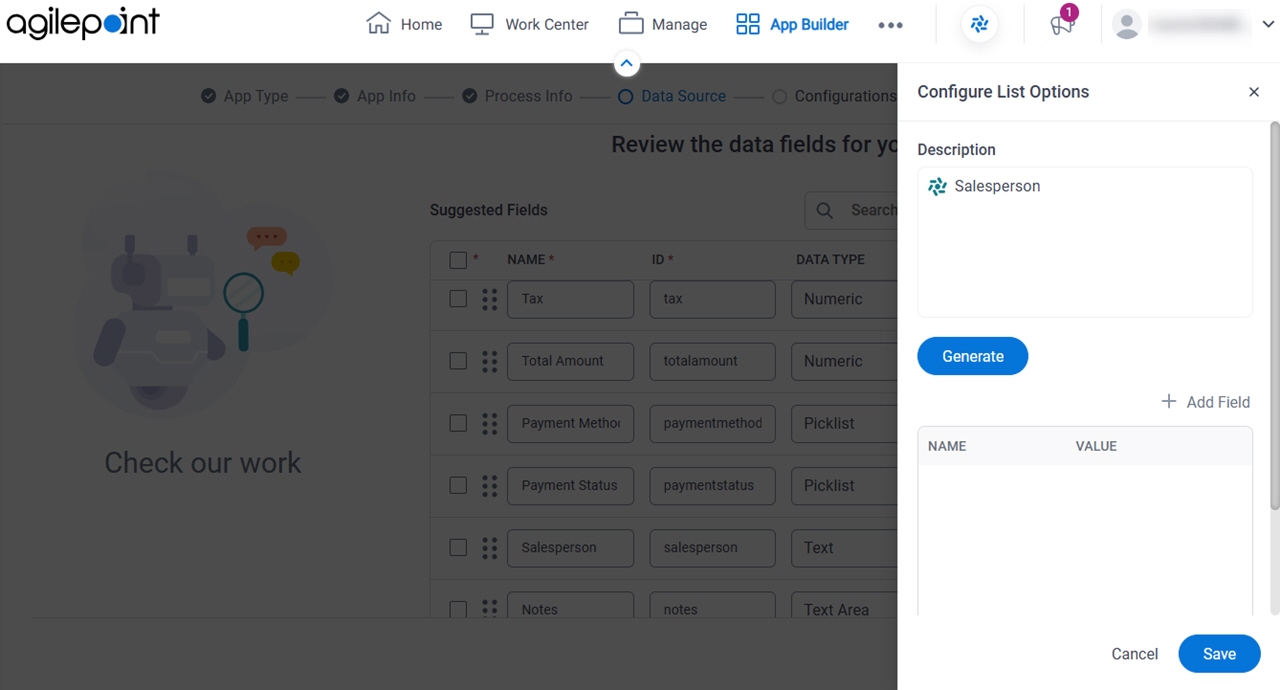
Configure List Options screen
Full documentation coming soon.
How to Start
- On the Review the data fields for your app screen, in the Data Type field, select Text.
- In the Field Type field, select one of these:
- Check Box
- Switch
- Radio Button
- Drop-Down List
- List Box
- Multi-Select List Box
- Click Configure .
Configure child entity fields screen
Configures the form fields for fields that are formatted as a table in the uploaded file.
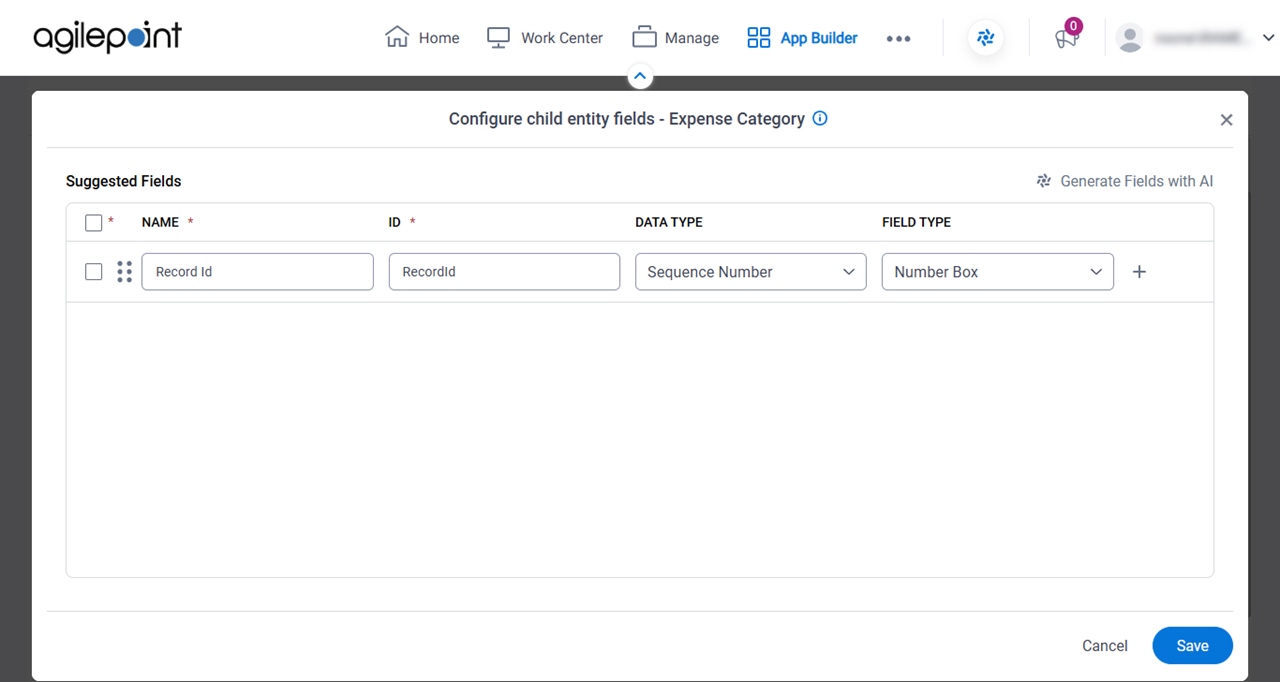
Good to Know
How to Start
- On the Review the data fields for your app screen, in the Data Type field, select Table.
- Click Configure .
Fields
| Field Name | Definition |
|---|---|
|
Select All |
|
|
Name |
|
ID |
|
|
Data Type |
|
|
Field Type |
|
Add Field |
|
Delete Field |
|
|
Configure Picklist | |
|
Mark as Mandatory |
|
Generate Fields with AI |
|
Set up your primary entity screen
Configures the primary entity for your app.
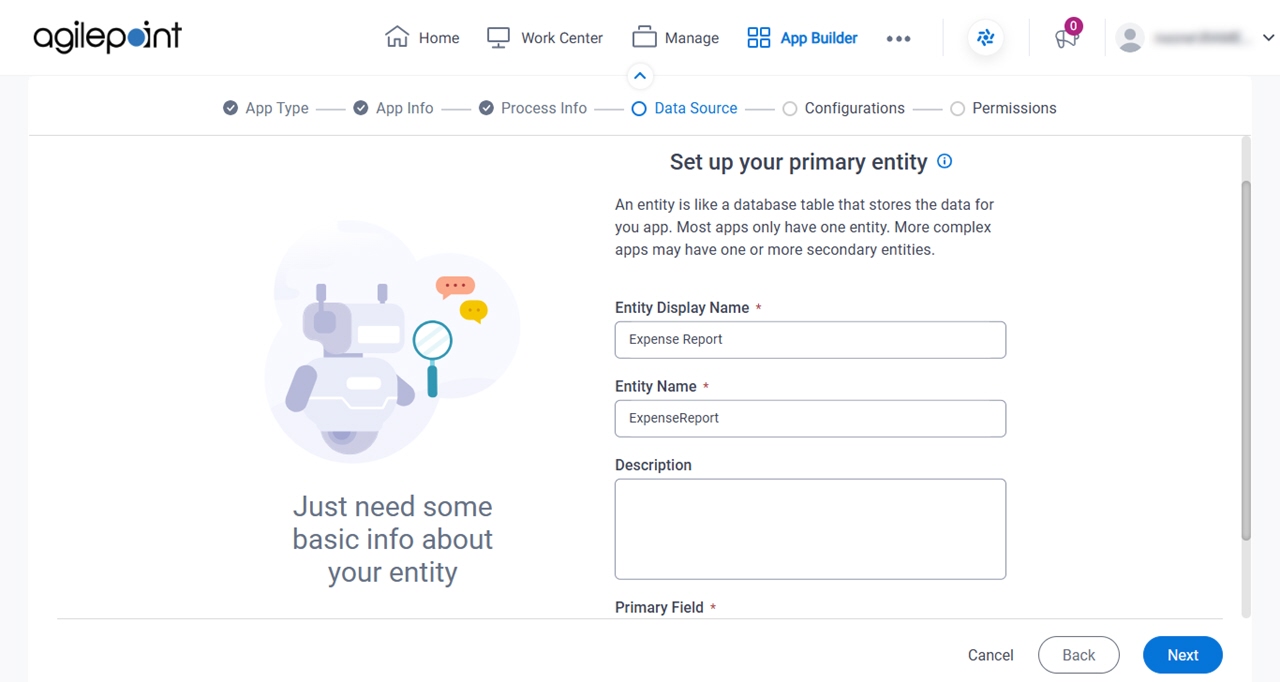
Fields
| Field Name | Definition |
|---|---|
Entity Display Name |
|
Entity Name |
|
Description |
|
Primary Field |
|
Set up secondary entity screen
Configures the related entity for your app.
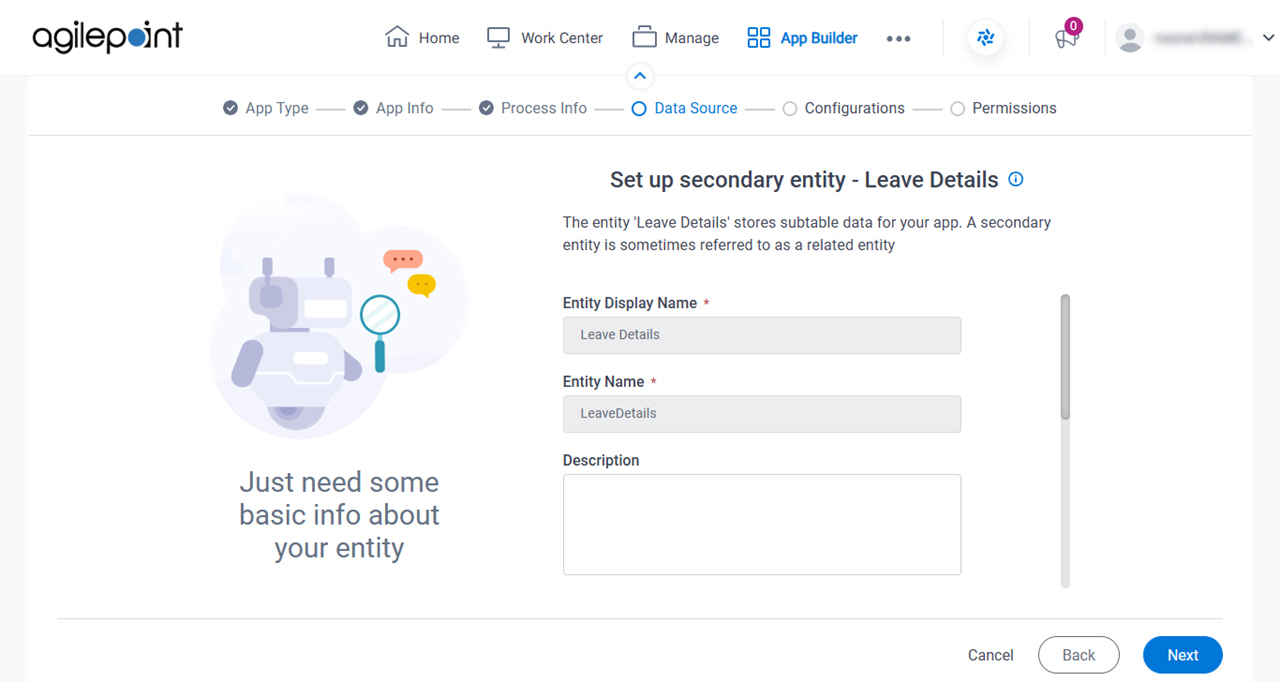
Good to Know
- This screen shows only if your eForm has fields formatted as a table.
- A secondary entity stores data for form fields that are formatted as a table in the uploaded file. A secondary entity is sometimes referred to as a related entity.
Fields
| Field Name | Definition |
|---|---|
Entity Display Name |
|
Entity Name |
|
Description |
|
Primary Field |
|
Parent Primary Field |
|
Relationship Name |
|
Child Field Display Name |
|
Child Field Name |
|