Language Editor > Custom tab

Lets you specify the custom key to add locale text to your eForm.
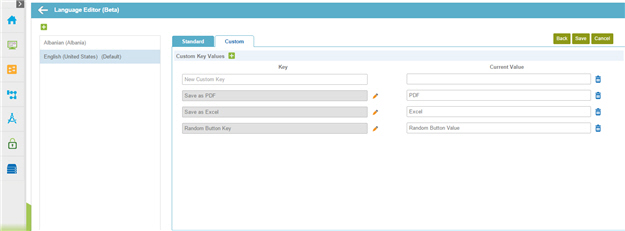
Figure: Language Editor > Custom tab

Language Editor Custom tab

How to Start

  1. In the Manage Center, click App Builder App Builder icon > eForms Settings.
  2. On the eForms Settings screen, click Language Language icon
  3. On the Add a New Language screen, click Next.
  4. Click the Custom tab.

Fields

Field Name Definition
Back Back icon
Function:
Goes to the previous screen.
Add Custom Key Add Custom Key icon
Function:
Specifies the custom key and its value.

Key

Function:
Specifies the reference name of the custom key.

When you create a custom key, it shows on the Process Data > Global Translation Keys.

Accepted Values:
One line of text that can have spaces.

You can edit the custom key in your default language only.

Default Value:
None

Current Value

Function:
Specifies the locale text for the custom key.
Accepted Values:
One line of text that can have spaces.
Default Value:
None

Save

Opens this Screen:
Saves the changes.
Delete Custom Key Delete Custom Key icon
Function:
Deletes a custom key.

You can only delete a custom key from the default language.

Rename Custom Key Rename Custom Key icon
Function:
Renames a custom key.

You can only rename a custom key in the default language.