
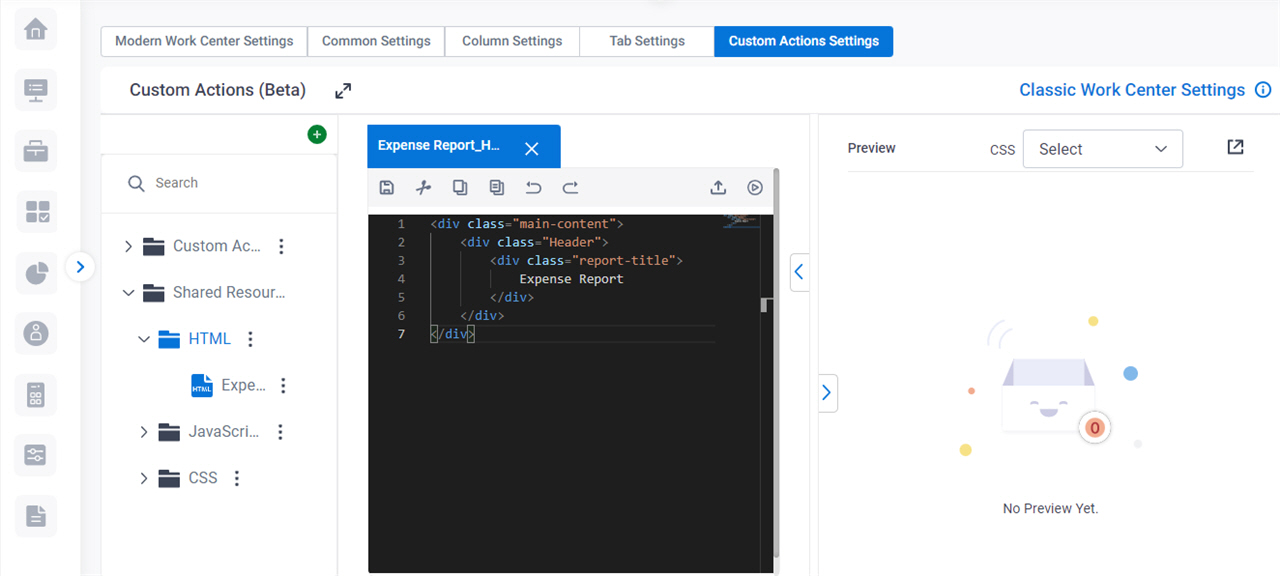
Custom HTML tab
Creates a custom HTML snippet to use for a custom action.
Background and Setup
Examples
- (External) Modern Work Center - Custom Actions Framework
- Examples - Step-by-step use case examples, information about what types of examples are provided in the AgilePoint NX Product Documentation, and other resources where you can find more examples.
Prerequisites
- An HTML file.
For more information, refer to Add HTML File screen.
- Sign in with an AgilePoint NX account that has the Administrators role.
- AgilePoint NX OnDemand (public cloud), or AgilePoint NX Private Cloud or AgilePoint NX OnPremises v8.0 Software Update 2 or higher.
How to Start
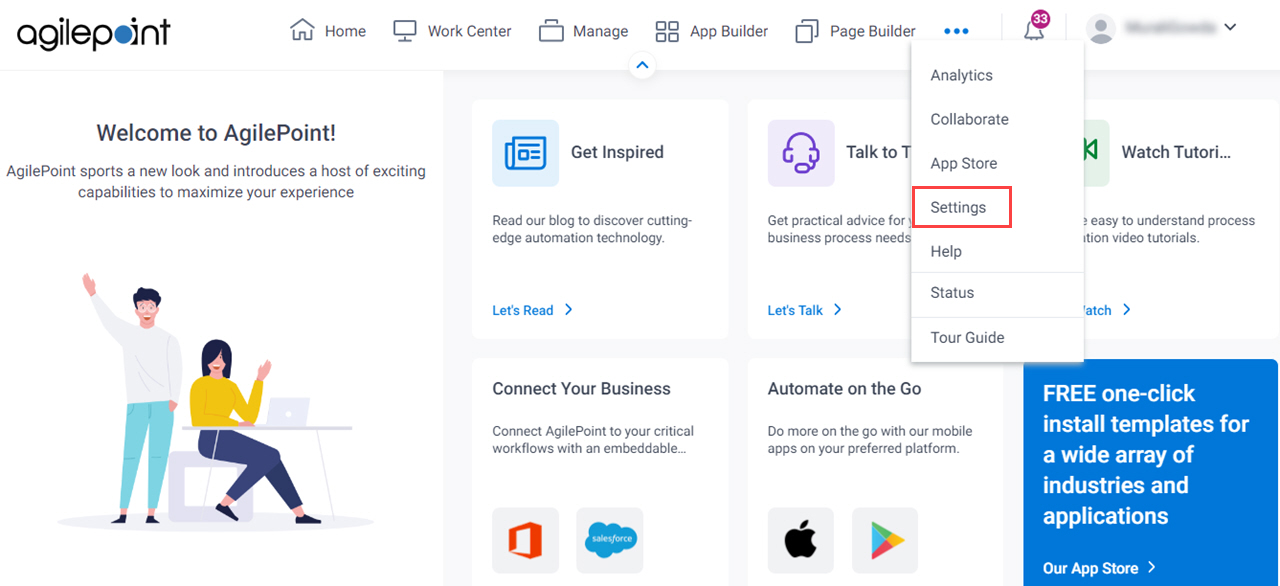
- Click Settings.
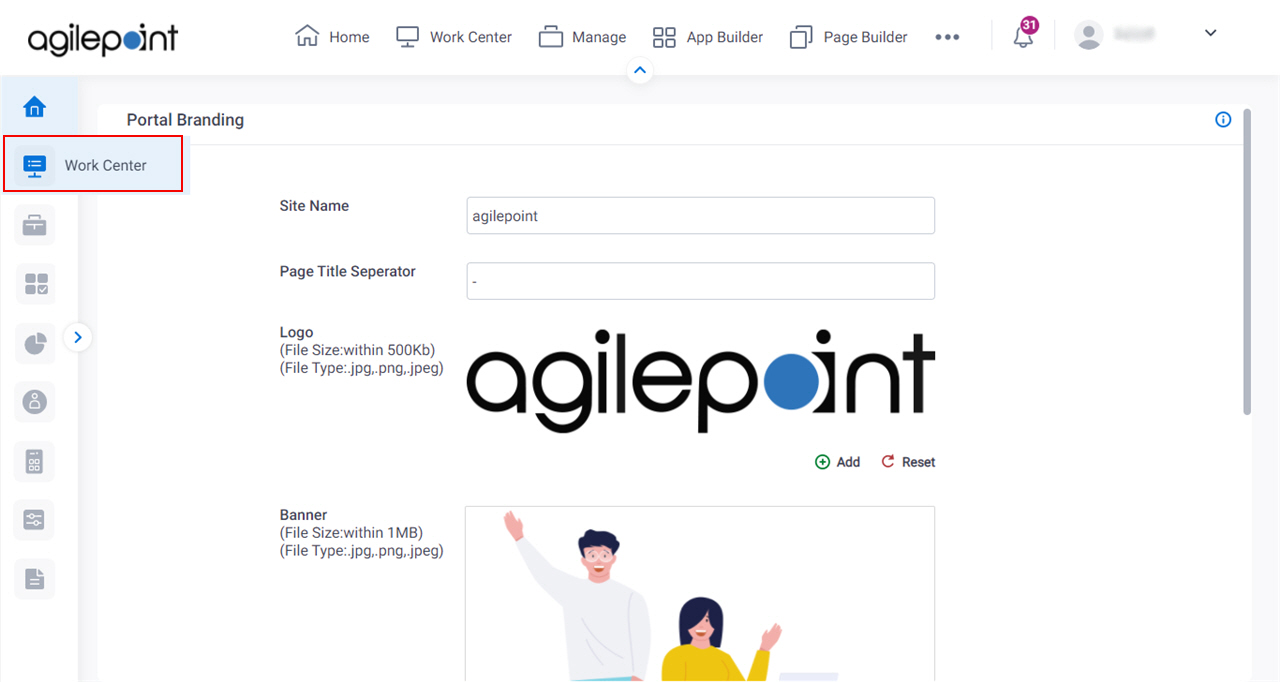
- Click Work Center.
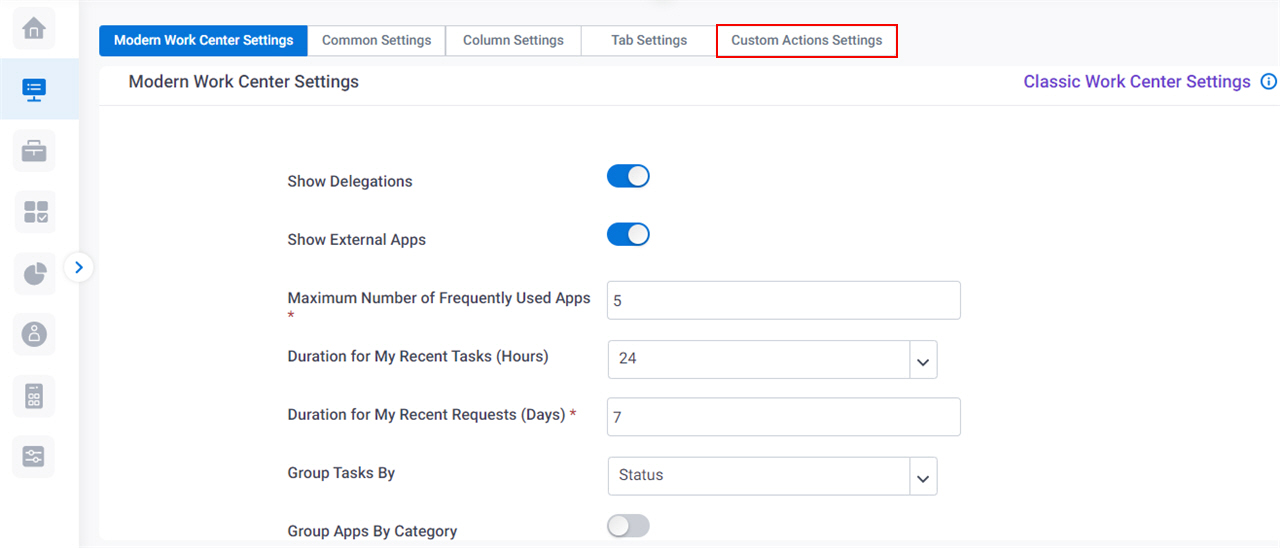
- On the Modern Work Center Settings screen, click the Custom Actions Settings tab.
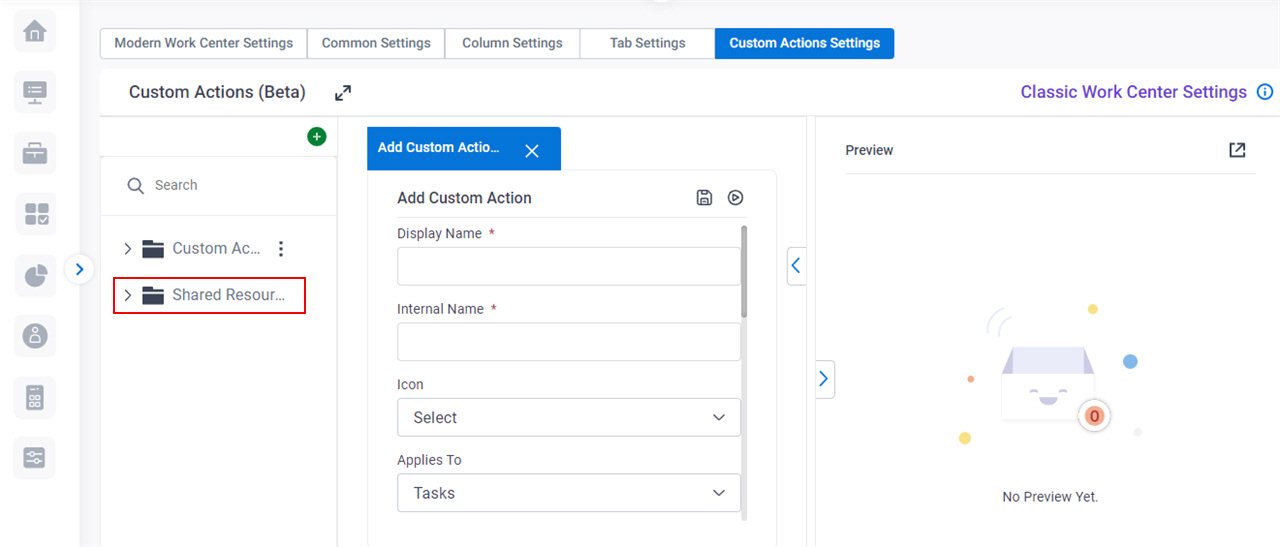
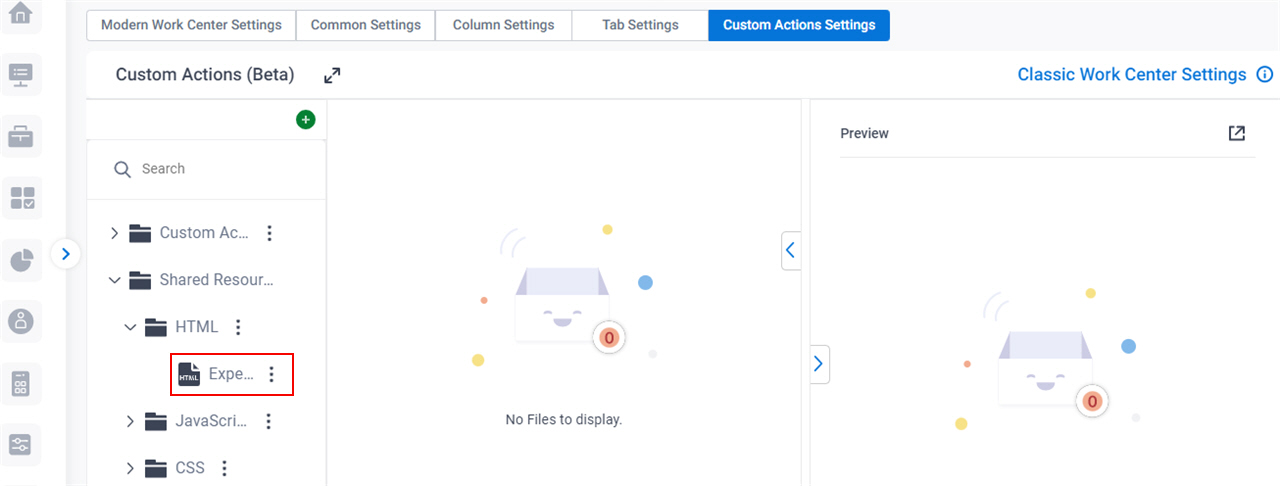
- On the Custom Actions screen, in the left pane, expand the Shared Resources tab.
- On the Shared Resources tab, click HTML > Select an HTML file.
Fields
| Field Name | Definition |
|---|---|
HTML editor |
|
Save |
|
|
Cut |
|
|
Copy |
|
|
Paste |
|
|
Undo |
|
|
Redo |
|
Export |
|
|
Run |
|


