
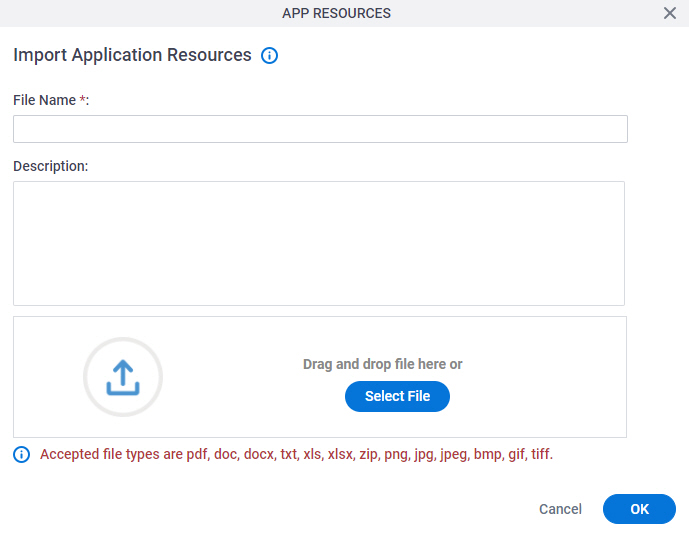
Import Application Resources screen
Uploads a file from your local machine, and adds it as the application resources in App Builder, so the file can be used as an attachment for activity documentation.
Prerequisites
- AgilePoint NX OnDemand (public cloud), or AgilePoint NX Private Cloud or AgilePoint NX OnPremises v8.0 Software Update 2 or higher.
Good to Know
- App designers can attach files to activity documentation in Process Builder. They can also download the attached files in Process Builder.
- Runtime app users can download an attached file if it is configured to show in Work Center and Manage Center at runtime. If an attached file is not configured to show at runtime, it is only used at design time.
- Uploaded files are stored as application resources in the AgilePoint NX workflow database.
How to Start
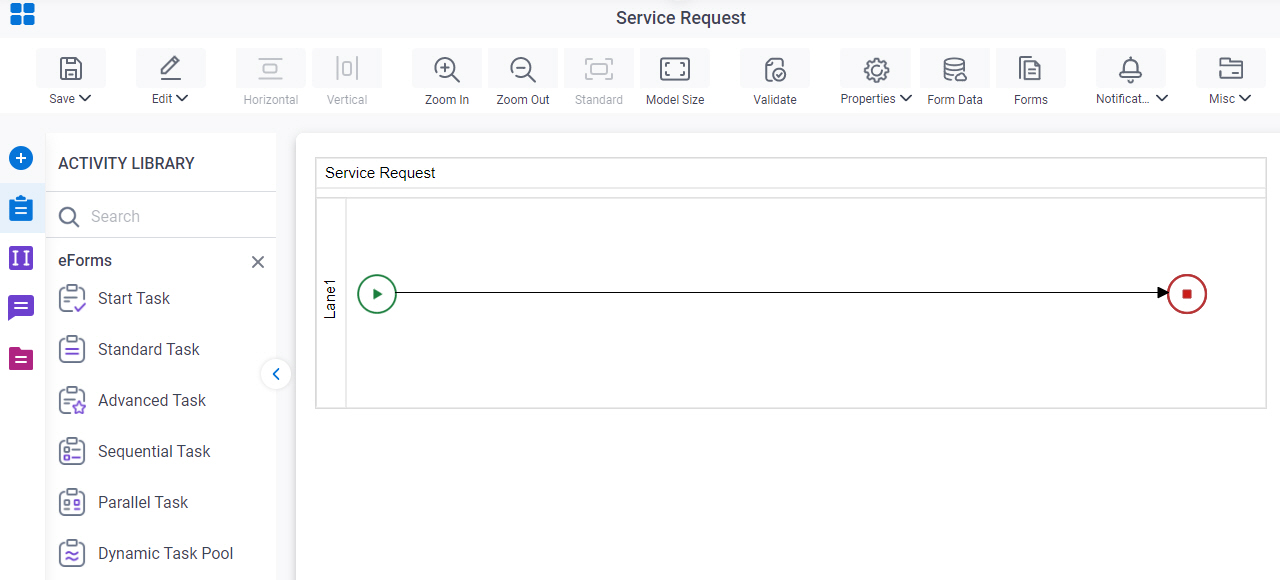
- Open Process Builder.
For information about how to open this screen, refer to Process Builder.
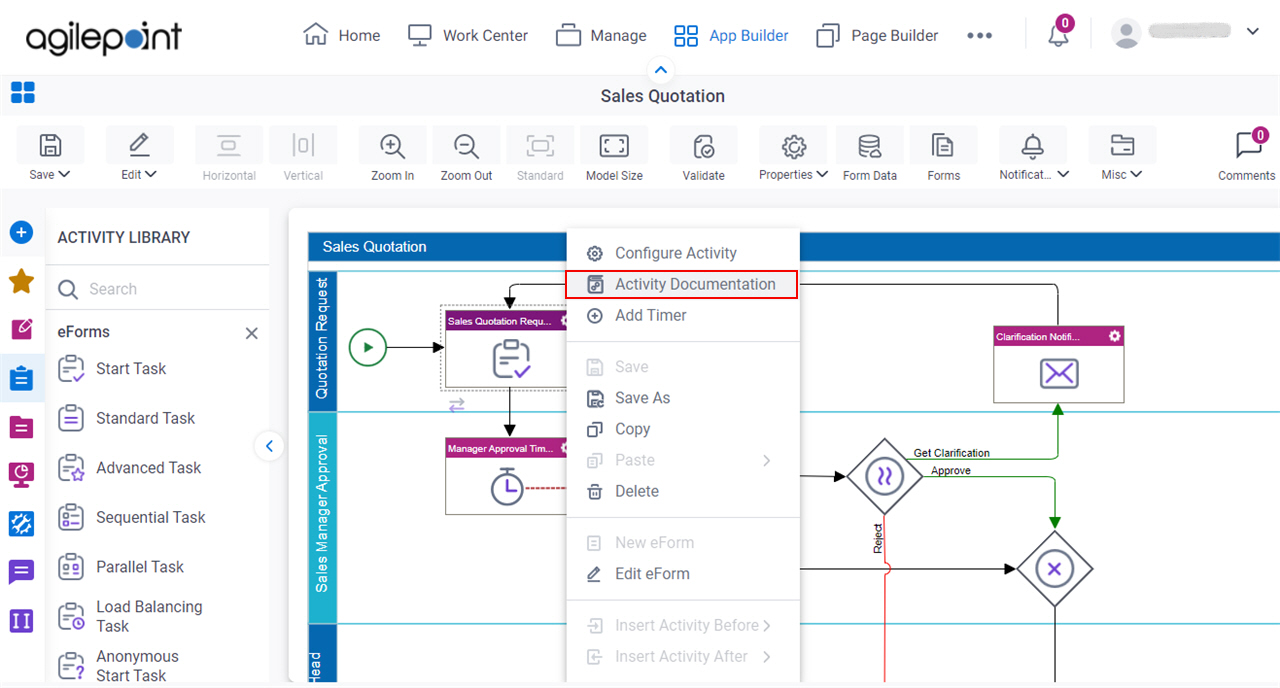
- On the Process Builder screen, on any activity, click Activity Settings
 > Activity Documentation.
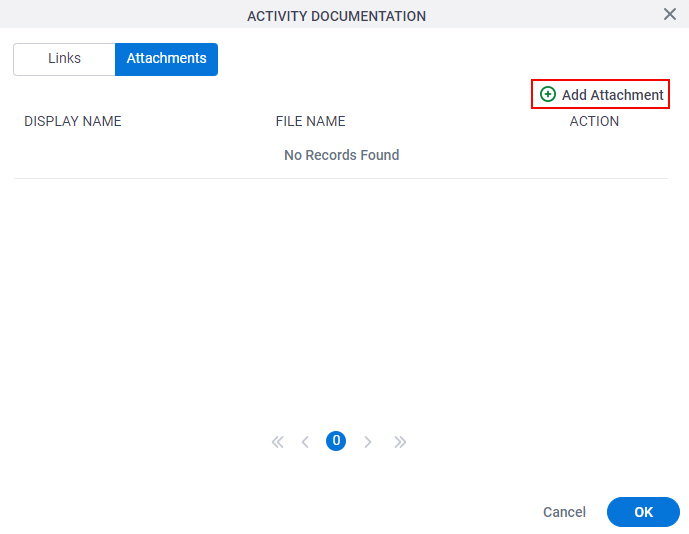
- On the Activity Documentation screen, click the Attachments tab.
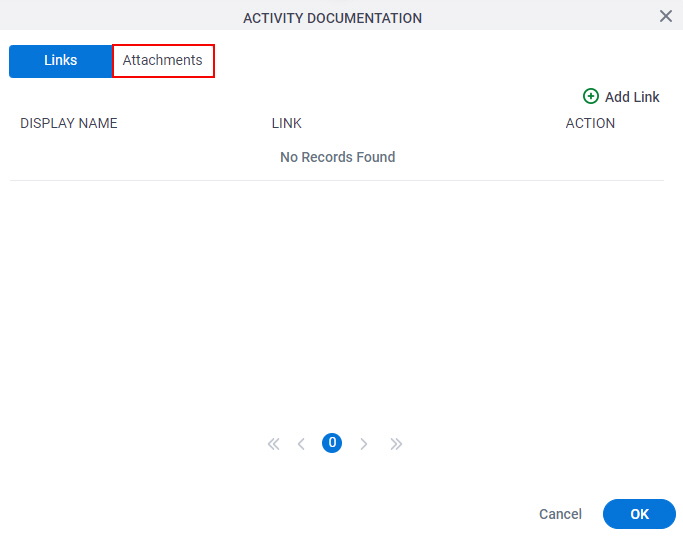
- On the Attachments tab, click Add Attachment.
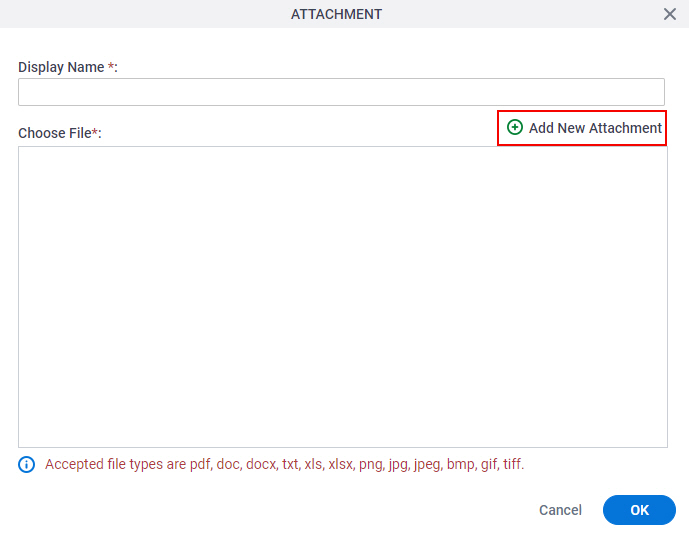
- On the Add Attachment screen, click Add New Attachment.
Fields
| Field Name | Definition |
|---|---|
File Name |
|
Description |
|
|
Import File |
|