
(Example) Custom JavaScript in Page Builder
This example shows how to create and use a custom JavaScript snippet in Page Builder.
Background and Setup
Other Examples
- (Example) Use Custom JavaScript in an eForm
- (Example) Custom Page in Page Builder
- (Example) Raw HTML Widget in Page Builder
- JavaScript Methods for eForm Builder - Examples for JavaScript methods that are available out-of-the-box (OOTB) in AgilePoint NX.
- REST API - Code examples for implementing the REST API.
- Advanced Examples
For more advanced or complex examples or specific information about how to solve a specific business problem or use case, AgilePoint recommends the following resources:
- AgilePoint Community Forums - A free, AgilePoint-moderated, crowd-sourcing user forum where you can ask questions about specific techniques, the solutions to use cases, workarounds, or other topics that may not be covered in the Product Documentation.
- Video Portal - Video walkthroughs for a range of simple and advanced tasks in AgilePoint NX.
- Professional Services - If you can not find the information you need for your specific business problem, mentoring is available through AgilePoint Professional Services.
- Personalized Training - AgilePoint can provide personalized training for your organization. To request personalized training, contact AgilePoint Sales.
Prerequisites
- You must be a member of the Page Owners or Page Designers permission group.
For more information, refer to Page Builder Permissions Overview.
- AgilePoint NX OnDemand (public cloud), or AgilePoint NX Private Cloud or AgilePoint NX OnPremises v7.0 Software Update 1 or higher.
Good to Know
- The Raw HTML widget is required to use custom JavaScript in Page Builder.
- Only a JavaScript file that is created in Page Builder can be used in the Raw HTML widget. You can not enter JavaScript code directly in the widget.
- You can reference elements in the JavaScript file in the Raw HTML widget with this format. This concept is similar to HTML.
Format:
<[HTML element] id="[your JavaScript ID]"/>
Example:
<div id="currentTime"/>
- These elemets are not supported in the Raw HTML widget:
- <html>
- <body>
- <head>
- <style>
- <meta>
- <link>
- <title>
- This example shows how to create a custom JavaScript to show the current date and time.
- This is a simple example. It is not intended as a real-world use case.
How to Start
- Click Page Builder.

- On the Home screen, in the left pane,
click Library.
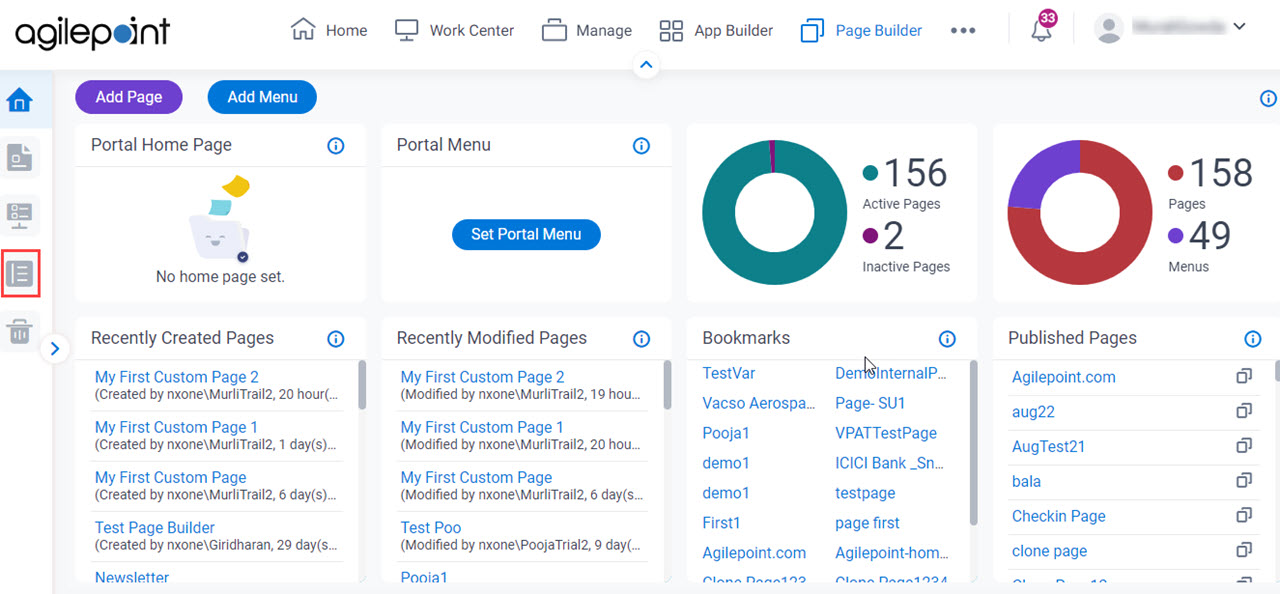
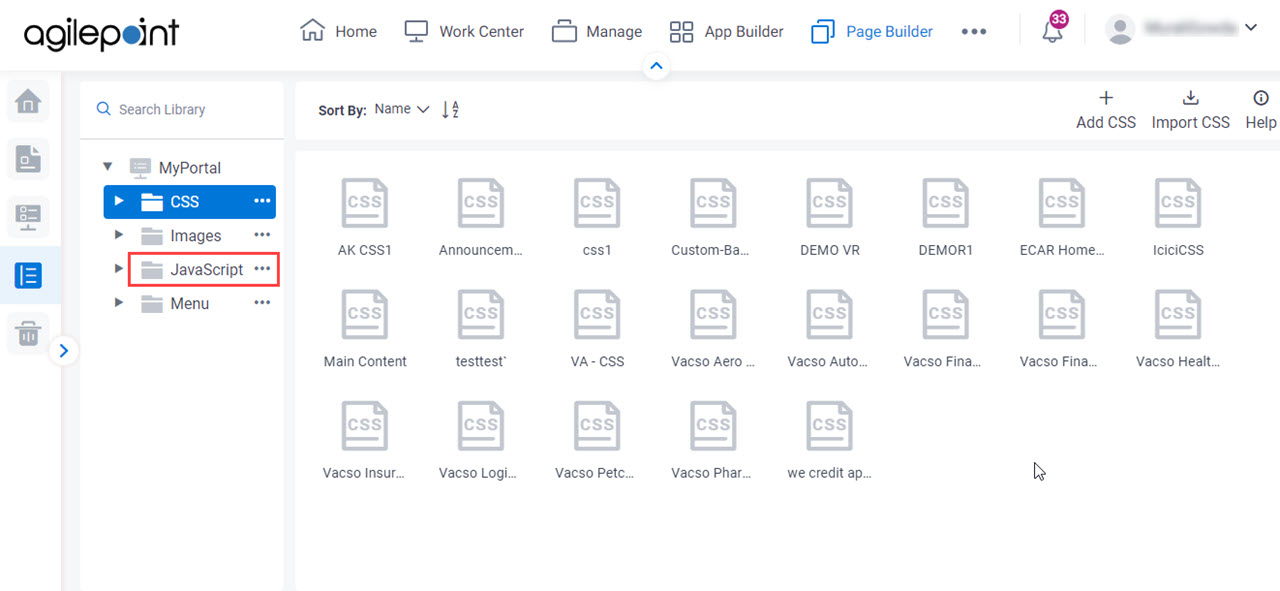
- In the left pane, click
JavaScript.
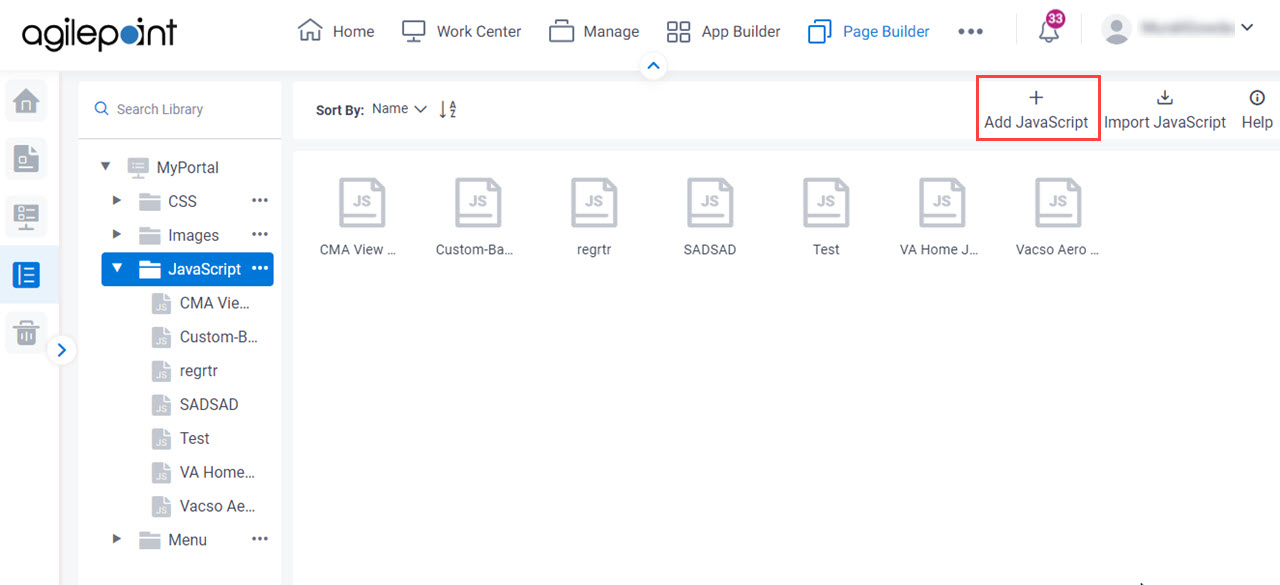
- On the JavaScript screen, click Add JavaScript.
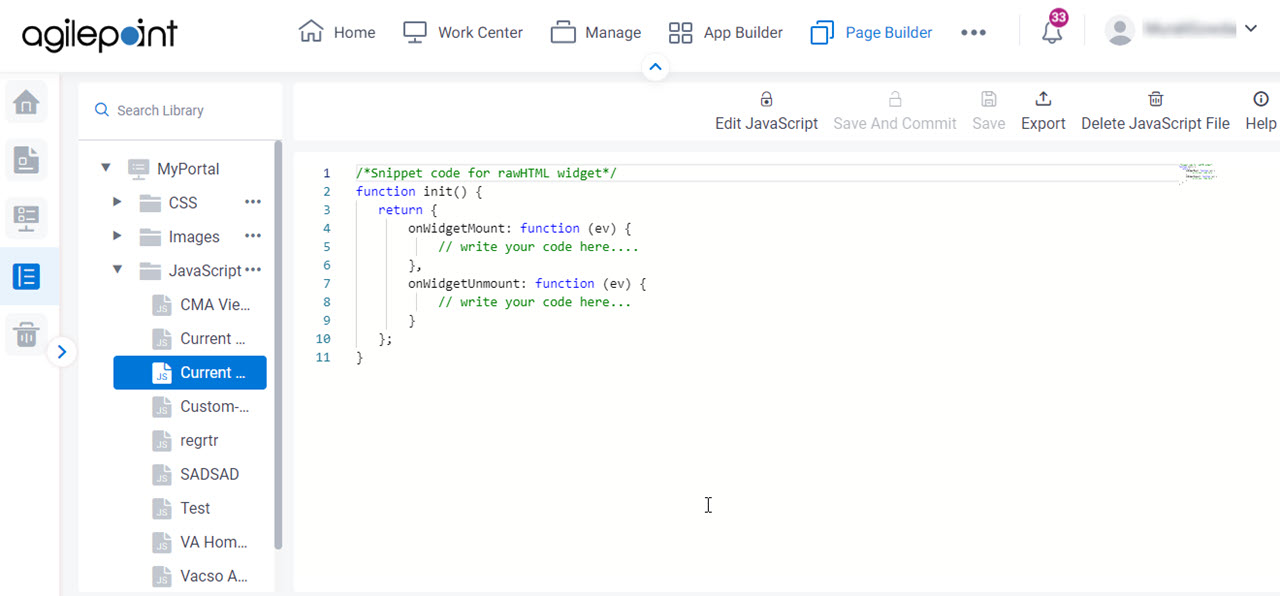
Step 1: Create a JavaScript File
- On the Add New JavaScript Page, in the Display Name field,
enter Current Date and Time.
When you click the Internal Name field, this field completes by default based on the value you enter in Display Name field. You can also specify your own internal name. After the internal name is created, you can not change it.
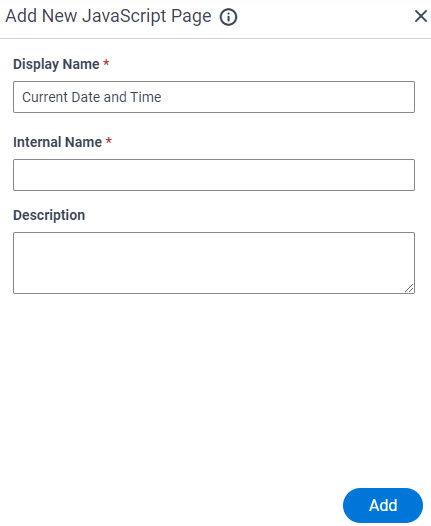
- Click Add.
The Current Date and Time file is added to the JavaScript library.
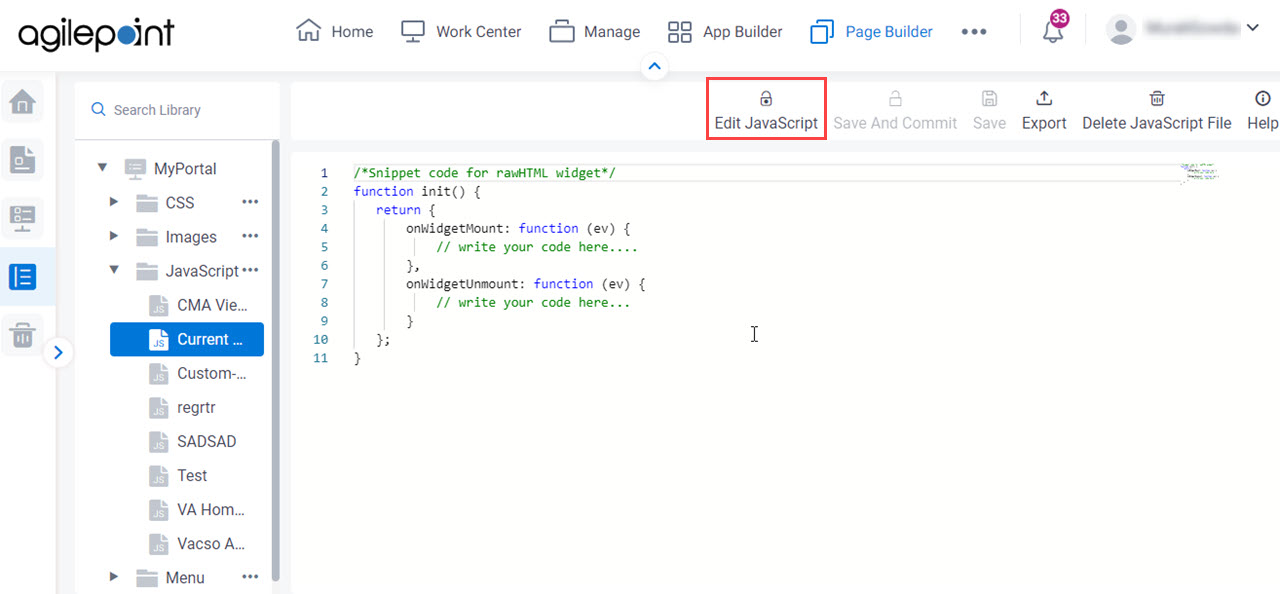
Step 2: Enter the Current Date and Time JavaScript Code
- Click Edit JavaScript
 .
.
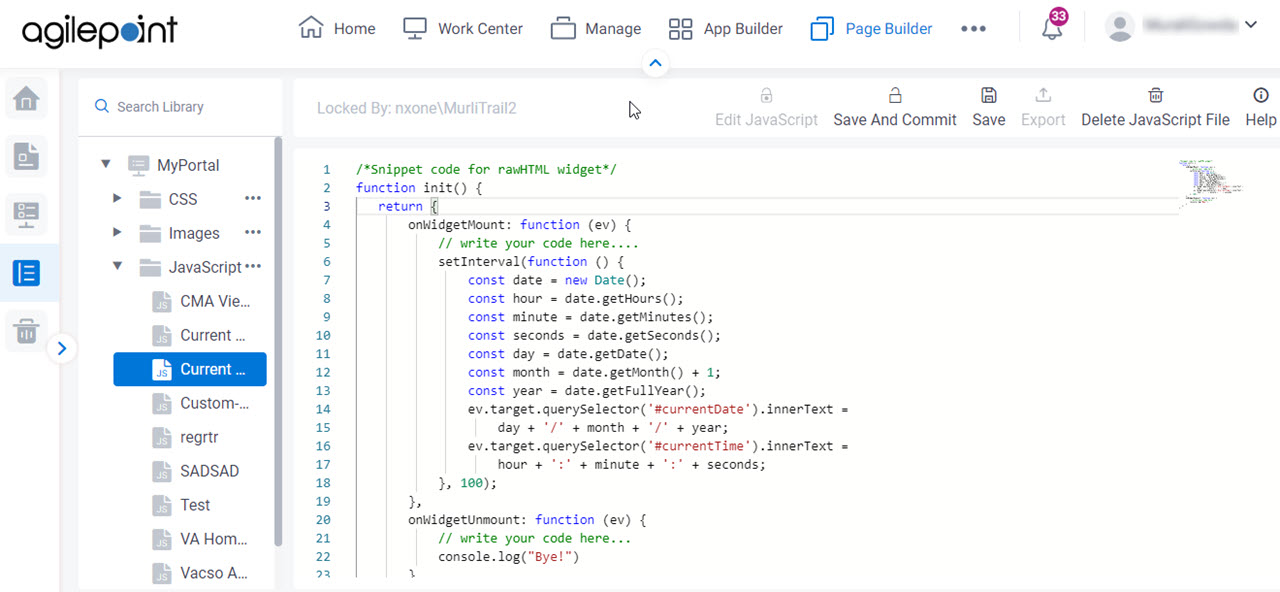
- On the rigt pane, add your JavaScript code to custom JavaScript snippet.
This example uses the following code:
function init() {
  return {
  onWidgetMount: function (ev) {
  // write your code here....
setInterval(function () {
  const date = new Date();
  const hour = date.getHours();
  const minute = date.getMinutes();
  const seconds = date.getSeconds();
  const day = date.getDate();
  const month = date.getMonth() + 1;
  const year = date.getFullYear();
  ev.target.querySelector('#currentDate').innerText =
    day + '/' + month + '/' + year;
  ev.target.querySelector('#currentTime').innerText =
    hour + ':' + minute + ':' + seconds;
 }, 100);
},
  onWidgetUnmount: function (ev) {
  // write your code here...
  console.log("Bye!")
  }
 };
}
In this example code, the IDs of the standard JavaScript querySelector() function provide reference IDs that can be used in a Raw HTML widget.
The custom JavaScript code must be enclosed within these built-in functions:
Field Name Definition onWidgetMount
- Function:
- Specifes the JavaScript code in the onWidgetMount event. This event executes when the widget loads in the web browser at runtime.
- To Open this Field:
-
- On the custom JavaScript file, click Edit JavaScript.
- Accepted Values:
- A JavaScript code snippet that can be enclosed within a JavaScript function.
- Example:
setInterval(function () {
  const date = new Date();
  const hour = date.getHours();
  const minute = date.getMinutes();
  const seconds = date.getSeconds();
  const day = date.getDate();
  const month = date.getMonth() + 1;
  const year = date.getFullYear();
  ev.target.querySelector('#currentDate').innerText =
    day + '/' + month + '/' + year;
  ev.target.querySelector('#currentTime').innerText =
    hour + ':' + minute + ':' + seconds;
}, 100);
onWidgetUnmount
- Function:
- Specifies the JavaScript code in onWidgetUnmount event. This event executes when the widget is unloaded at runtime. Usually this event occurs when the user leaves the web page.
- To Open this Field:
-
- On the custom JavaScript file, click Edit JavaScript.
- Accepted Values:
- A JavaScript code snippet that can be enclosed within a JavaScript function.
- Example:
- console.log("Bye!")
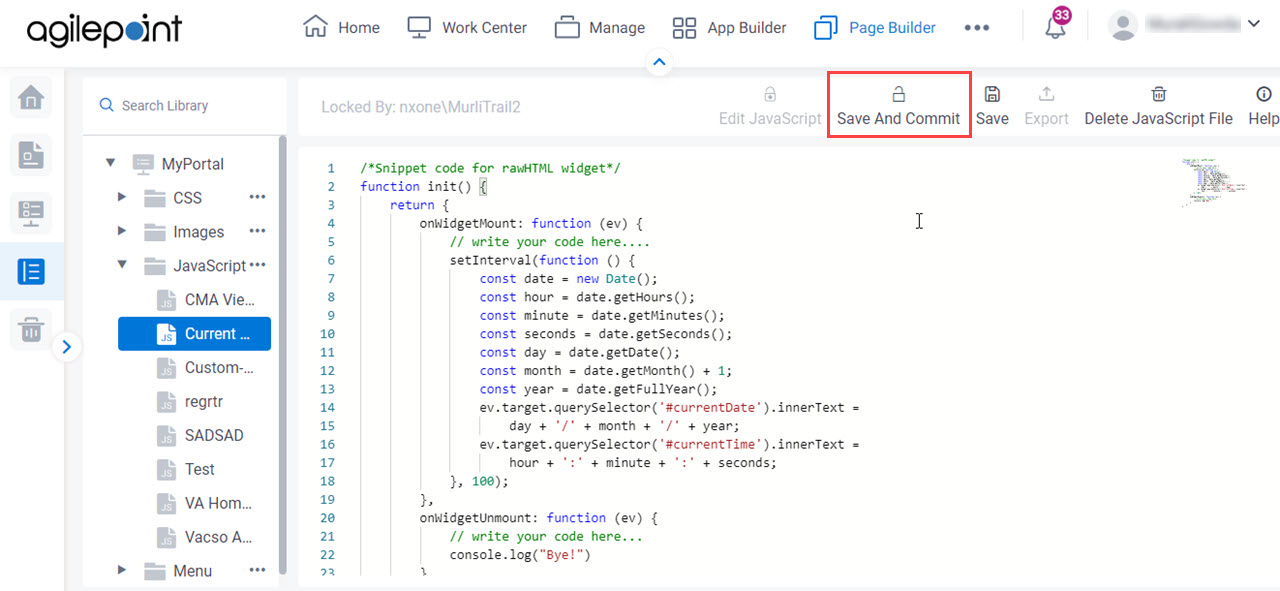
- Click Save And Commit
 .
.
Step 3: Add the JavaScript to a Custom Page
Add the custom JavaScript to Raw HTML widget custom page.
How to Start
- Do one of these:
- Create a custom page.
For more information, refer to (Example) Custom Page in Page Builder.
- Change a custom page.
- Create a custom page.
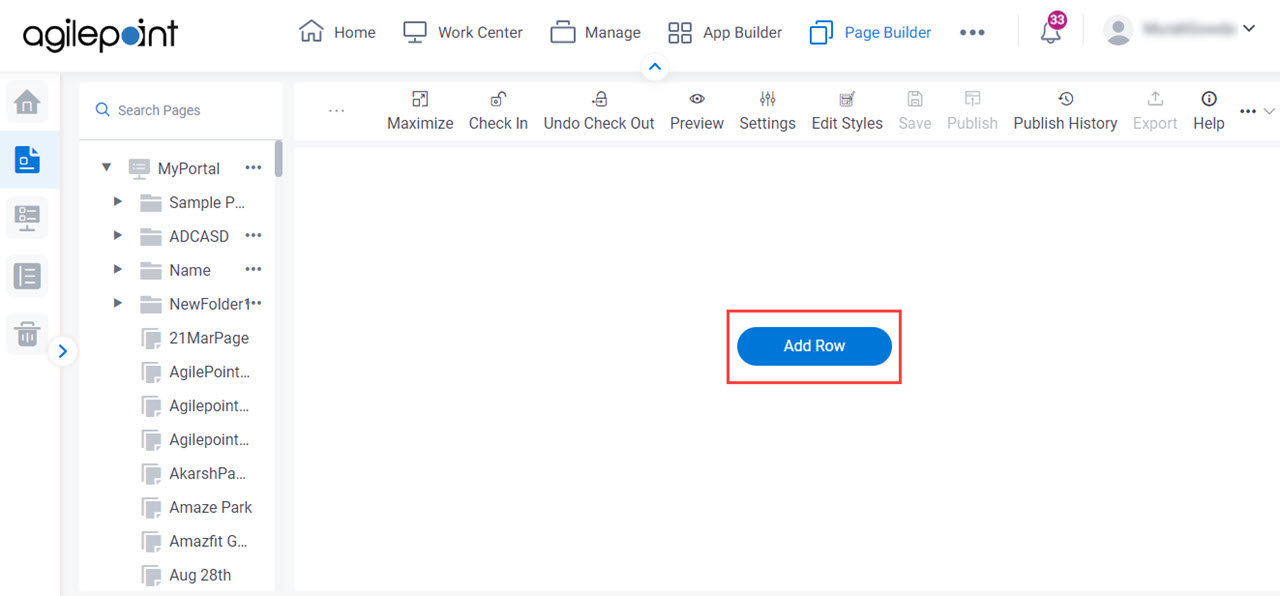
- On the Custom Page Design screen, click Add Row.
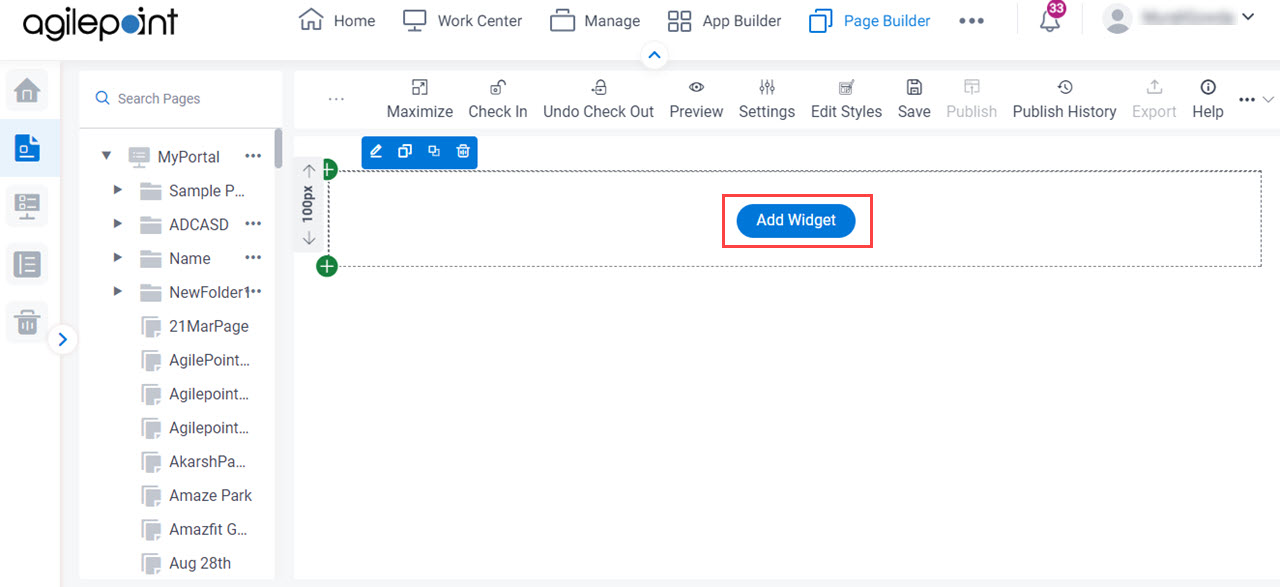
- Click Add Widget.
Procedure
- On the Pick A Widget screen, click the Content tab.
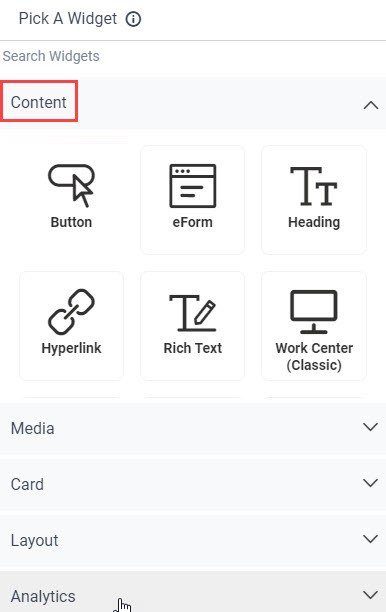
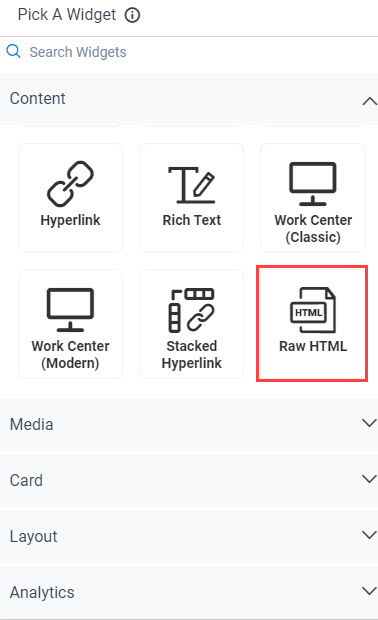
- On the Content tab, click
Raw HTML
 .
.
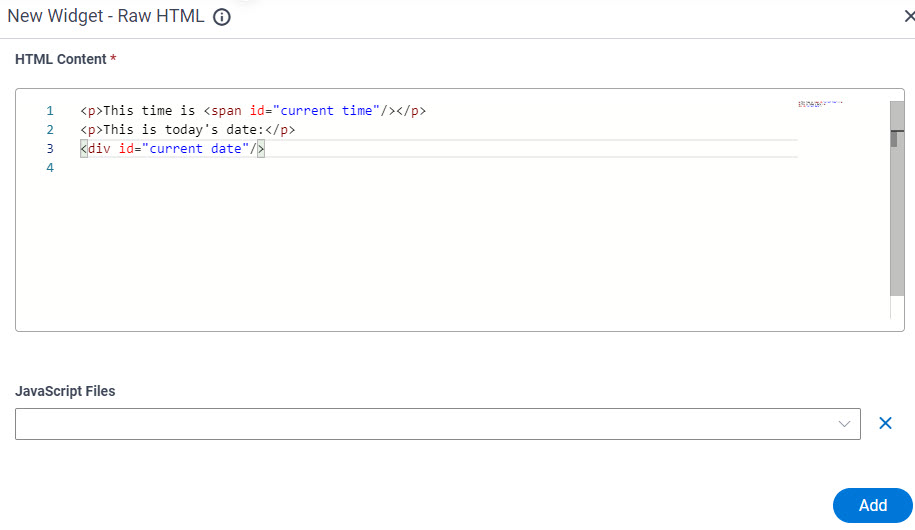
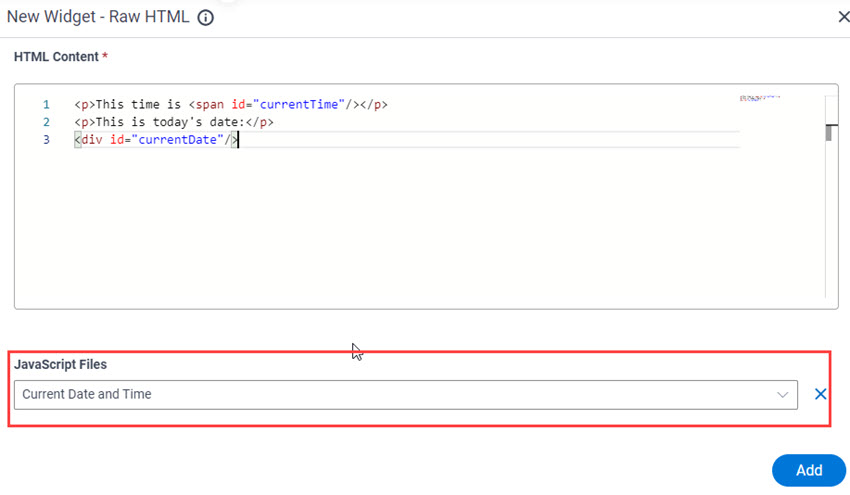
- On the New Widget - Raw HTML screen, in HTML Content field, enter the codes from screen.
The IDs currentTime and currentDate come from the Current Date and Time example JavaScript file.
- In the JavaScript Files list, select Current Date and Time file.
This associates the JavaScript file with the Raw HTML widget.
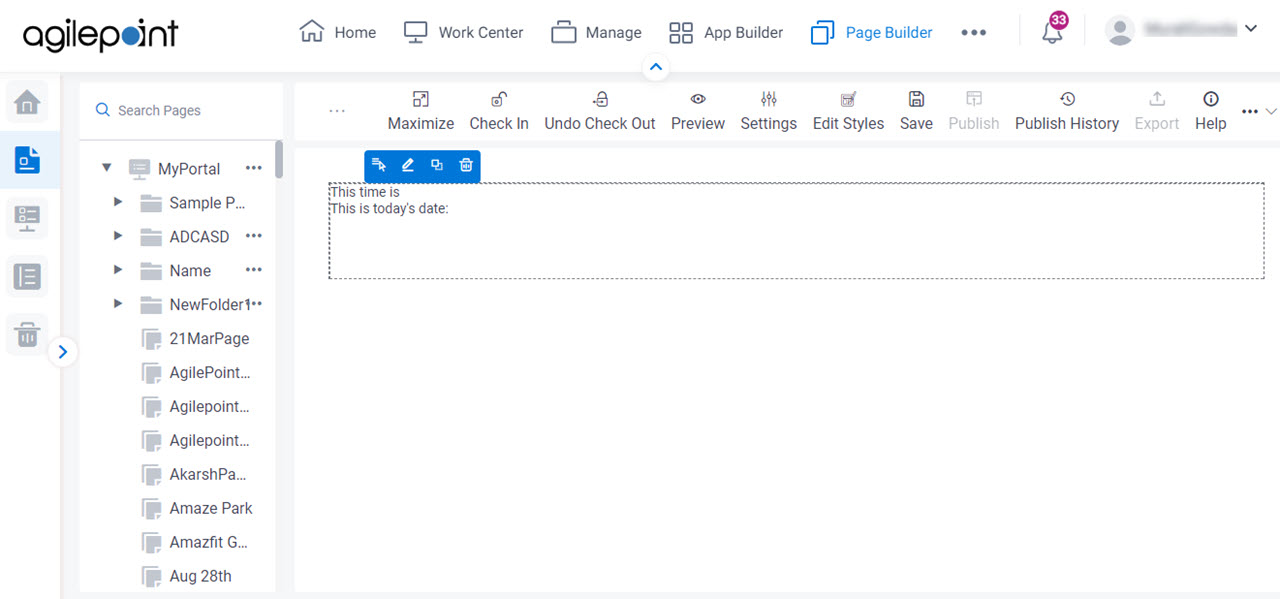
- Click Add.
Page Builder shows the Raw HTML widget.
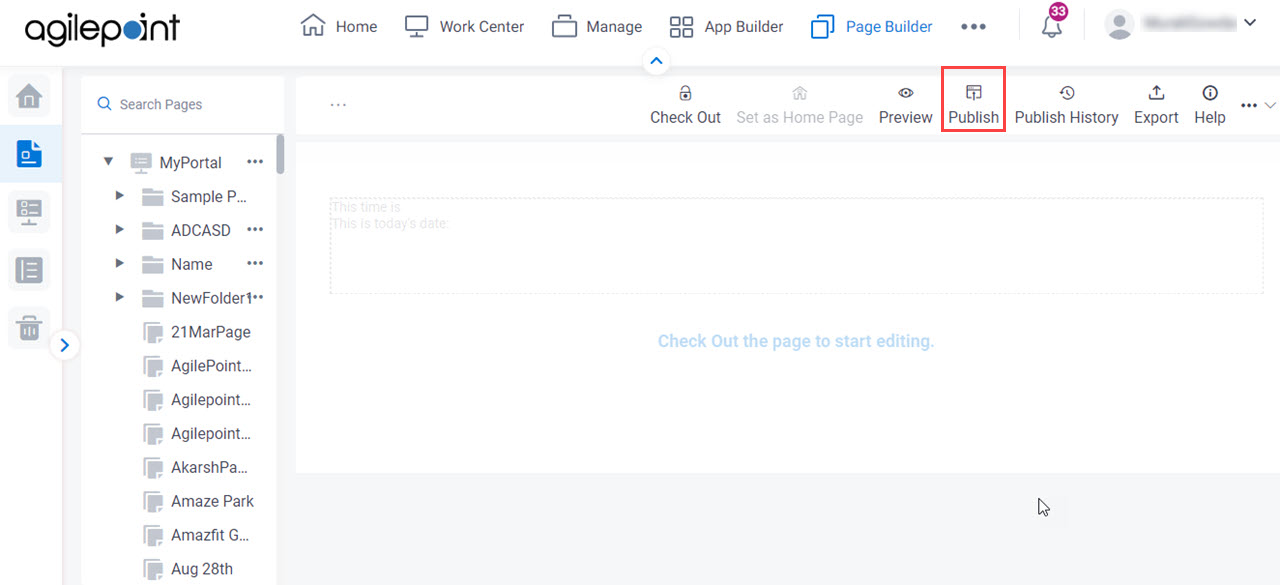
Step 4: Publish the Custom Page
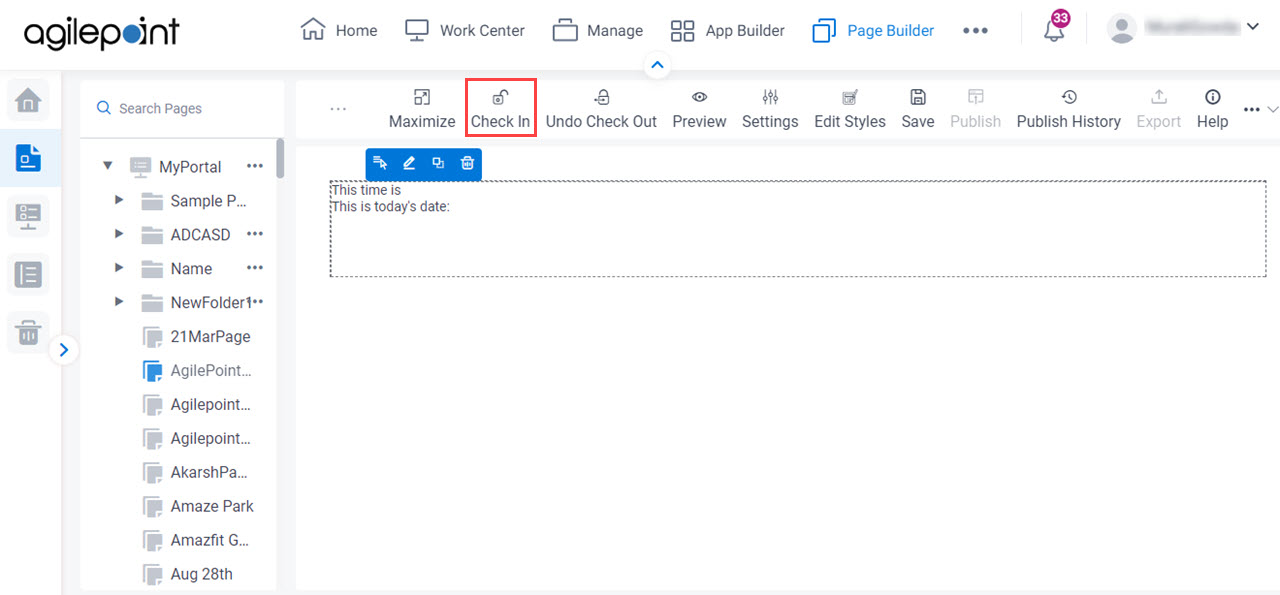
- On the Custom Page Design screen,
click Check In
 .
.
- Click Publish.
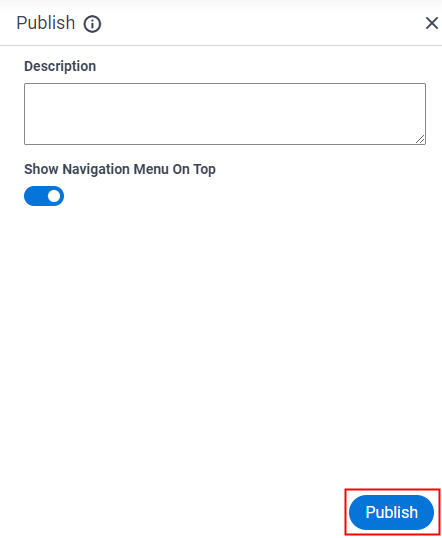
- On the Publish screen,
click Publish.
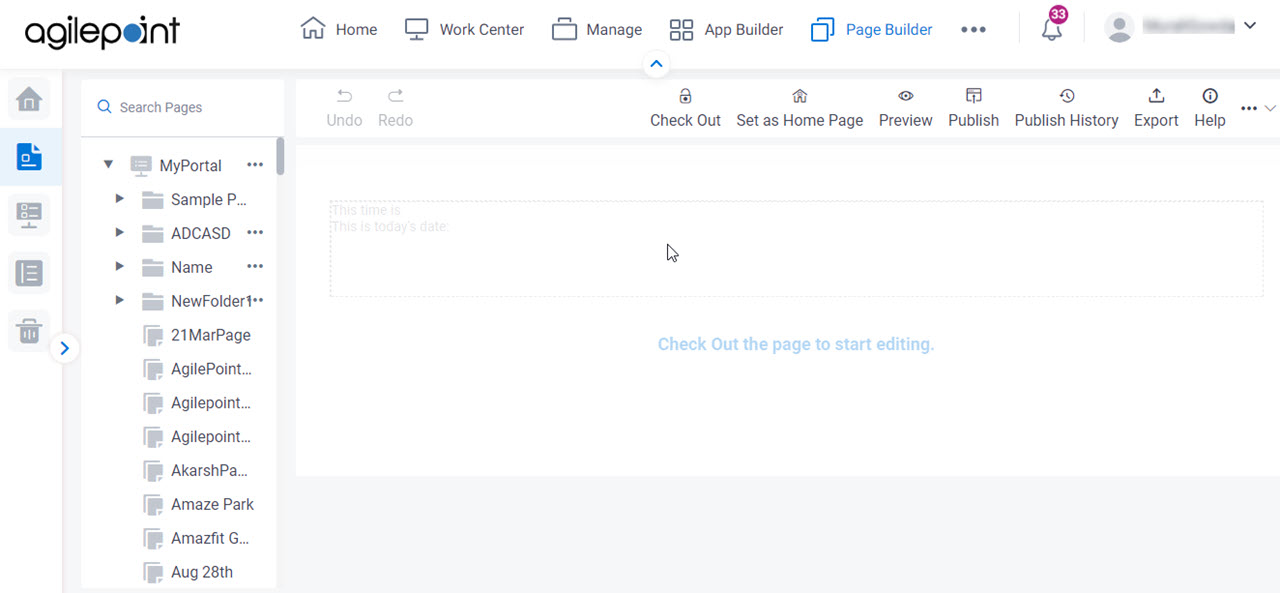
The Page Builder shows the published custom page screen.
Step 5: View the Published Page
- On the custom page, click Publish History
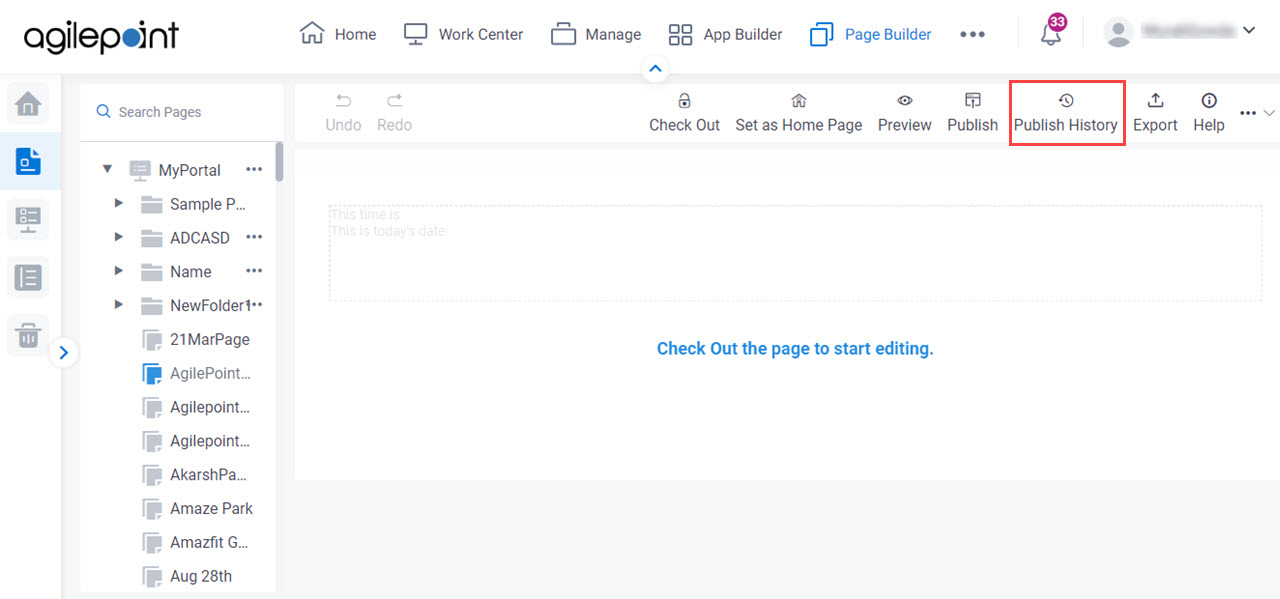
- On the Publish History screen, click
View

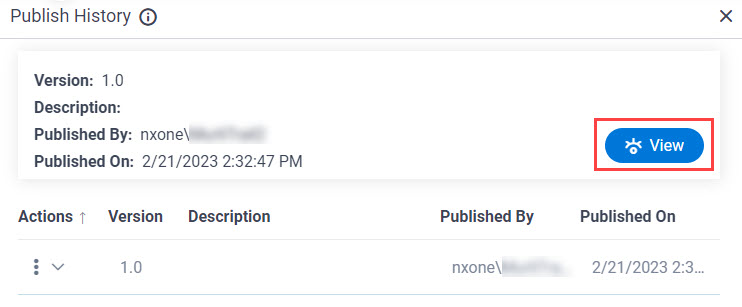
Your custom page opens in a new browser tab.
This view gives the production URL for the page. You can copy this URL to use in other locations, such as menus or links on other web sites.
