
(Example) Save, Check In, and Publish a Form-Based App
This example shows how to save, check in, and publish a form-based app.
Background and Setup
Prerequisites
- A form-based app or widget form.
Good to Know
- This example uses the Customer Request app from the AgilePoint NX App Store. You can use a similar procedure for other form-based apps.
Step 1: (Optional) Save and Check In an eForm
First, save and check in an eForm if it is not saved.
Prerequisites
- An eForm for your
app is open in eForm Builder.
For more information, refer to eForm Builder screen.
Good to Know
- This step is required only if an eForm is already opened in eForm Builder.
Procedure
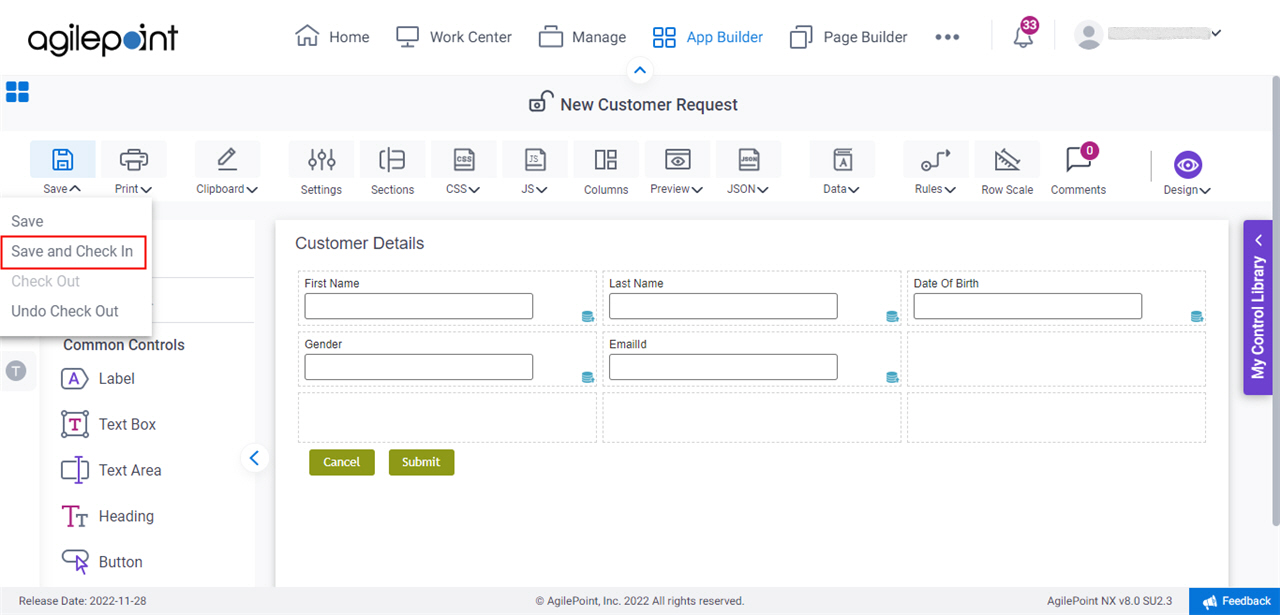
- On the eForm Builder screen, click Save > Save and Check In.
Step 2: (Optional) Check In a Form-Based App
Next, check in a form-based app to commit the changes.
Good to Know
How to Start
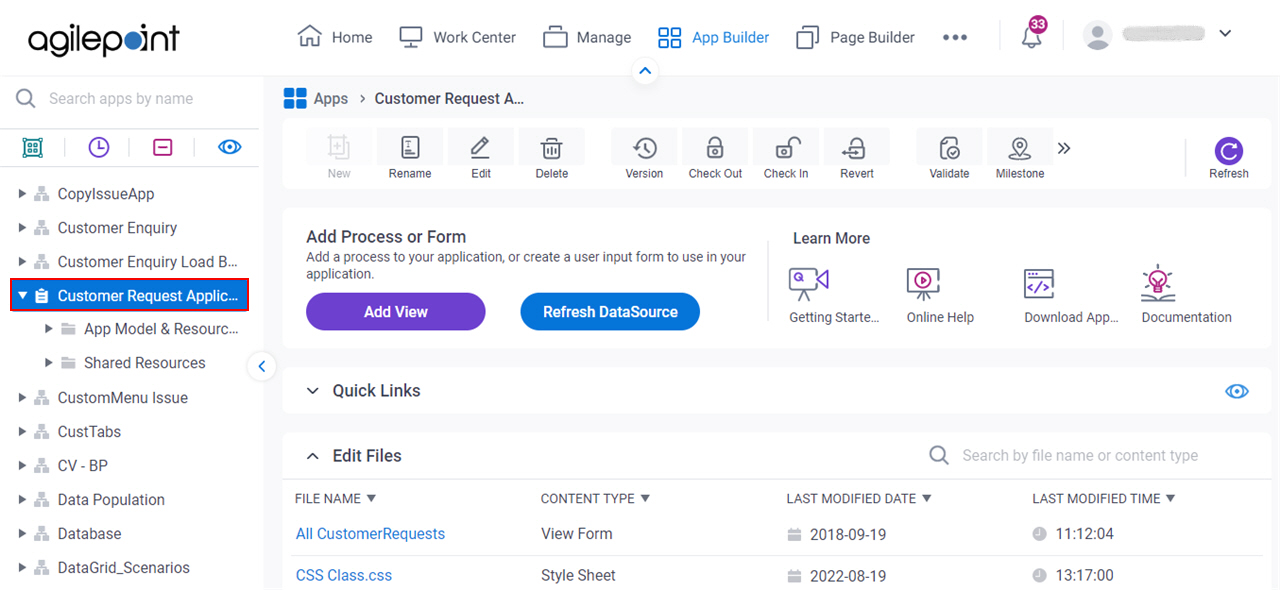
- Click App Builder.

- On the App Explorer screen, select a form-based app.
In this example, the app name is Customer Request.
Procedure
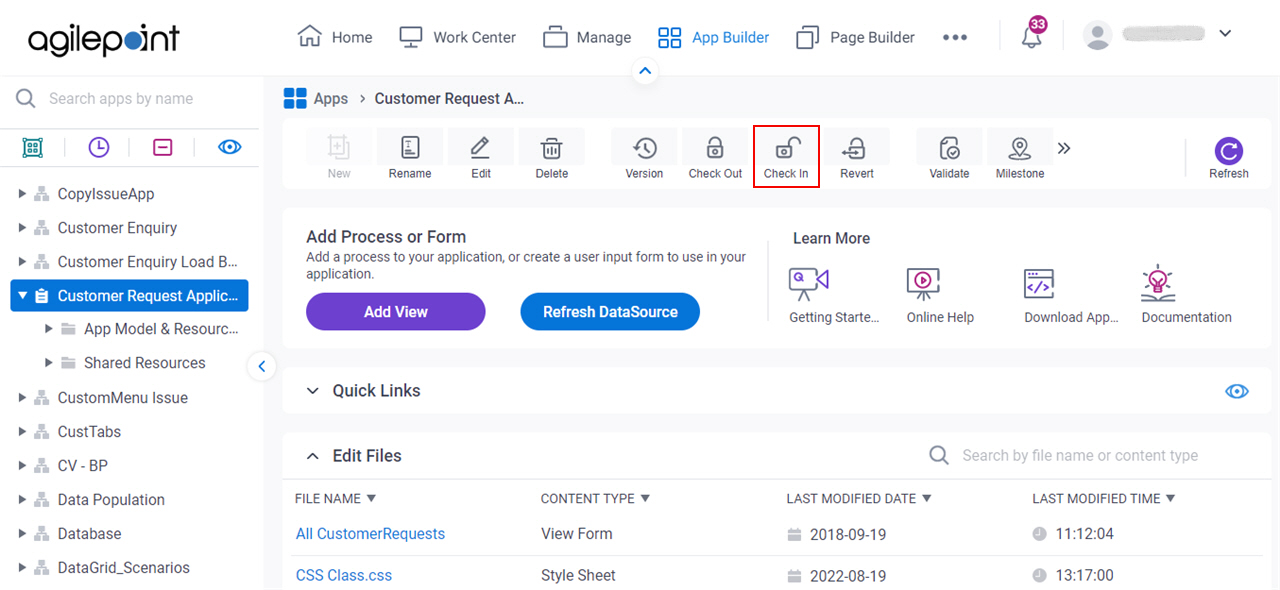
- On the App Explorer screen, click Check In.
- On the Check In Pending Changes screen, select the files to check in.
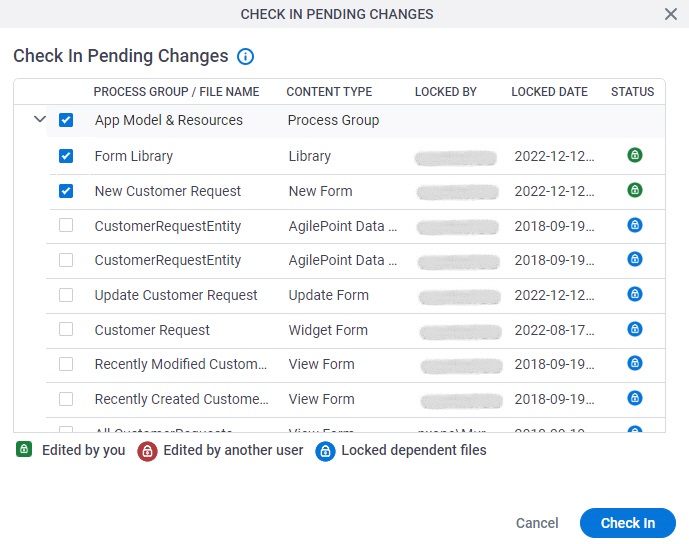
- Click Check In.
Step 3: Publish a Form-Based App
Next, publish a form-based app so people can use it.
Good to Know
- On the Publish App screen, the Default View option shows only for a form-based app and does not show for a widget form.
How to Start
- Click App Builder.
- On the App Explorer screen, select a form-based app.
In this example, the app name is Customer Request.
Procedure
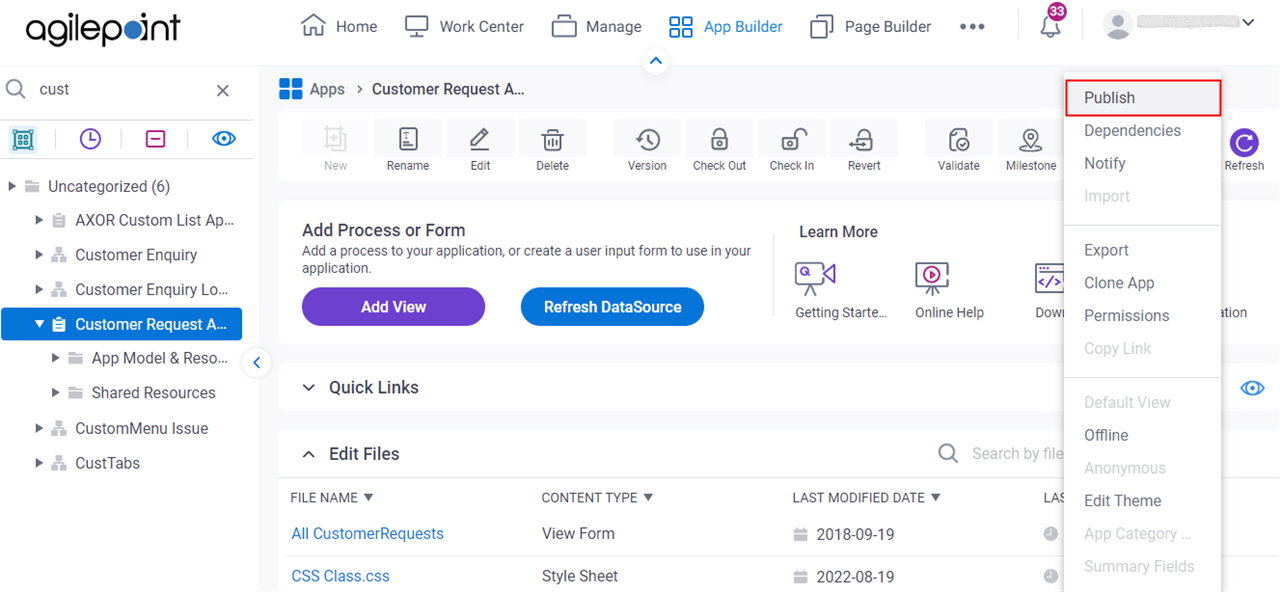
- On the App Explorer screen, click Publish.
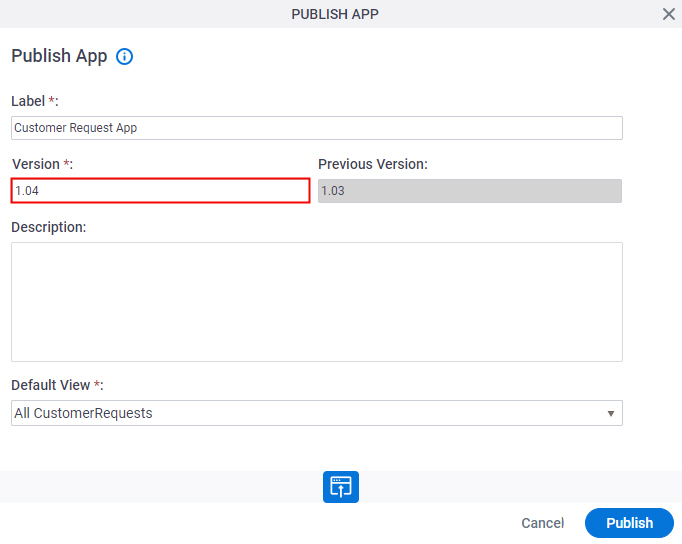
- On the Publish App screen, in the Label field, enter your app name.

- In the Version field, enter the version number to give the app.
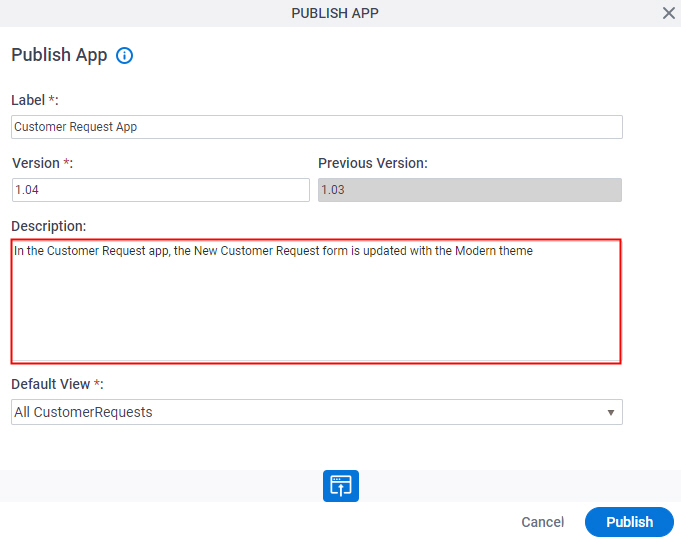
- In the Description field, enter your comments for the version.
- In the Default View field, select your default form view that shows on My Apps screen (Modern) in Work Center.
In this example, the default view is All CustomerRequests.
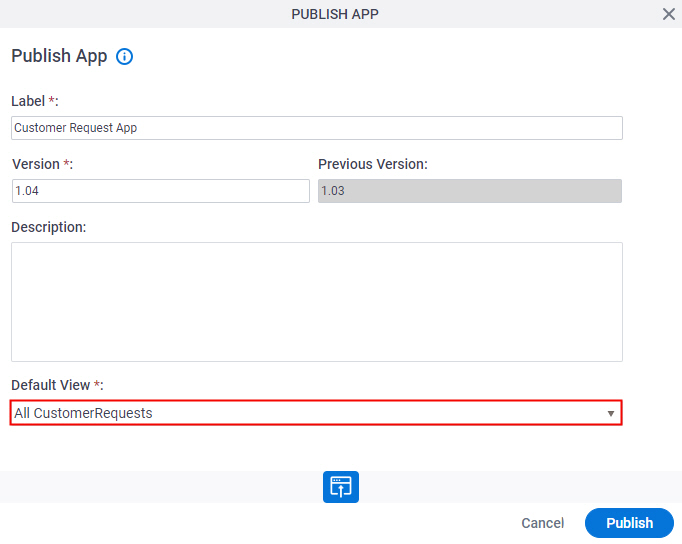
- Click Publish.