
(Example) Show an eForm in More Than One Language (Multi-Language Forms)
Background and Setup
Prerequisites
- This example uses the Customer Request app from the AgilePoint NX
App Store.
For more information, refer to How to Get the App
- You must be a member
of a role with access right to Add, Remove, and Modify Global Application Resources.
For more information, refer to Add Role > Configure Access Rights > Access Control tab.
Good to Know
- This example shows how to show the New Customer Request form in more than one language. You can use the same procedure to show all other forms in more than language in Customer Request app.
- These form controls are not supported in multilingual eForms.
- Chart form control
- Raw HTML form control
- Credit Card form control
- Chart form control
- These form controls do not support Inline List Options in multilingual eForms.
- Multi-Select List Box form control
- Auto-Suggest form control
- In Data Grid form control the Data Type Enum is not supported in multilingual eForms.
- When this procedure is complete, a runtime app user can change the language of an eForm when the app runs.
Step 1: Create a New Language
First, create a language for translation on a multilingual eForm in Manage Center.
How to Start
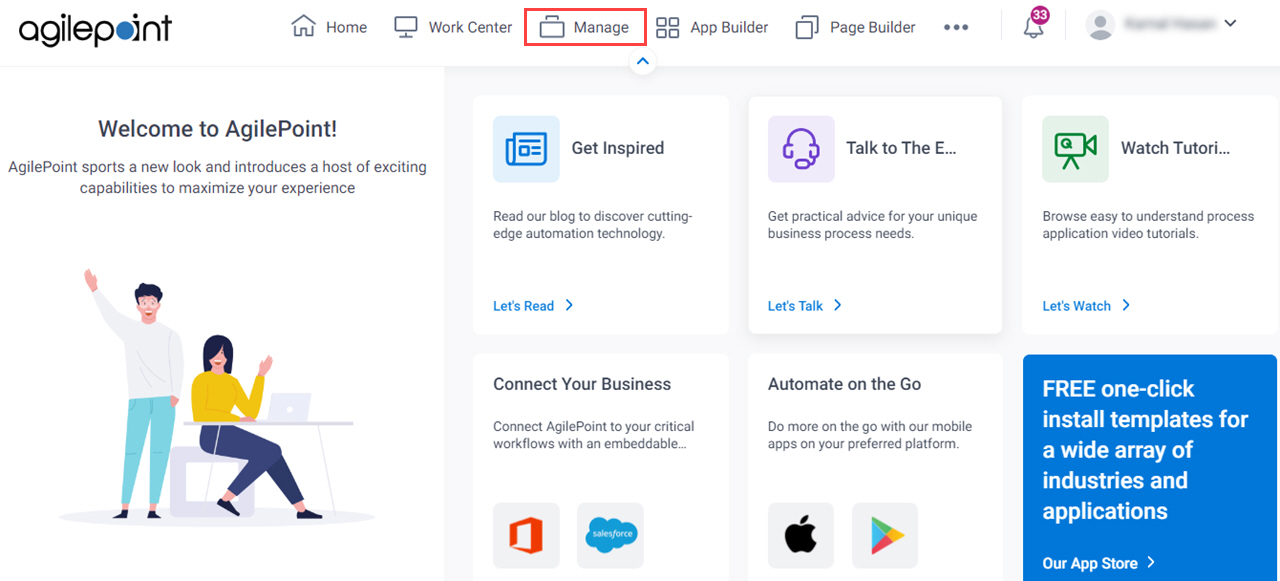
- Click Manage.
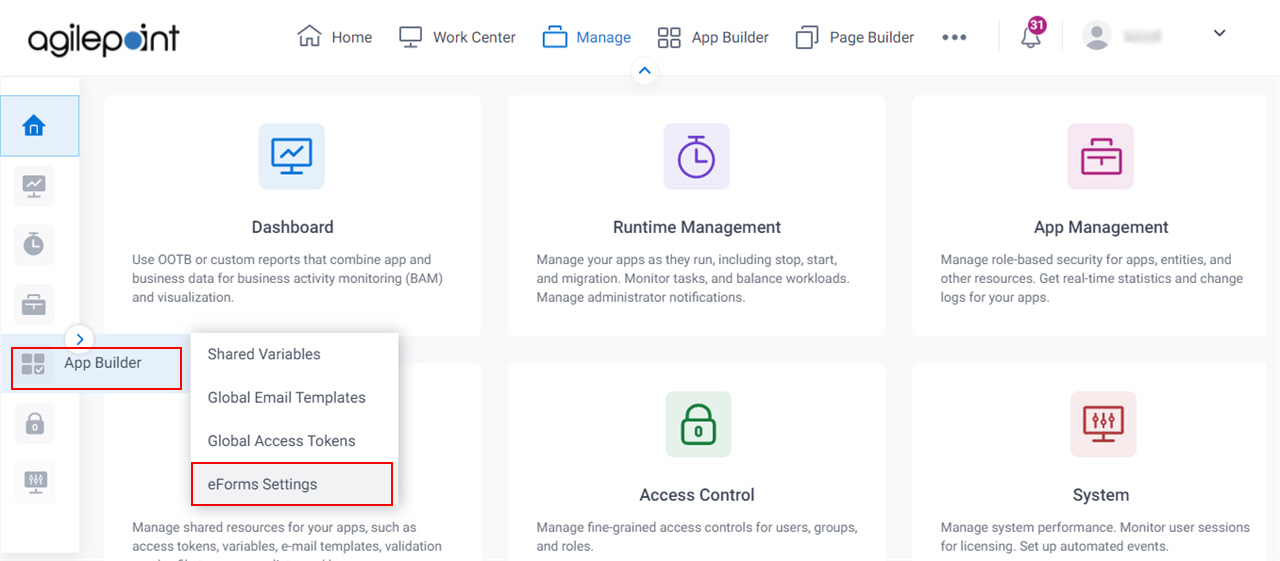
- In the Manage Center, click App Builder
> eForms Settings.
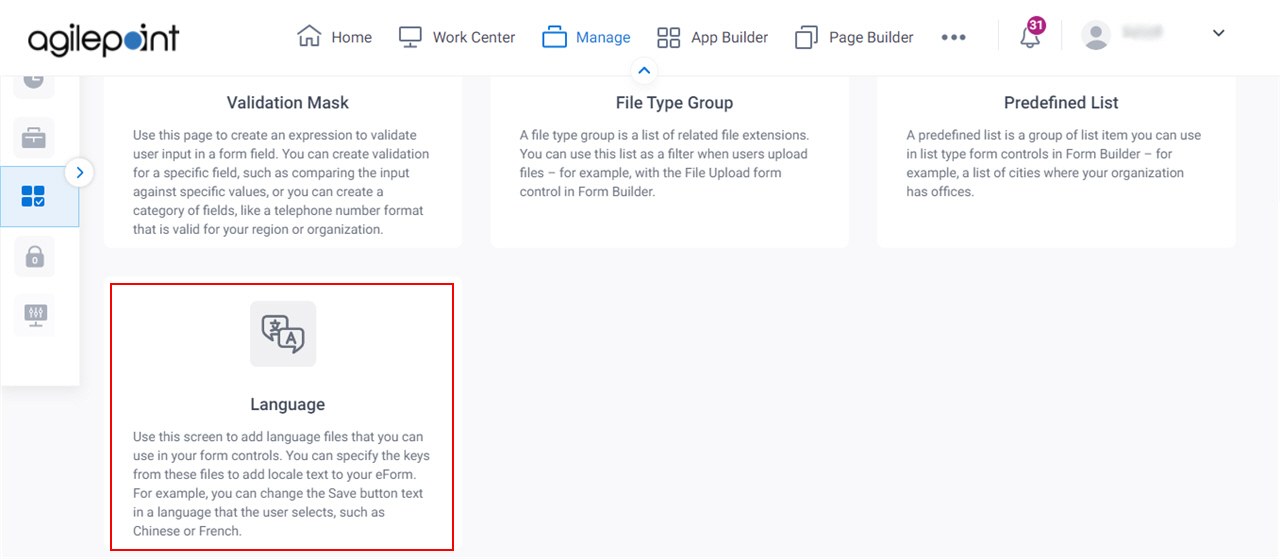
- On the eForms Settings screen, click Language.
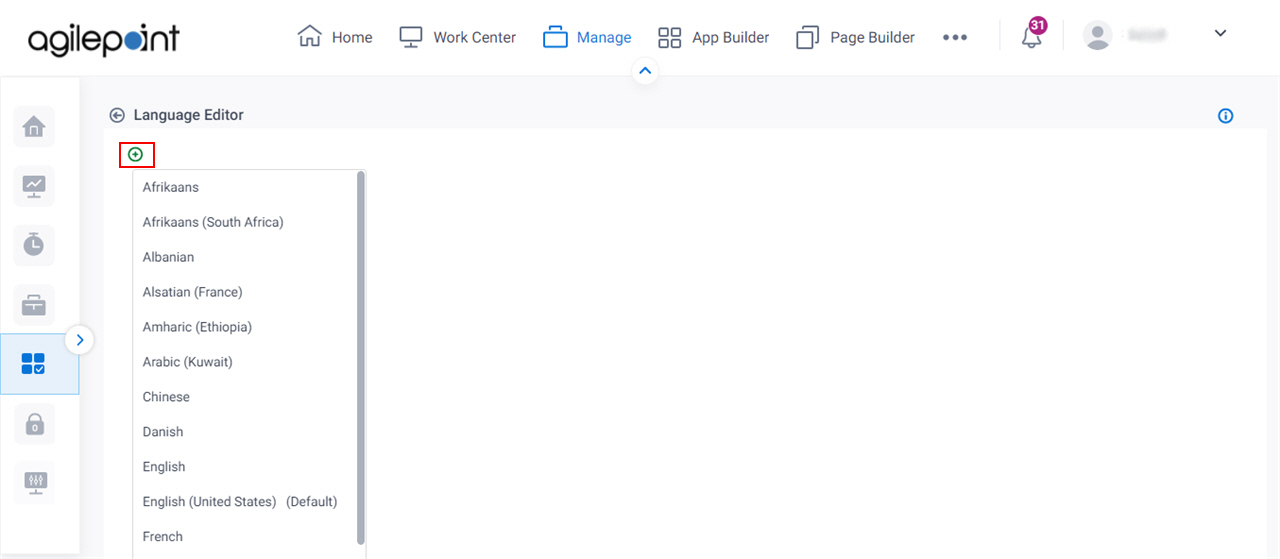
- On the Language Editor screen, click Add a New Language
 .
.
Procedure
- On the Add a New Language screen, in the Select a Language field, select Hindi - hi.
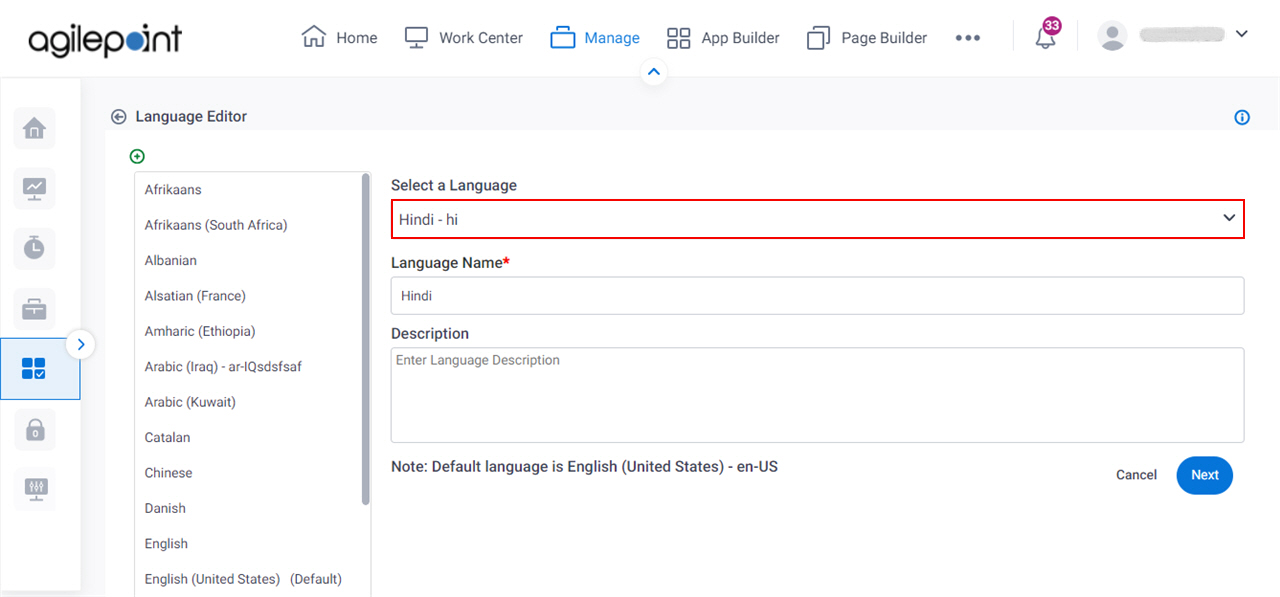
- In the Language Name field, enter Hindi.
When you select the language from the Select a Language field, this field show the language name by default.

- In the Description field, enter a description.
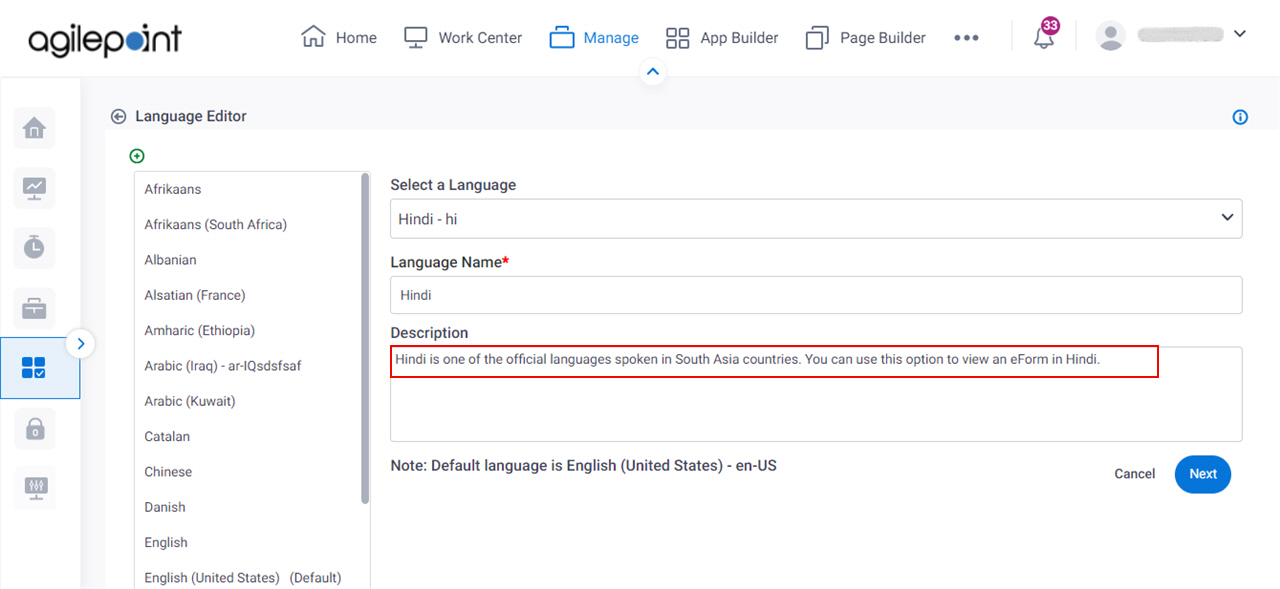
- Click Next.
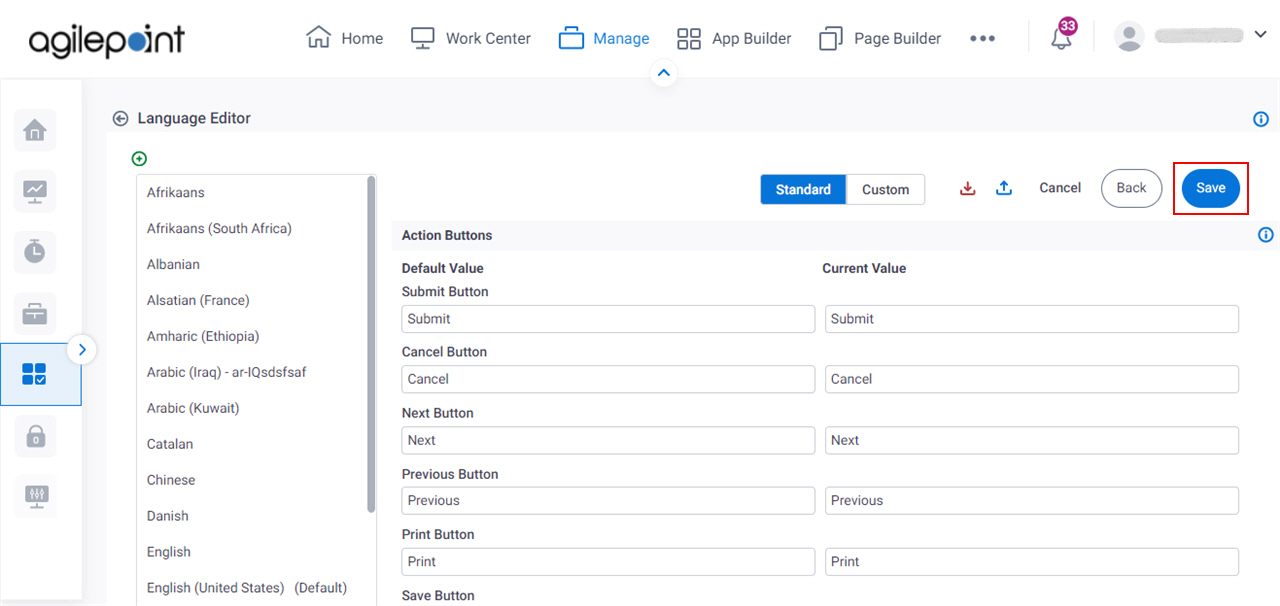
- On the Language Editor > Standard tab screen, click Save.
Step 2: Enable More than One Language for an eForm
Next, enable more than one language in the eForm in eForm Builder.
How to Start
- Click App Builder.

- On the App Explorer screen,
on the My App pane, click Customer Request App >
App Model & Resources > Forms > New Form > New Customer Request.
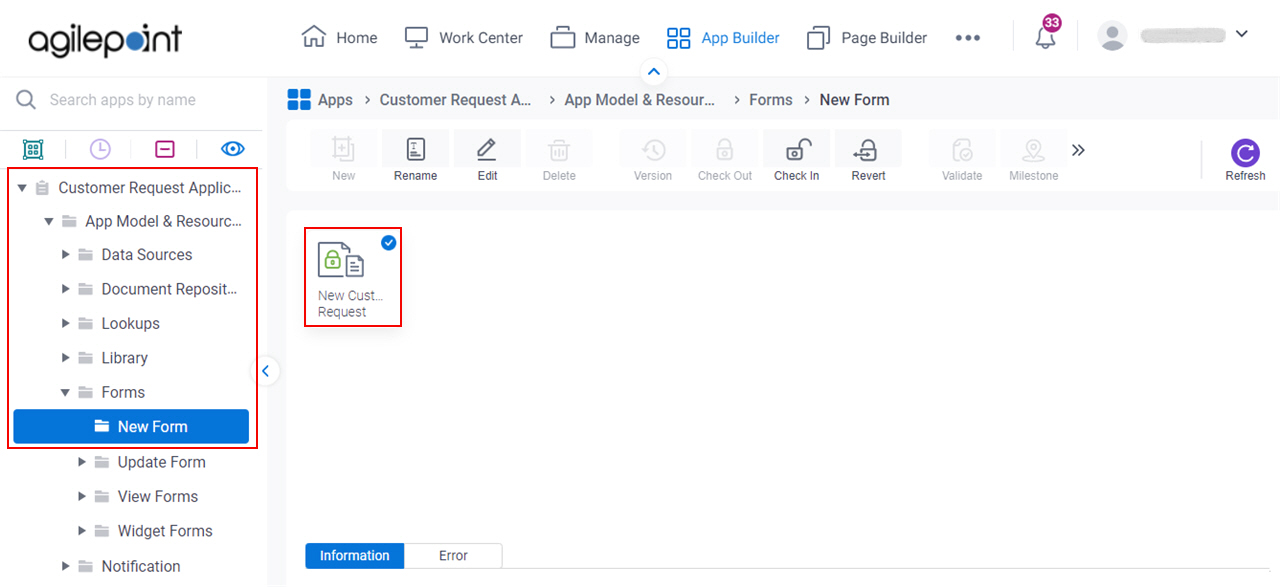
- On the eForm Builder screen, click Settings.
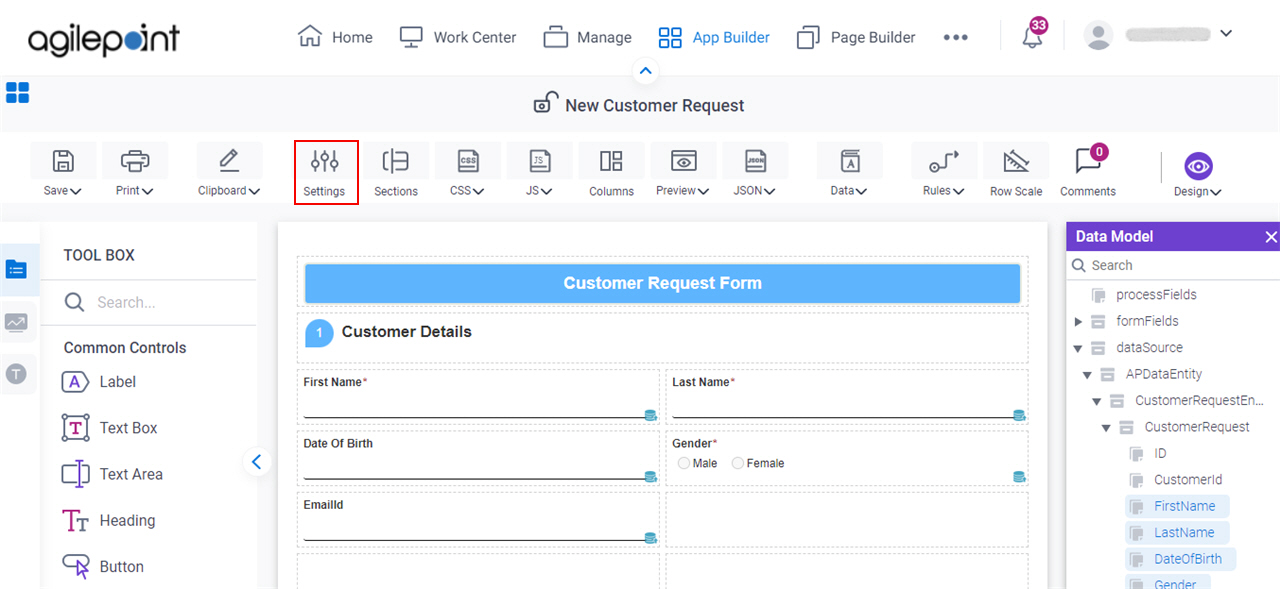
- On the Form Settings screen, click the Advanced tab.

Procedure
- On the Advanced tab, select these fields:
- Enable Multiple Languages on the form
- Allow user to switch form language
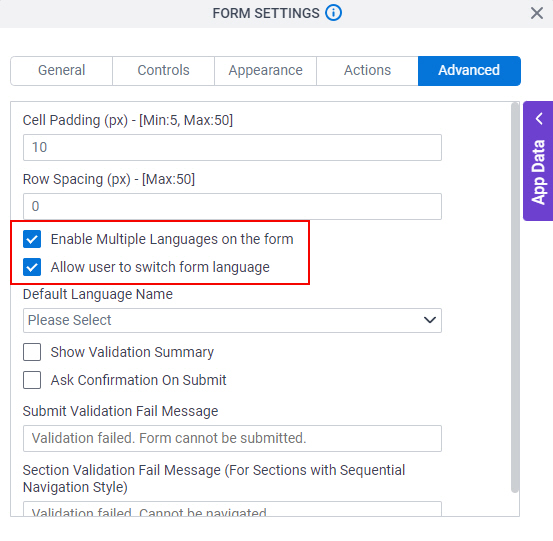
- To save the changes, click Close Screen
 .
.
Step 3: Configure Translation for a Multilingual eForm
Next, configure the translation for a multilingual eForm.
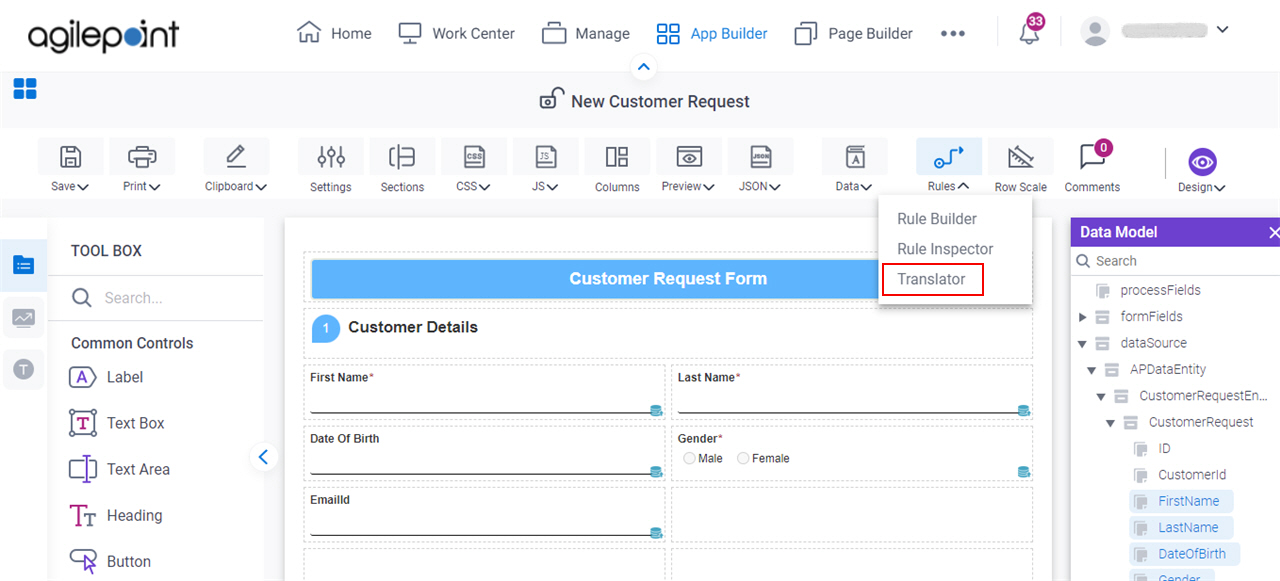
How to Start
- On the eForm Builder screen, click Rules > Translator.
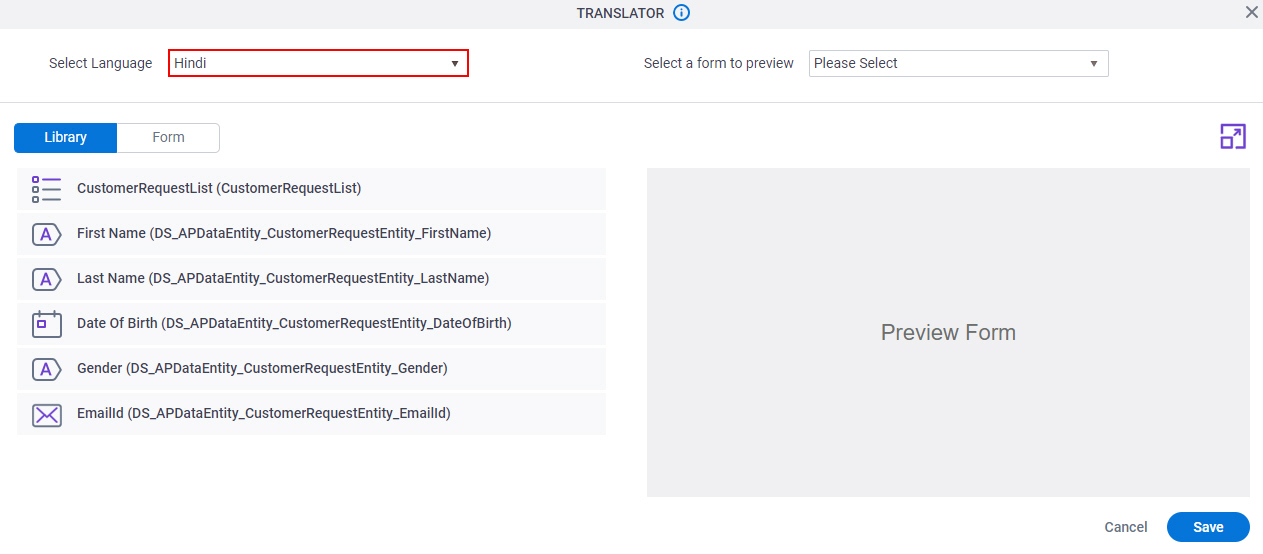
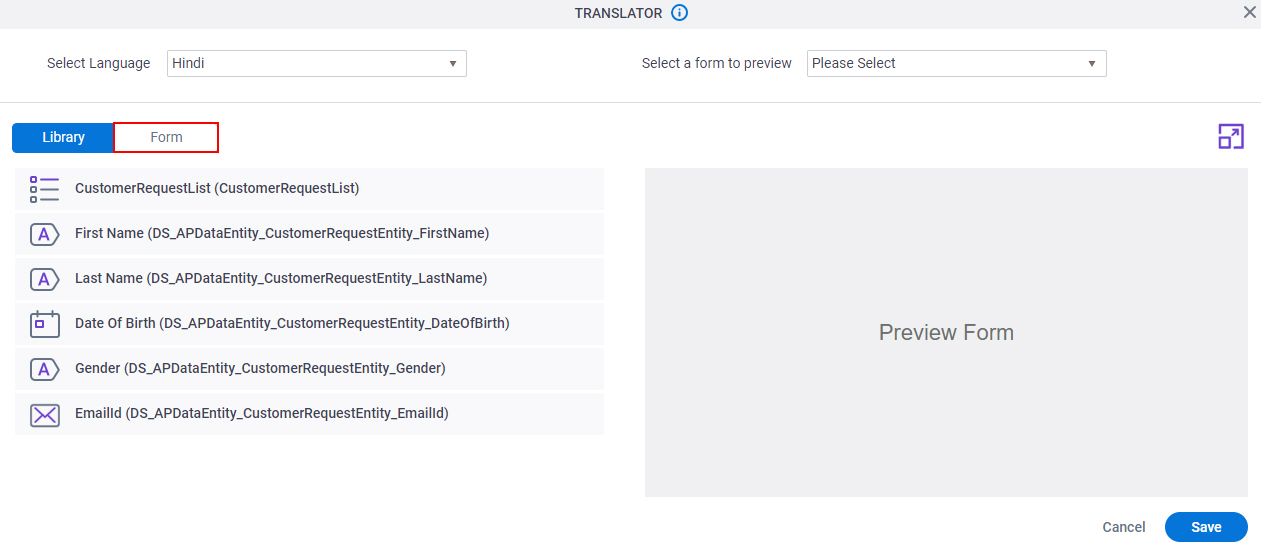
Procedure
- On the Translator screen, in the Select Language field, select English (United States)
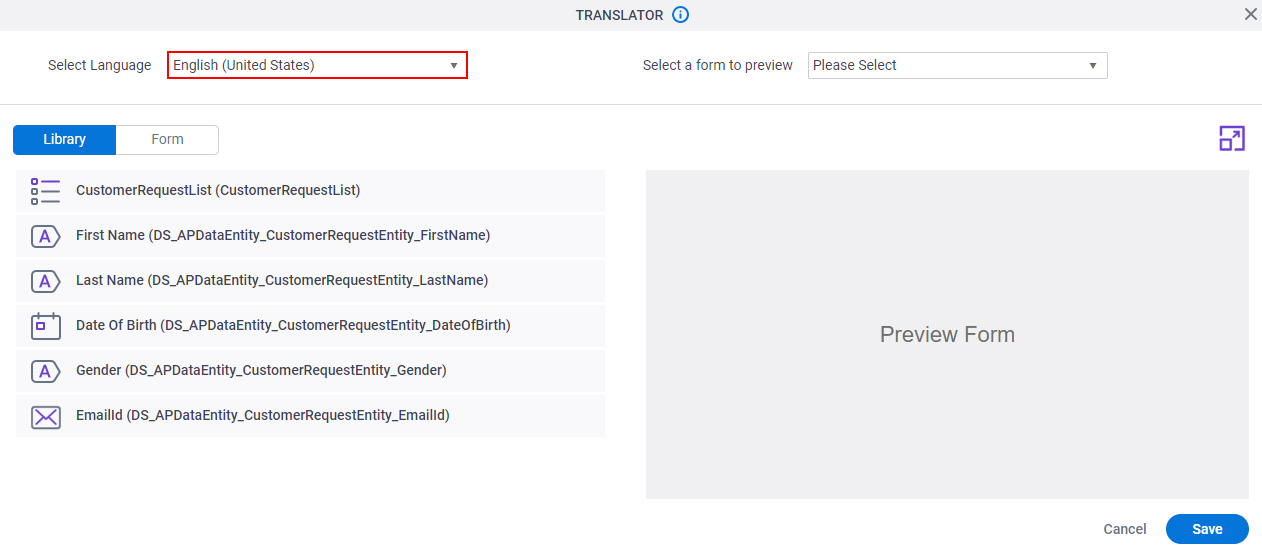
- Click Save.
- In the Select Language field, select Hindi
- On the Library tab, click the form control to expand.
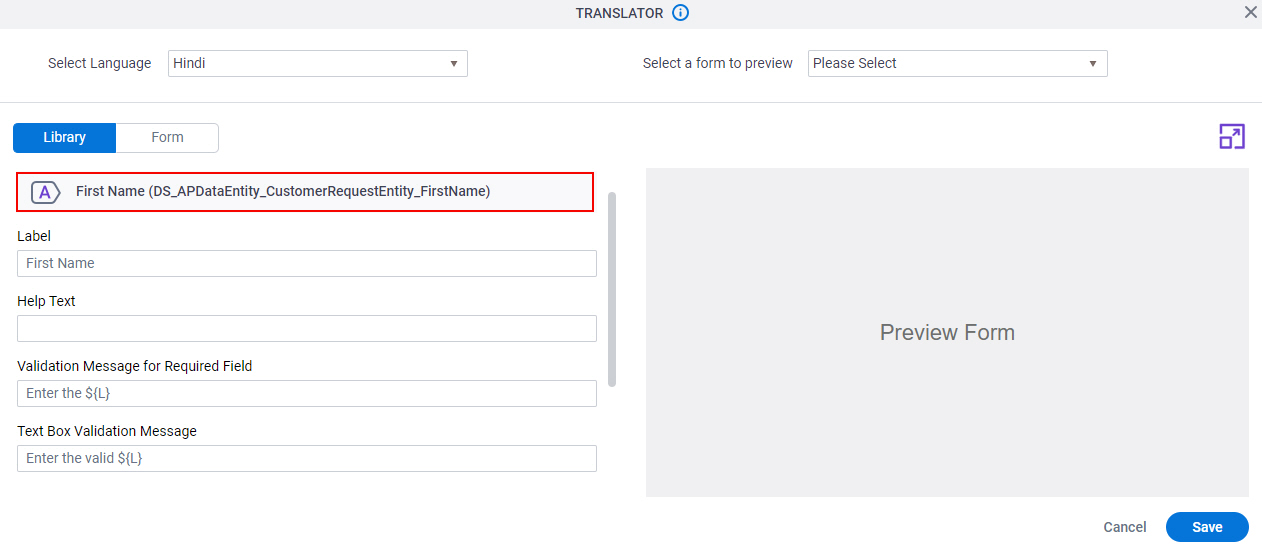
- In the Label field, enter the text for the target translation language.
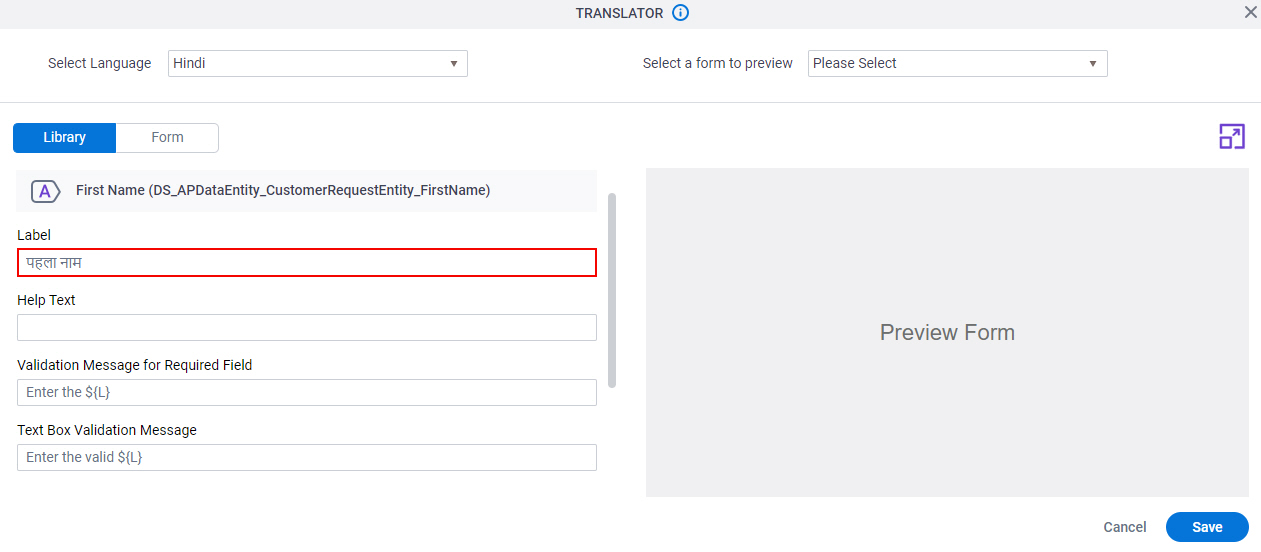
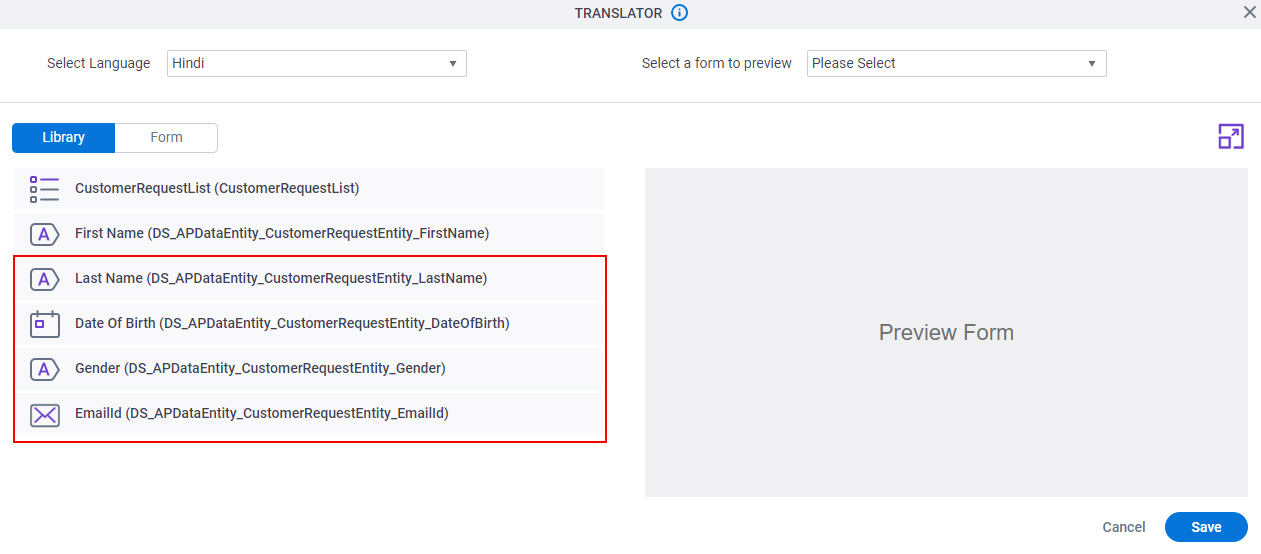
- Configure other form controls with the translation text as required.
- Click the Form tab.
- On the Form tab, in the Select Form field, select New Customer Request.
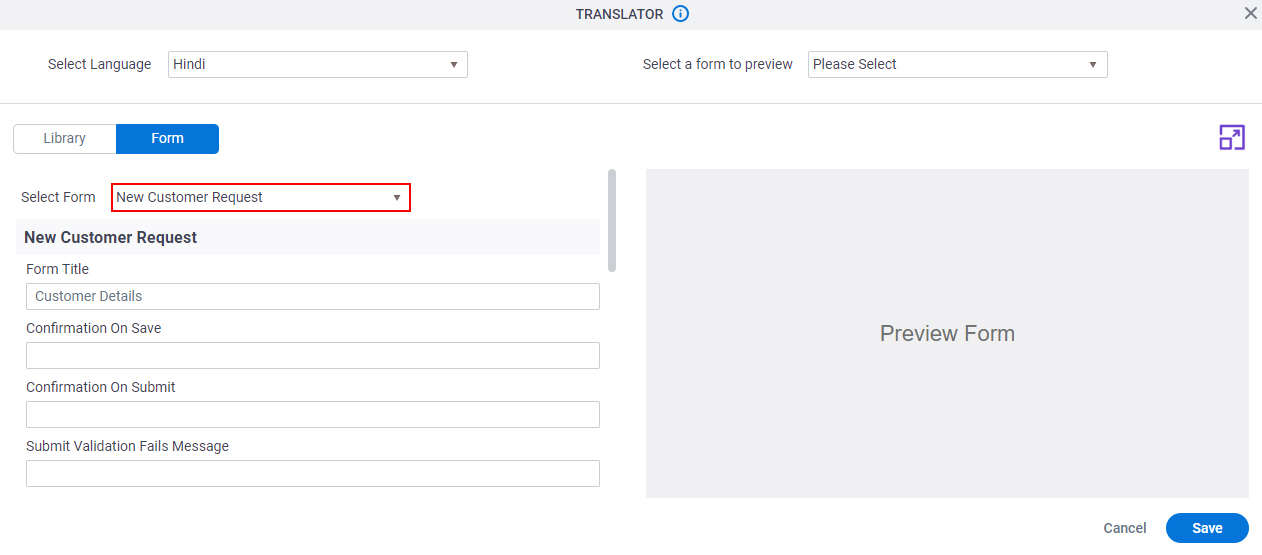
- In the Action Buttons section, enter the text for the target translation language.
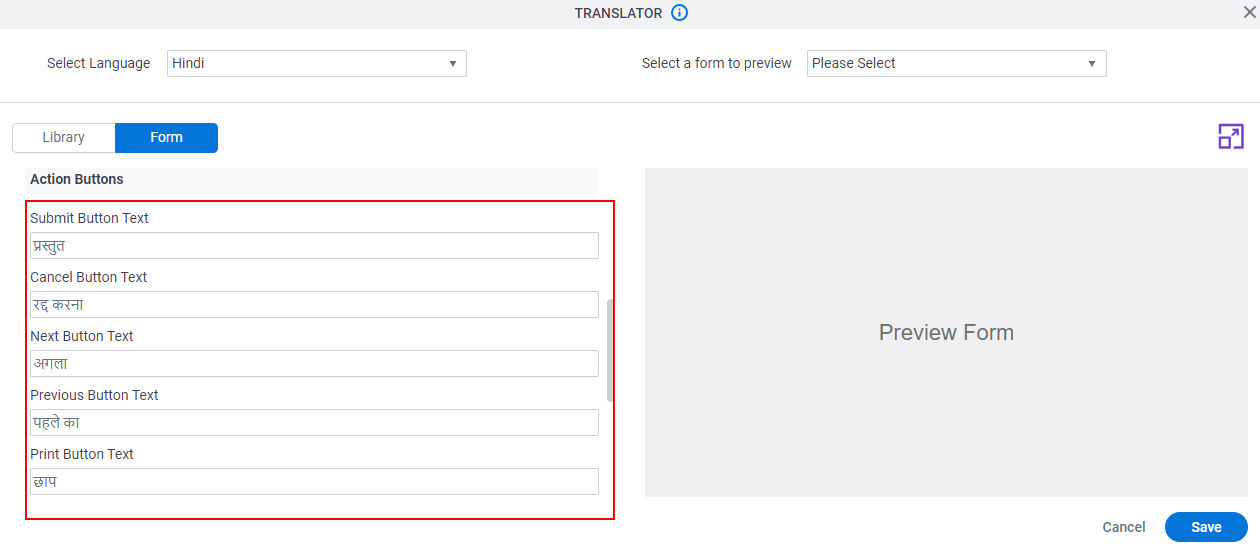
- Click Save.
Step 4: (Optional) Save, Check In, and Publish a Form-Based App
Next, save, check in, and publish the form-based app.
For more information, refer to (Example) Save, Check In, and Publish a Form-Based App
Step 5: (Optional) Change the Language at Runtime
Next, change the language on the eForm at runtime.
Good to Know
- If the eForm is configured for multilingual display, AgilePoint NX first tries to show the language that specified in the form user's profile. If a translation is not available for the user's language preference, the system shows the language that is set as the default for the eForm.
How to Start
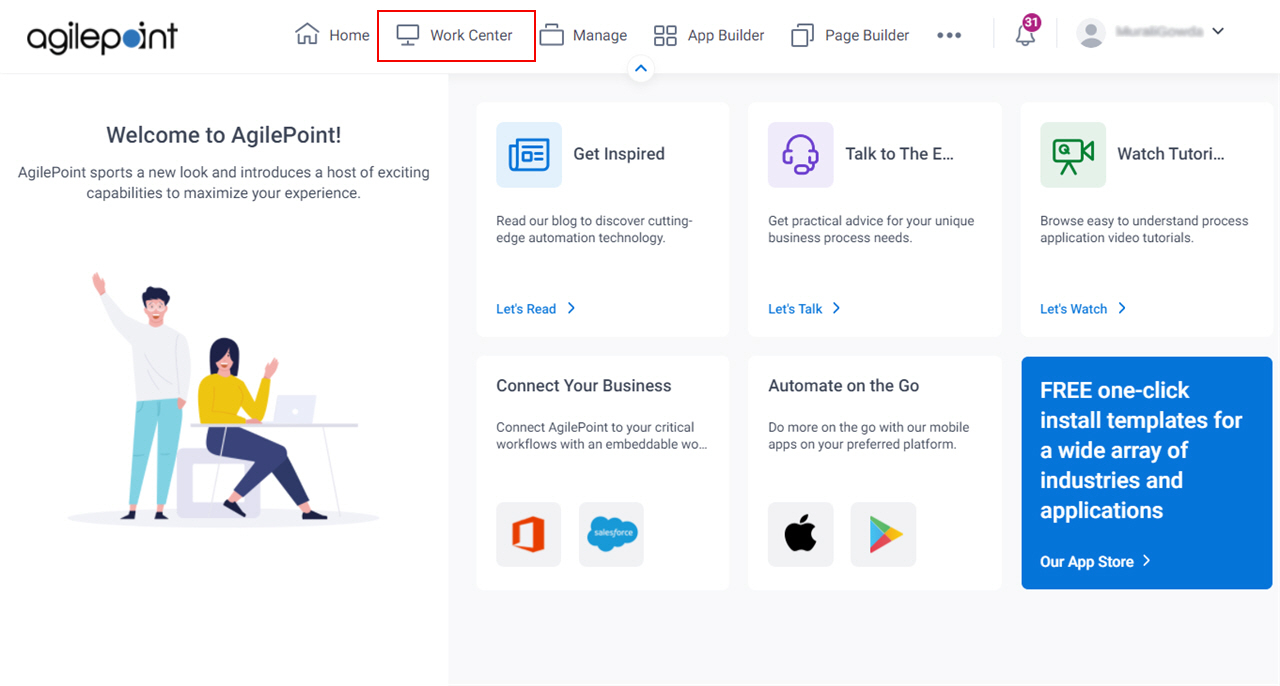
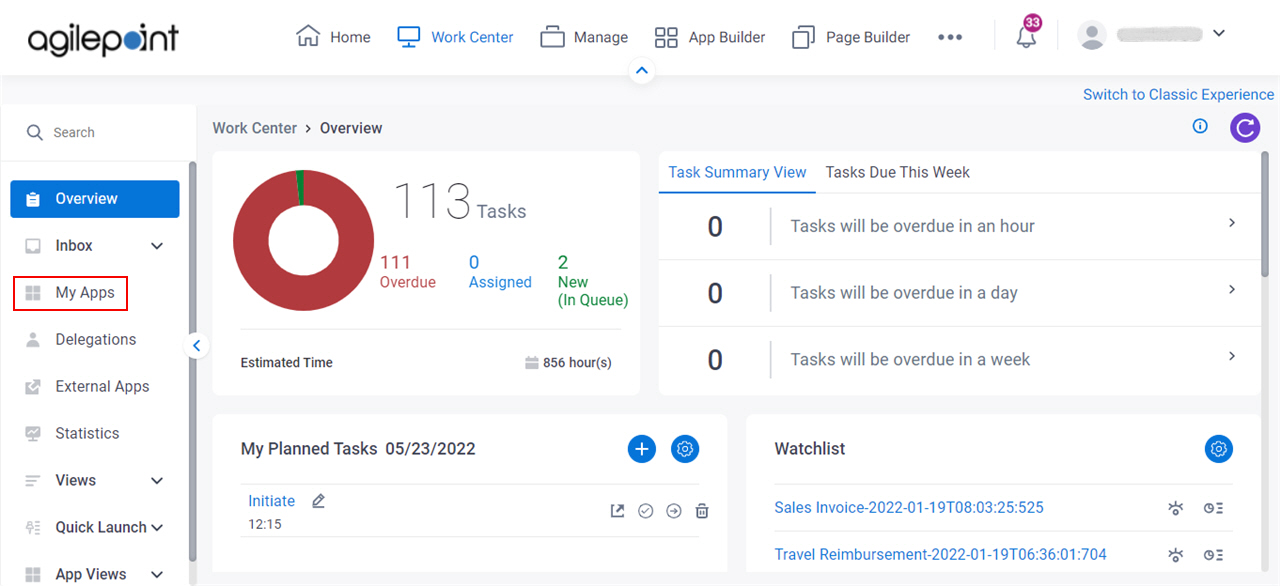
- Click Work Center.
- In the left pane, click My Apps.
Procedure
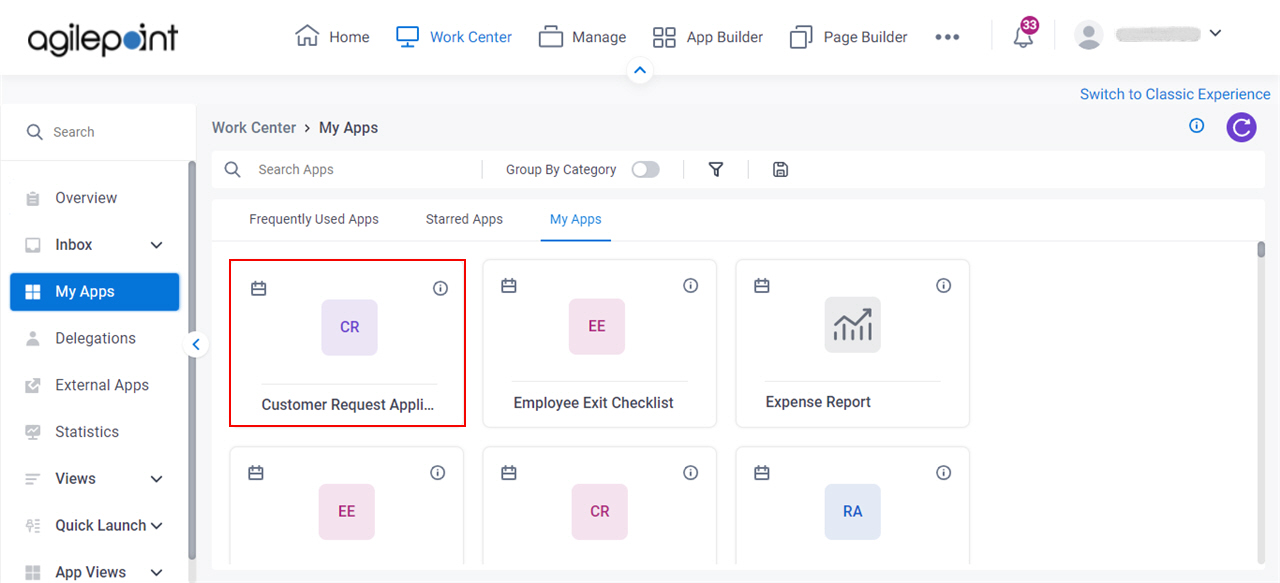
- On the My Apps screen, click Customer Request App.
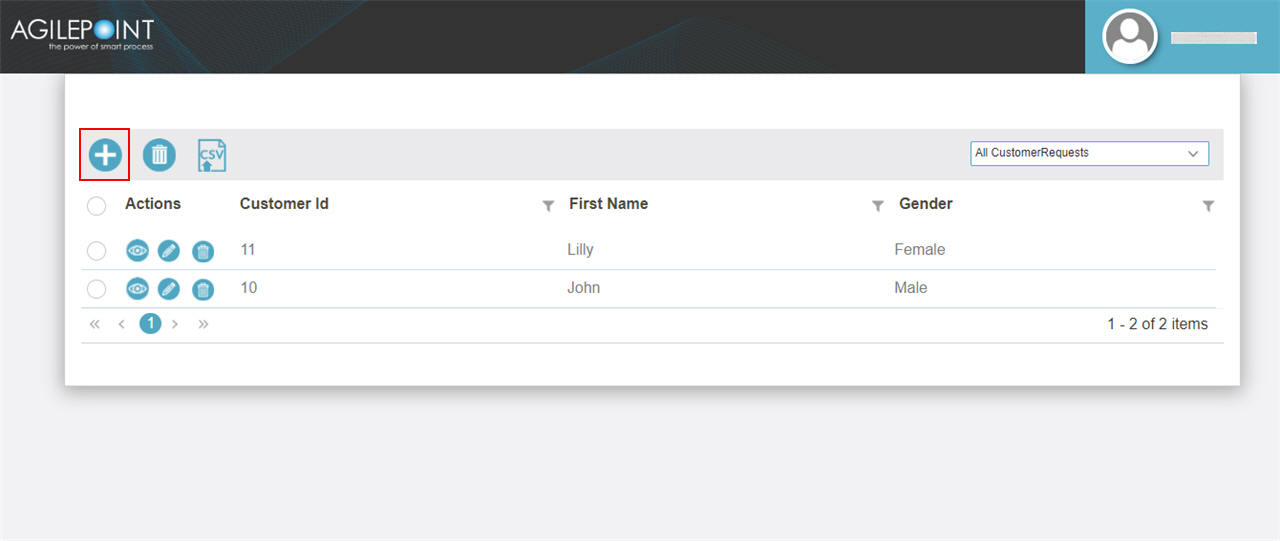
- On the view form, click Add New Record.
The eForm opens and shows the text in the language that is specified in the form user's profile or the language that is set as the default for the eForm.
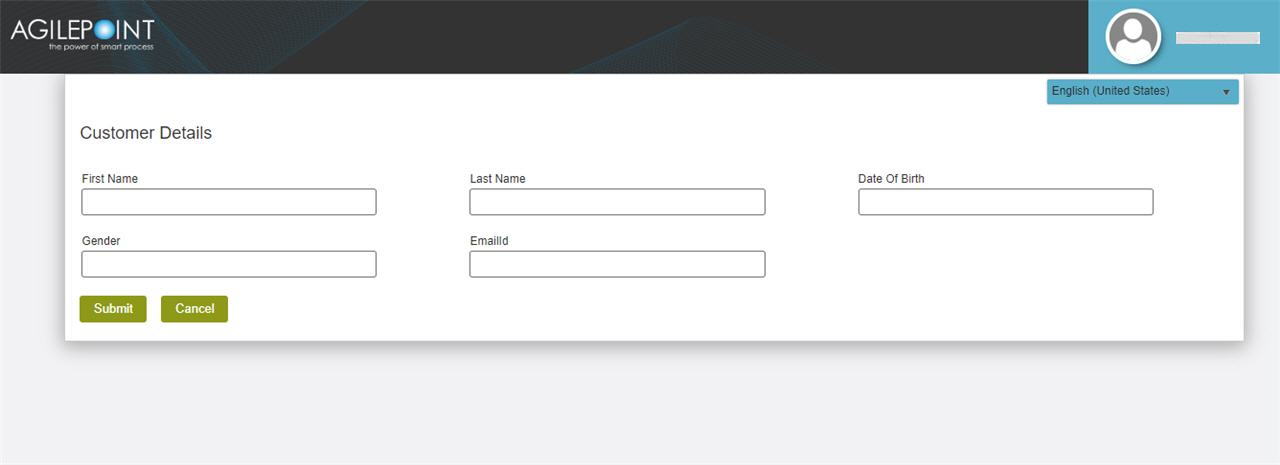
- To change the language on the eForm, in the right side, select Hindi from the list.
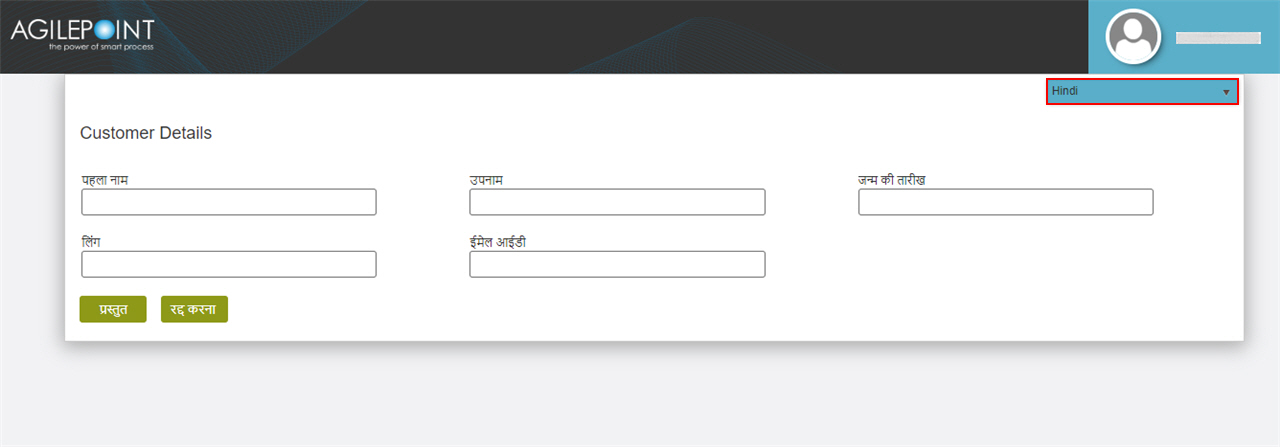
The eform shows the text in Hindi.
How to Get the App
This example is based on the Customer Request app from the AgilePoint NX App Store. Use this procedure to get the app.
Prerequisites
- AgilePoint NX OnDemand (public cloud), or AgilePoint NX Private Cloud or AgilePoint NX OnPremises v7.0 or higher.
Good to Know
- This procedure is optional. It is provided so you can test the example with an out-of-the-box app.
- This is part of the Background and Setup procedures, but many users preferred this step to appear after the example, not before it.
Procedure
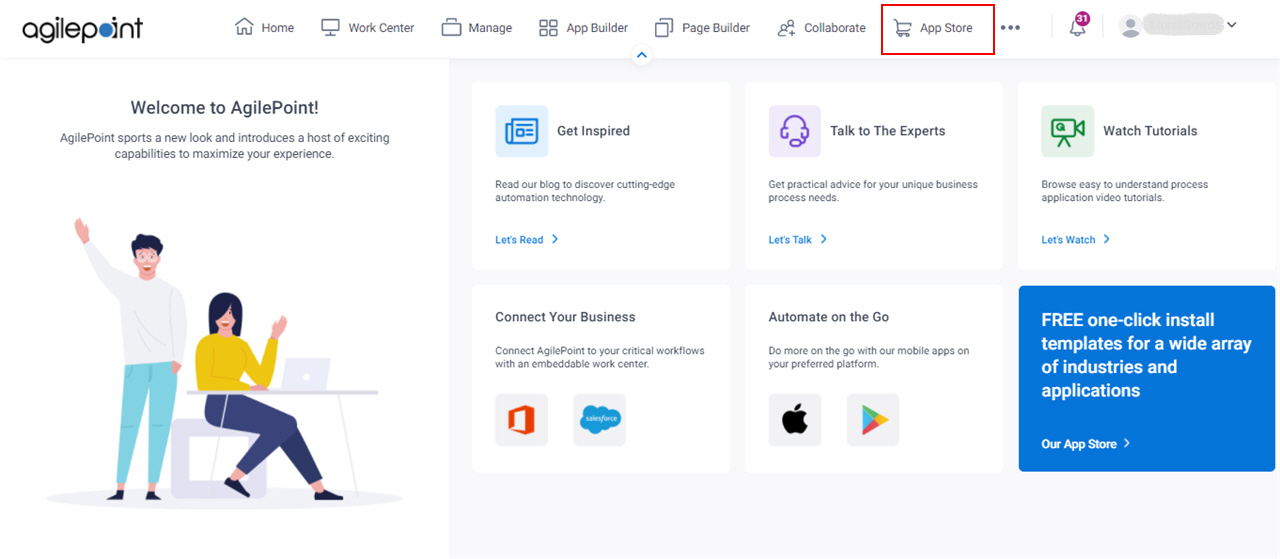
- Click App Store
 .
.
- In the PRODUCT section, click Form Based App.

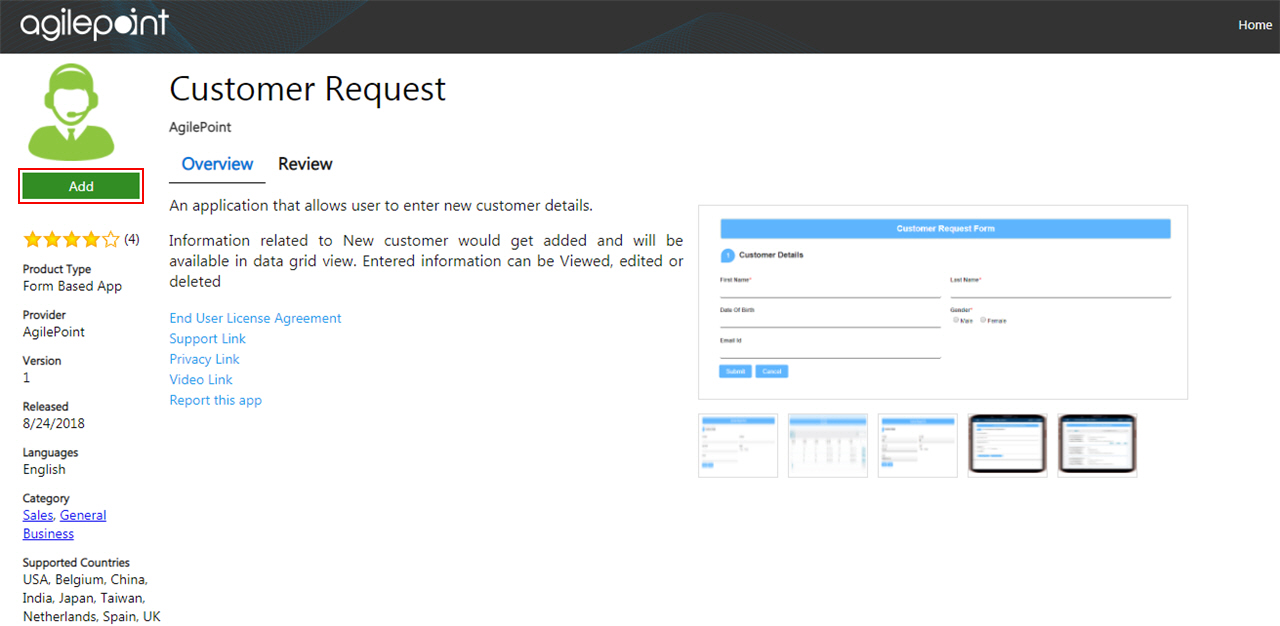
- Click the Customer Request app.

- On the Customer Request screen, click Add.
- On the Trust App screen, click Trust it.
- Click Return to site.