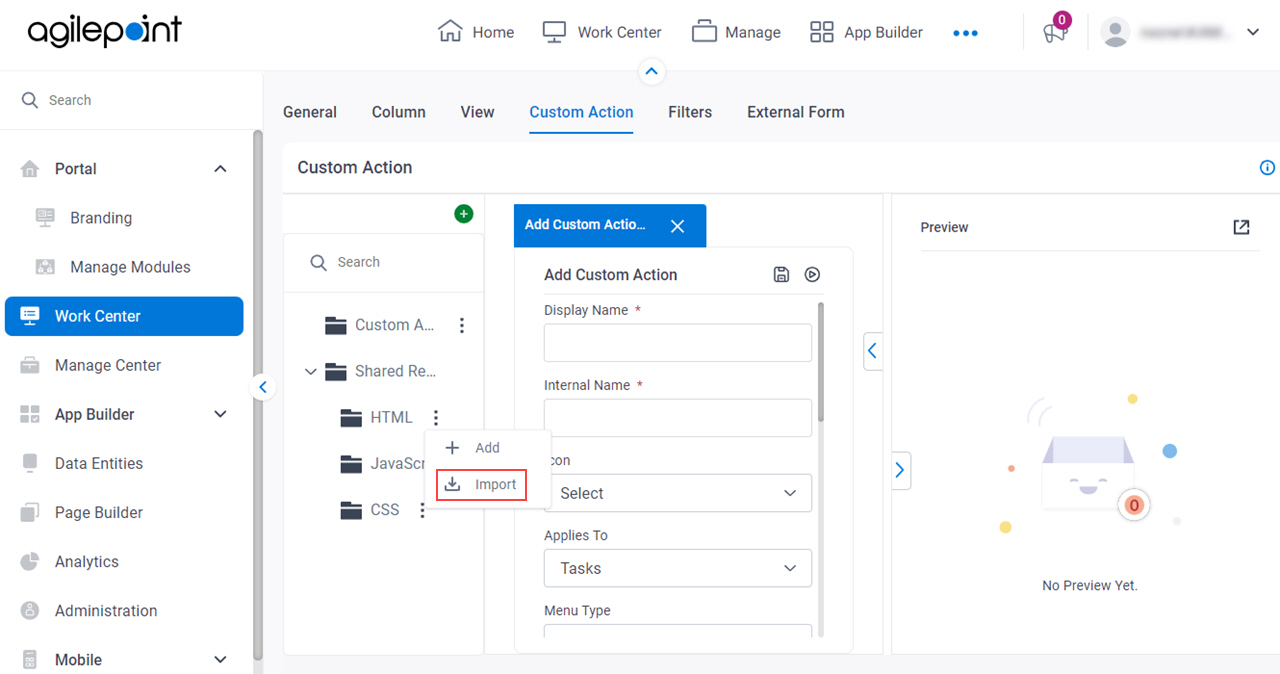
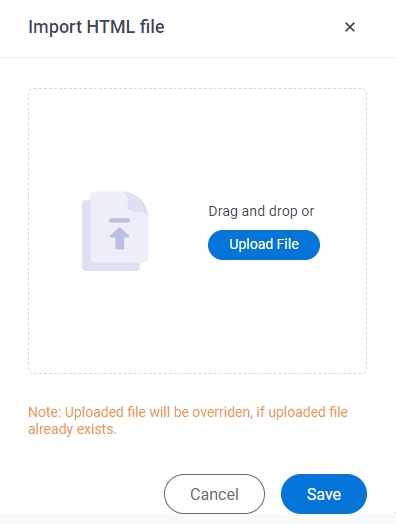
Import HTML File screen
Uploads an exported HTML file from your local machine, and adds it to the target location, so the file can be used to create custom actions for Work Center.
Examples
- (External) Modern Work Center - Custom Actions Framework
- Examples - Step-by-step use case examples, information about what types of examples are provided in the AgilePoint NX Product Documentation, and other resources where you can find more examples.
Prerequisites
- Export an HTML file in a JSON format to your local machine.
You can only import an HTML file that is exported from the Work Center > Custom Actions Settings tab — for example, from a different AgilePoint NX tenant.
For more information, refer to the Export field in the Custom HTML screen.
- Sign in with an AgilePoint NX account that has the Administrators role.
- AgilePoint NX OnDemand (public cloud), or AgilePoint NX PrivateCloud or AgilePoint NX OnPremises v8.0 Software Update 2 or higher.
Good to Know
- When you import an HTML file that already exists in the target location:
- If the file ID is the same, it replaces the file that exists in the target location with the file you import.
- If the file ID is different, it creates a file with the same name.
- Documentation for this screen is provided for completeness. The fields are mostly self-explanatory.
How to Start
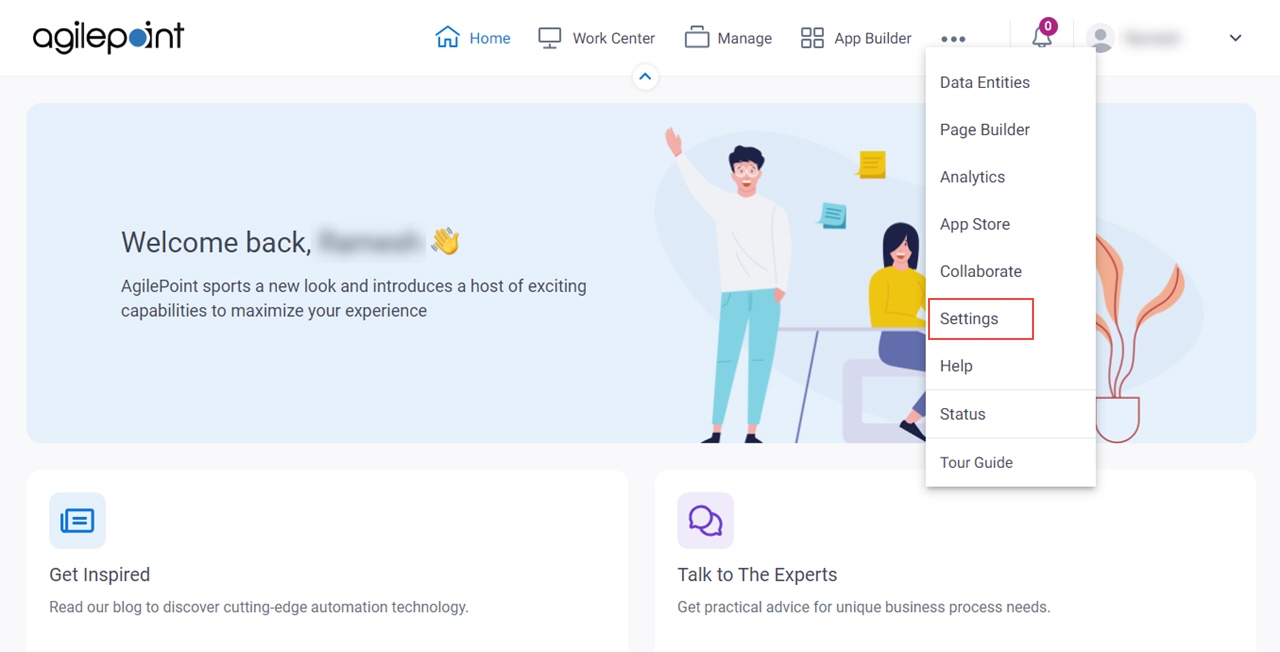
- Click Settings.
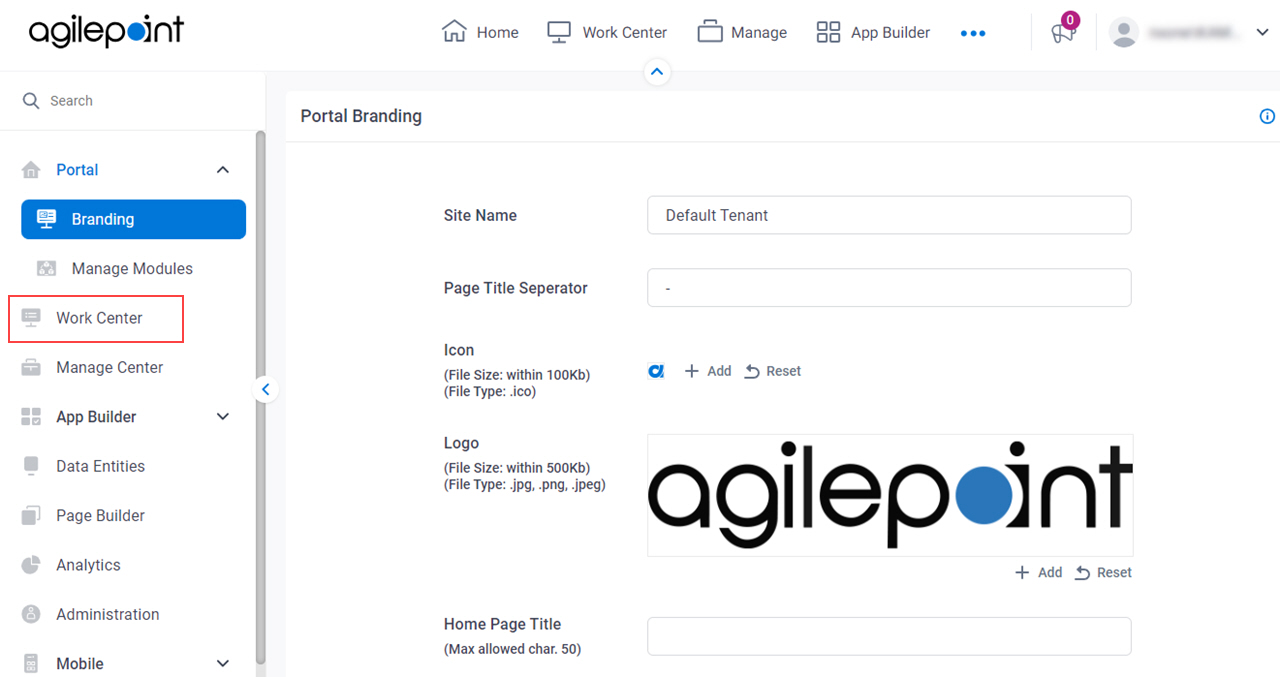
- Click Work Center.
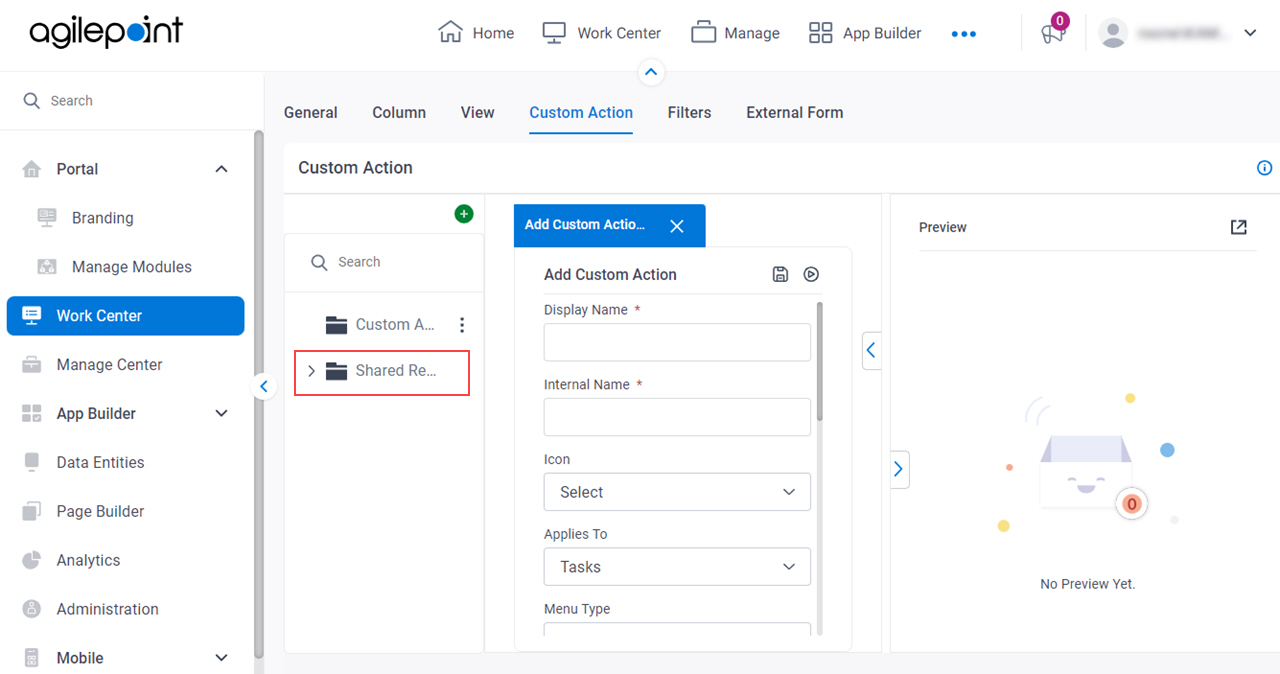
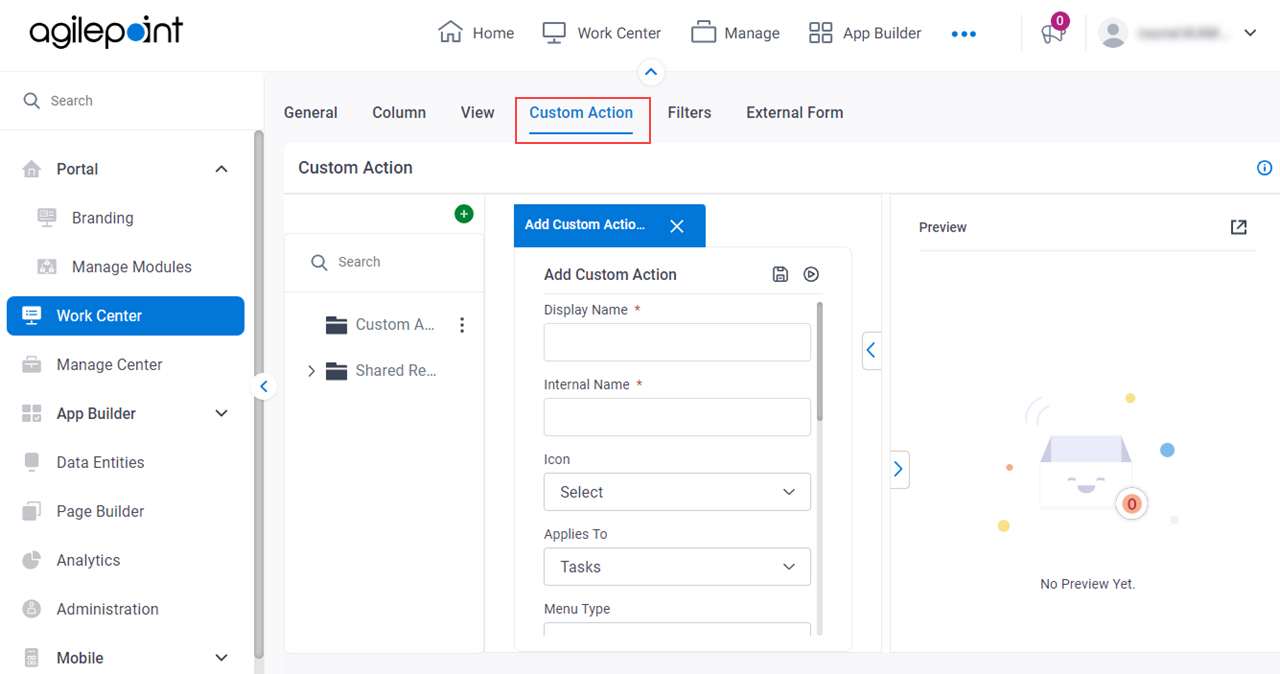
- On the General screen, click the Custom Action tab.
- , on the HTML tab, click the menu icon
 > Import.
