
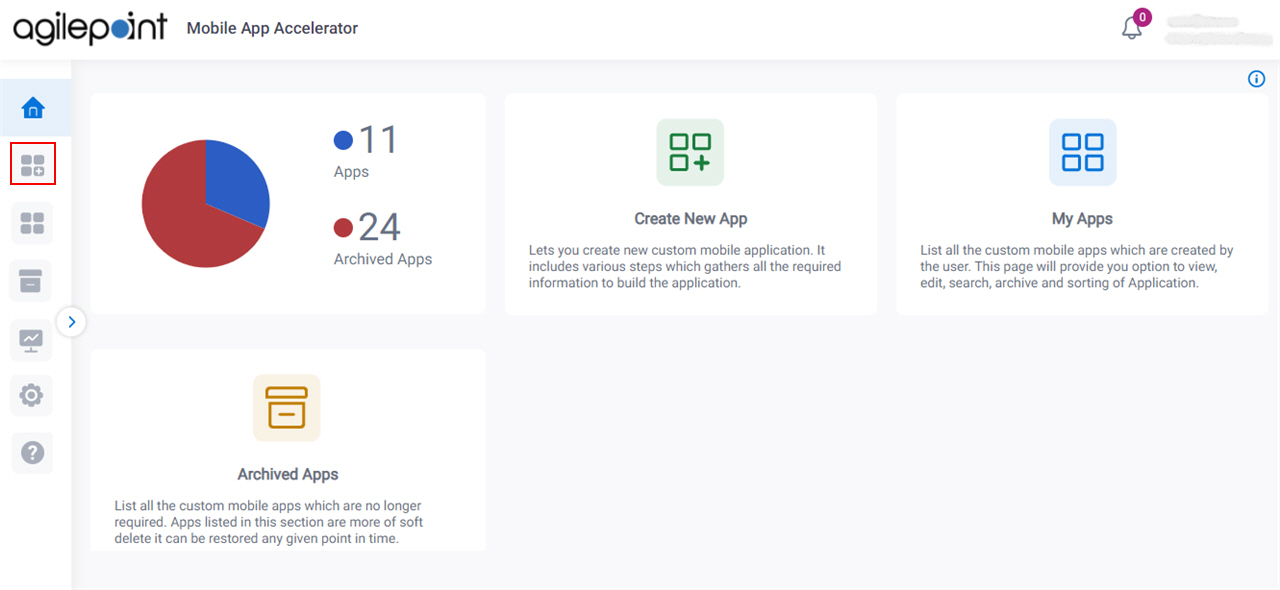
Create New App screen
Lets you create a custom mobile app for Android and iOS.
Background and Setup
Video: Mobile App Accelerator
Prerequisites
- Configure Default App Settings.
For more information, refer to Default App Settings screen.
- AgilePoint NX OnDemand (public cloud), or AgilePoint NX Private Cloud or AgilePoint NX OnPremises v7.0 or higher.
How to Start
- On the Home screen,
click Create New App
 .
.
Basic Settings tab
Specifies the basic configuration information for a custom mobile app.
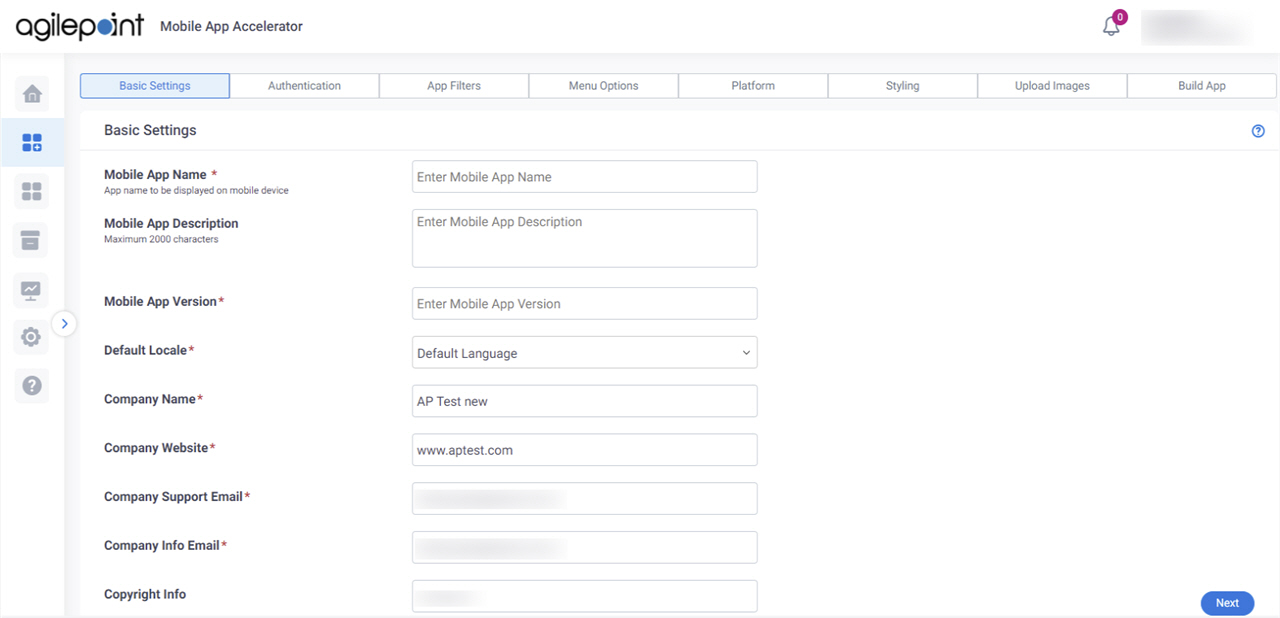
Fields
| Field Name | Definition |
|---|---|
|
Mobile App Name |
|
|
Mobile App Description |
|
|
Mobile App Version |
|
|
Default Locale |
|
|
Company Name |
|
|
Company Website |
|
|
Company Support Email |
|
|
Company Info Email |
|
|
Copyright Info |
|
|
Next |
|
Authentication tab
Configures the authentication providers for the custom mobile app.
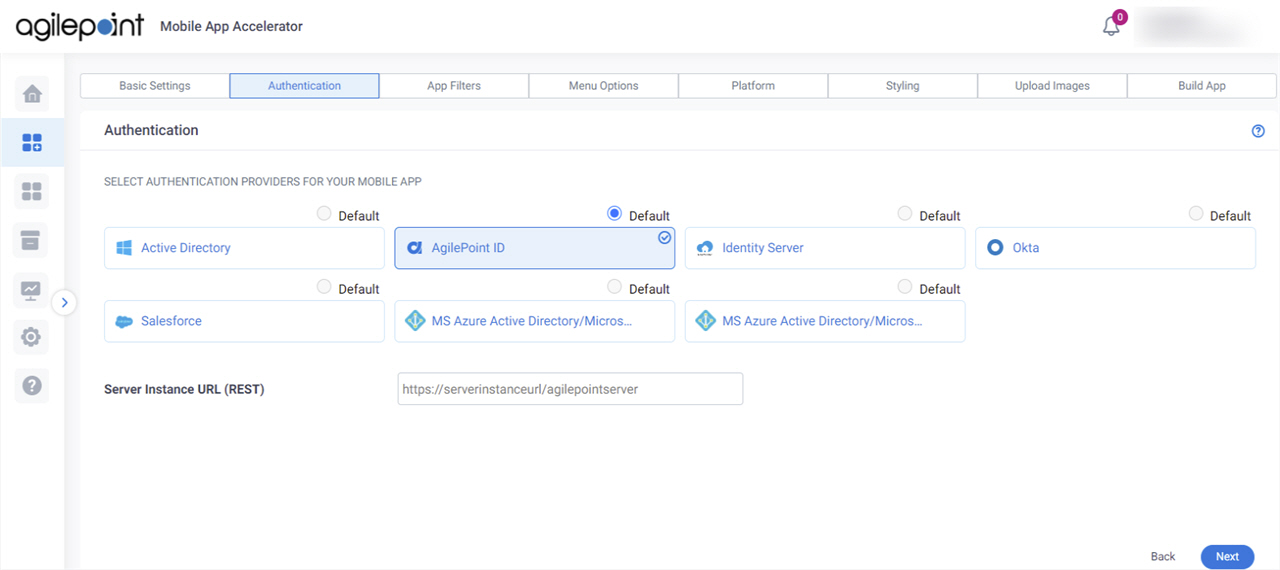
Good to Know
- For information about how to configure each authentication type, refer to Configure Authentication for a Custom Mobile App in Mobile App Accelerator.
Fields
| Field Name | Definition |
|---|---|
|
Select Authentication Providers for Your Mobile App |
|
Server Instance URL (REST) |
|
|
Next |
|
App Filters tab
Specifies the AgilePoint NX apps for the custom mobile app.
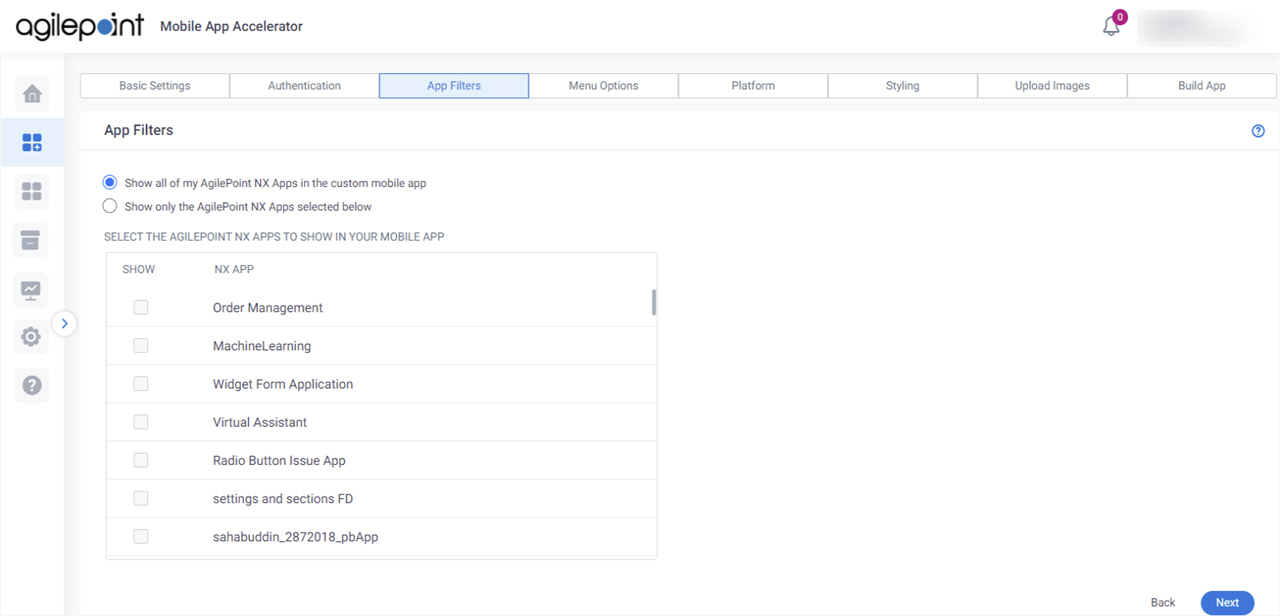
Fields
| Field Name | Definition |
|---|---|
Show all of my AgilePoint NX apps in the custom mobile app / Show only the AgilePoint NX apps selected below |
|
Show |
|
NX App |
|
|
Next |
|
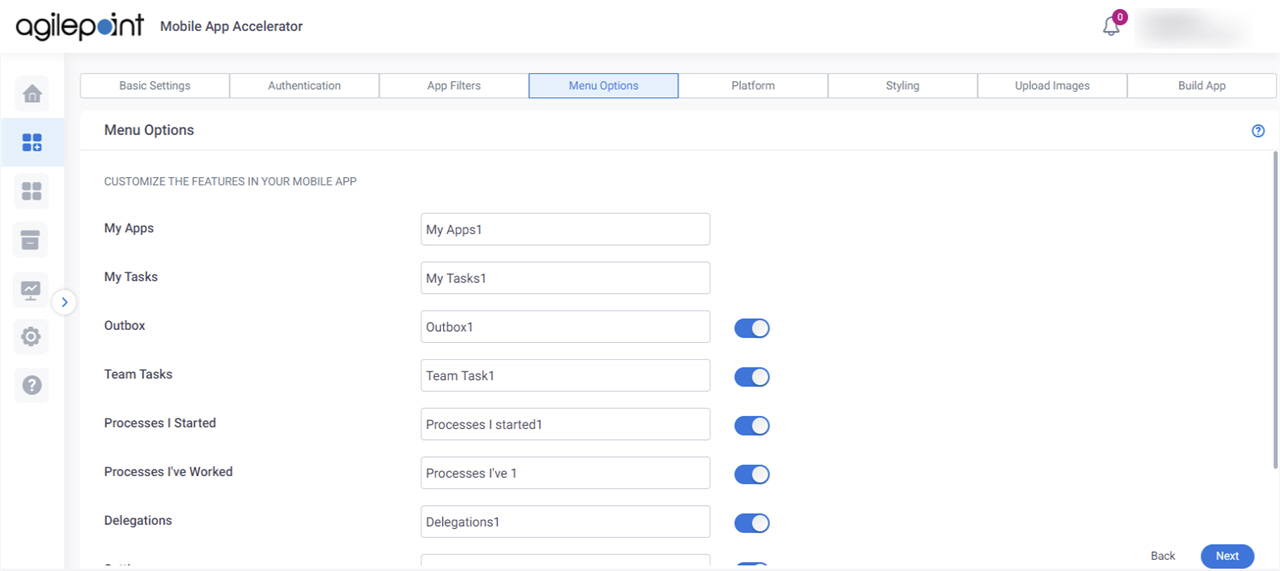
Menu Options tab
Specifies the features to include in the custom mobile app.
Fields
| Field Name | Definition |
|---|---|
Menu Options |
|
Enable |
|
|
Next |
|
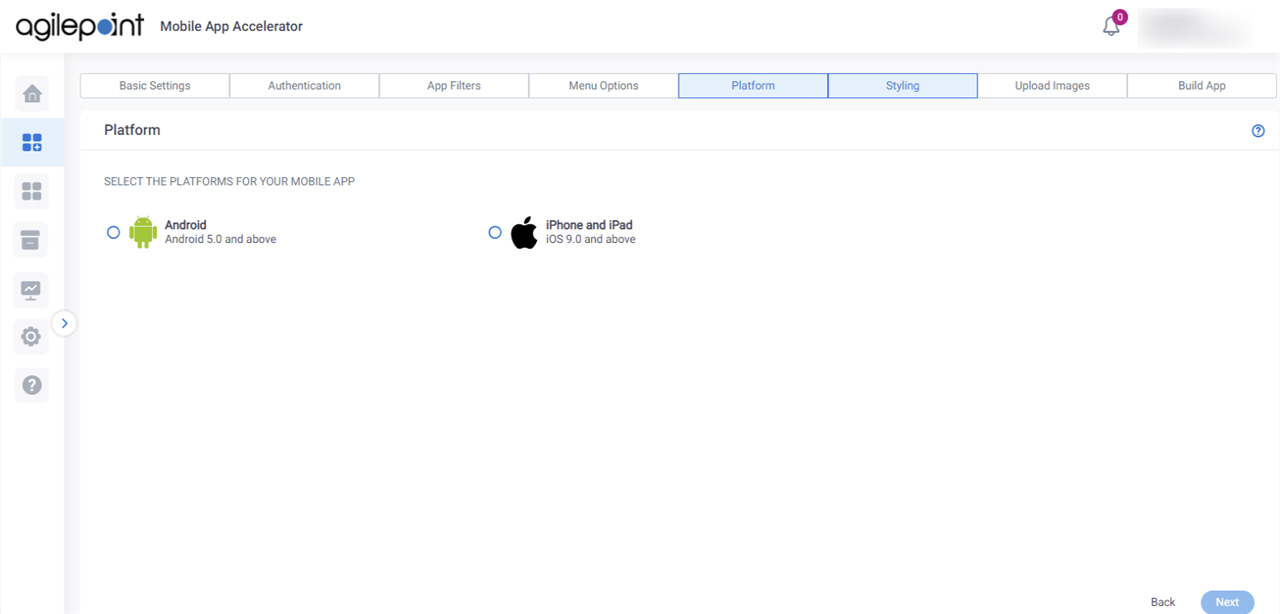
Platform tab
Specifies the mobile operating system for the custom mobile app.
Fields
| Field Name | Definition |
|---|---|
Select The Platforms For Your Mobile App |
|
|
Build Type |
|
|
Package Name |
|
Certificate |
|
Key Alias |
|
Key Password |
|
Store Password |
|
Certificate |
|
|
Password |
|
Provisioning Profile |
|
|
Next |
|
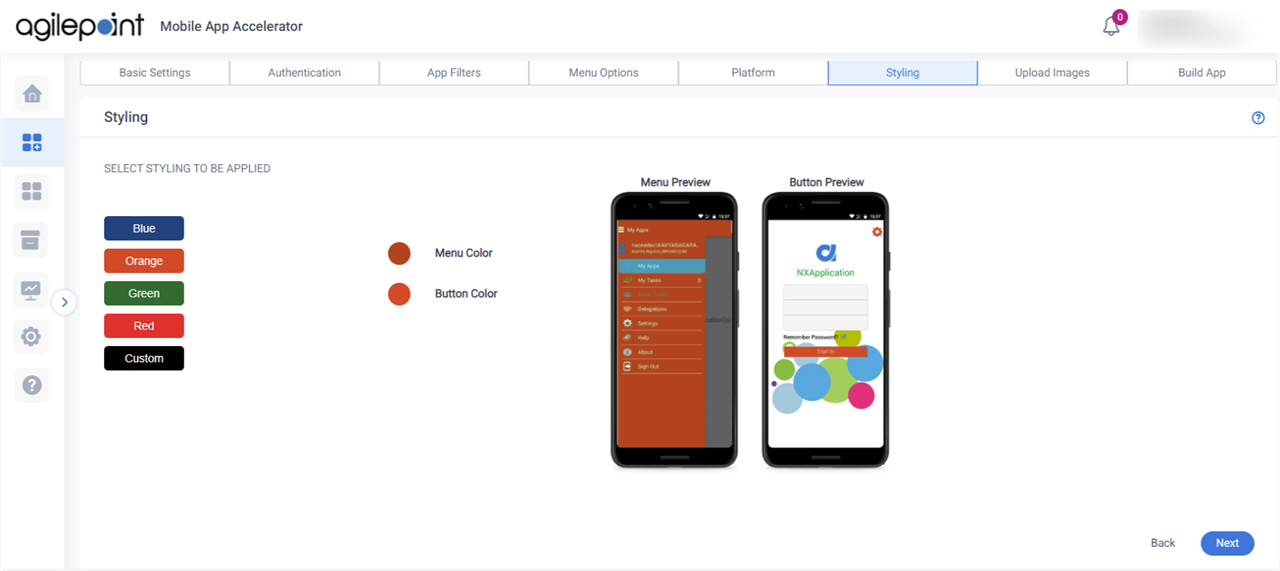
Styling tab
Specifies the menu color and button color for the custom mobile app.
Fields
| Field Name | Definition |
|---|---|
Select Styling to be Applied |
|
|
Next |
|
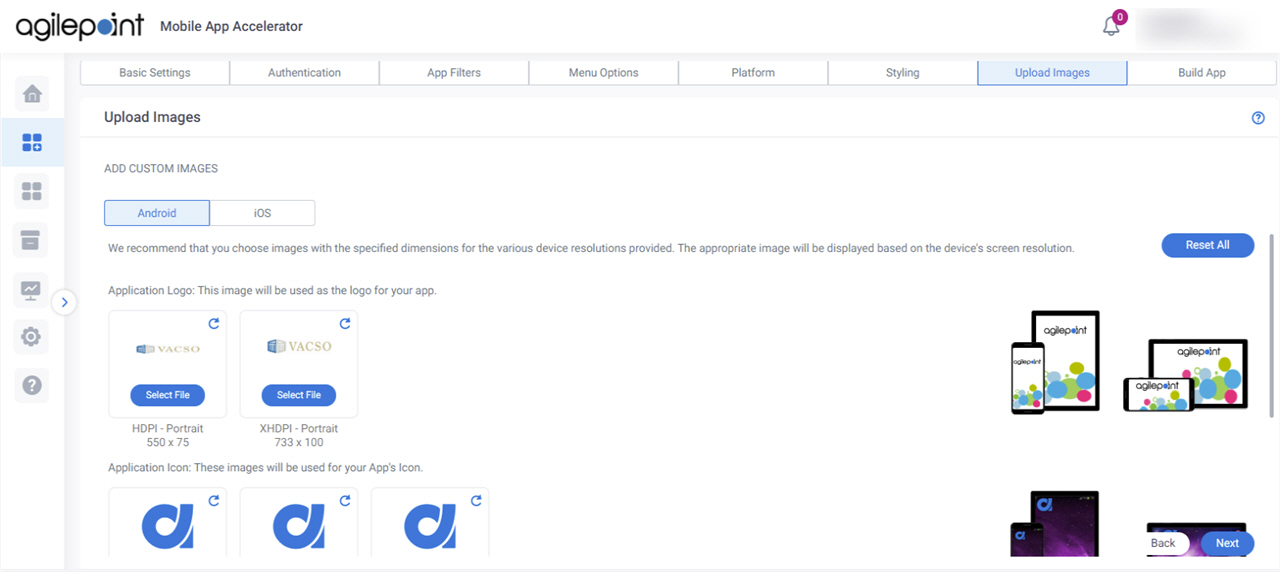
Upload Images > Android tab
Specifies the branding for an Android custom mobile app.
Prerequisites
- On the Platform tab, configure Android as your operating system.
Fields
| Field Name | Definition |
|---|---|
|
App Logo |
|
|
App Icon |
|
|
Background Image |
|
|
Next |
|
Upload Images > iOS tab
Specifies the branding for an iOS custom mobile app.
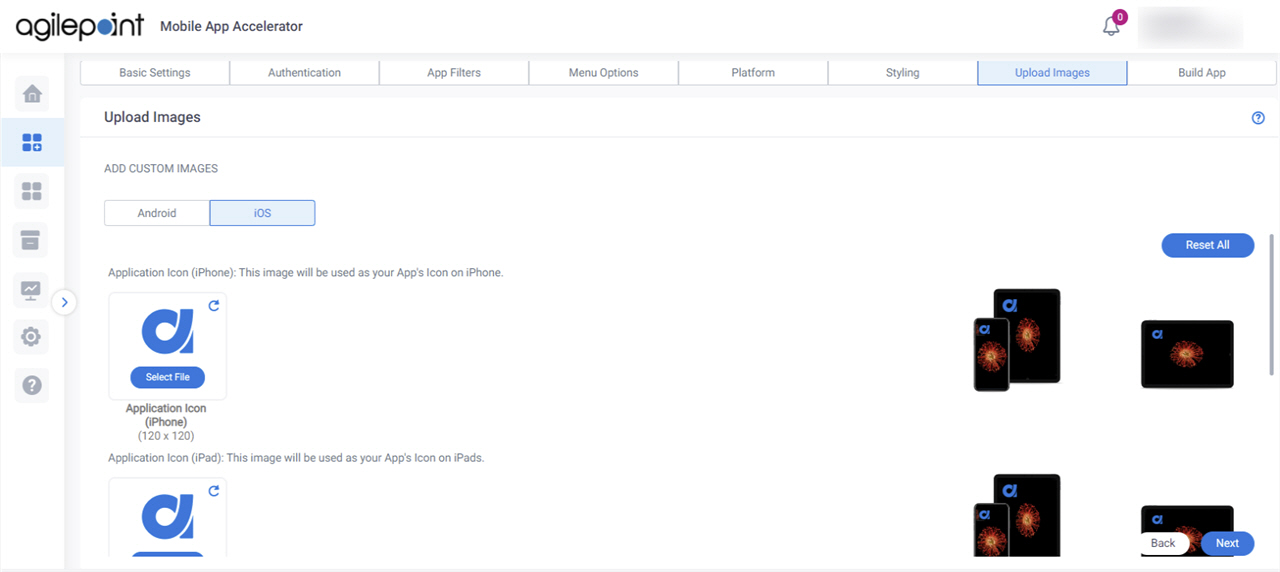
Prerequisites
- On the Platform tab, configure iOS as your operating system.
Fields
| Field Name | Definition |
|---|---|
|
App Icon |
|
|
Splash Screen |
|
|
Next |
|
Build App tab
Specifies e-mail addresses to receive a notification when the build is ready for the custom mobile app.
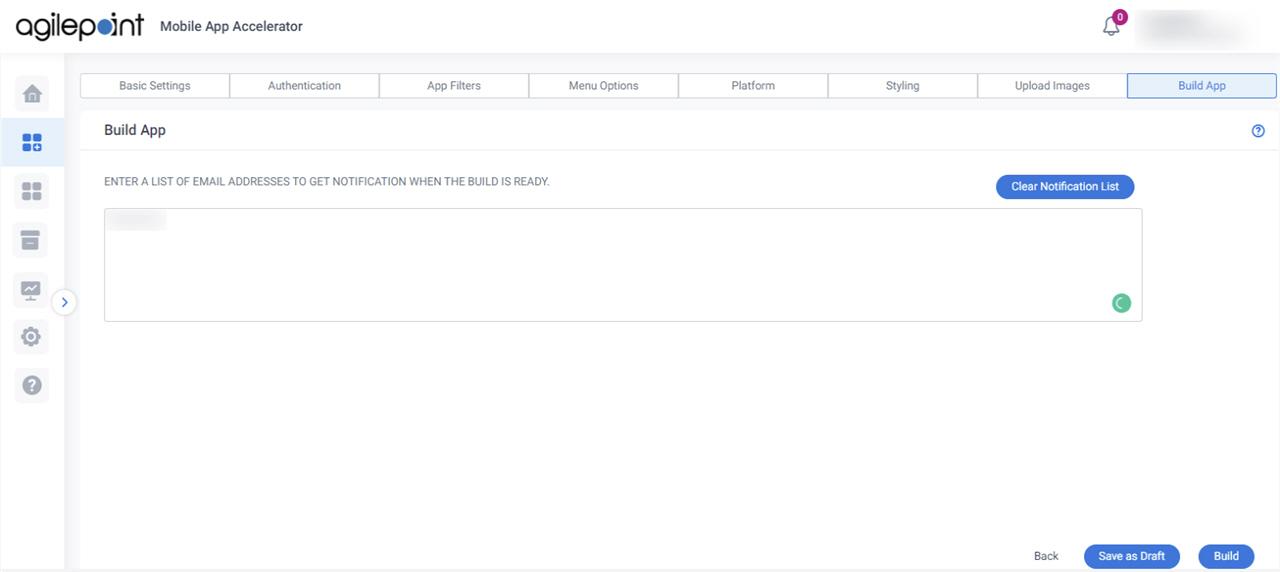
Fields
| Field Name | Definition |
|---|---|
|
Enter A List Of Email Addresses To Get Notification When The Build Is Ready |
|
Clear Notification List |
|
|
Save as Draft |
|
|
Build |
|