
Configure Display Rules for an eForm
To configure display rules for an eForm, do the procedure in this topic.
Video: eForm Builder Interface
Examples
- (Example) Use Rules in a Form Control
- Advanced Examples
For more advanced or complex examples or specific information about how to solve a specific business problem or use case, AgilePoint recommends the following resources:
- AgilePoint Community Forums - A free, AgilePoint-moderated, crowd-sourcing user forum where you can ask questions about specific techniques, the solutions to use cases, workarounds, or other topics that may not be covered in the Product Documentation.
- Video Portal - Video walkthroughs for a range of simple and advanced tasks in AgilePoint NX.
- Professional Services - If you can not find the information you need for your specific business problem, mentoring is available through AgilePoint Professional Services.
- Personalized Training - AgilePoint can provide personalized training for your organization. To request personalized training, contact AgilePoint Sales.
Good to Know
- Rules have 2 main parts:
- Condition - The circumstances that trigger the rule. The When section of a rule specifies the conditions. Conditions have 3 parts:
- Fields - One or more form controls that trigger or give the context for the condition.
- Comparer - The operator to used to compare the two input values.
- Rule Value - The value or variable that specifies the context for the rules.
- Action - The results that occur if the conditions for the rule are true. The Then section of a rule specifies the actions.
- Condition - The circumstances that trigger the rule. The When section of a rule specifies the conditions. Conditions have 3 parts:
- In most text fields, you can use process data variables as an alternative to literal data values.
How to Start
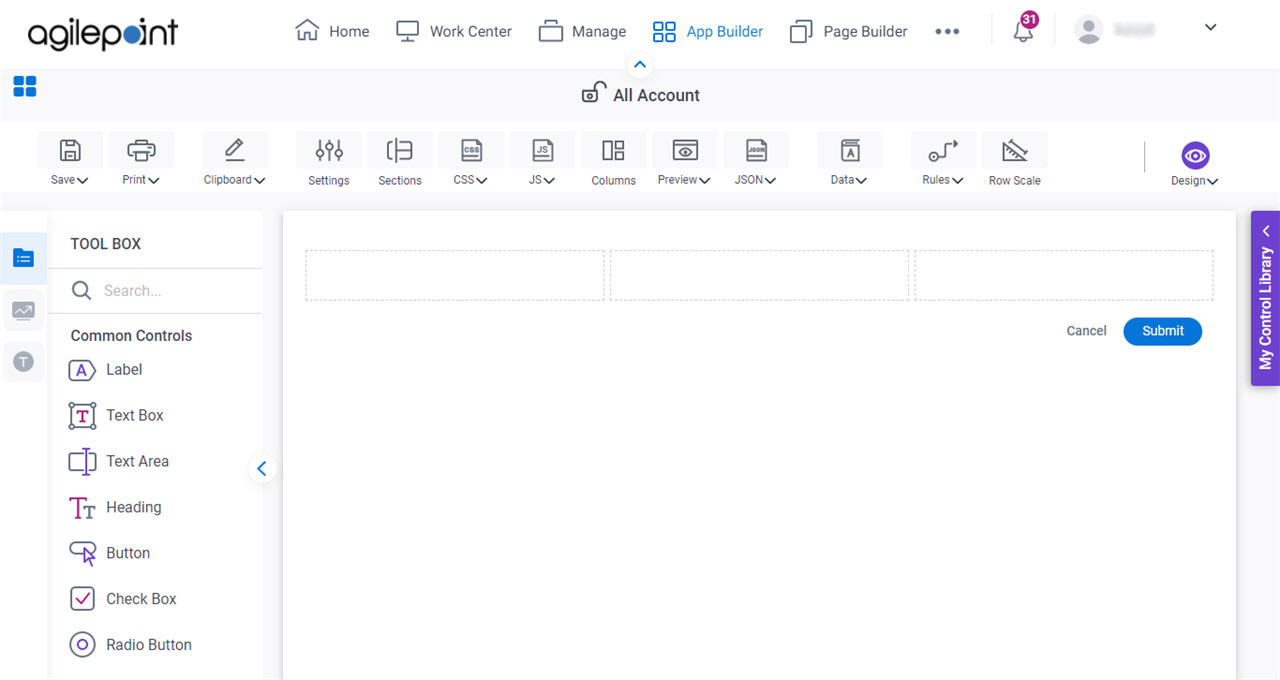
- Open eForm Builder.
For information about how to open this screen, refer to eForm Builder screen.
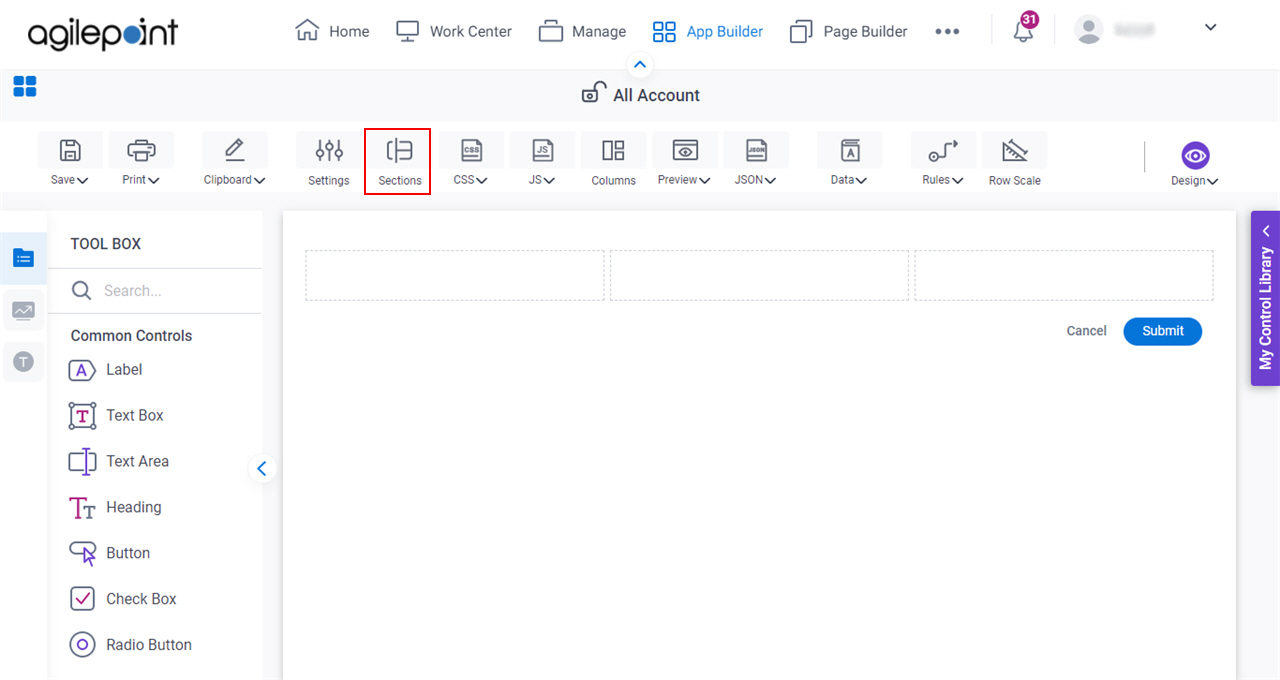
- On the eForm Builder screen, click Sections.
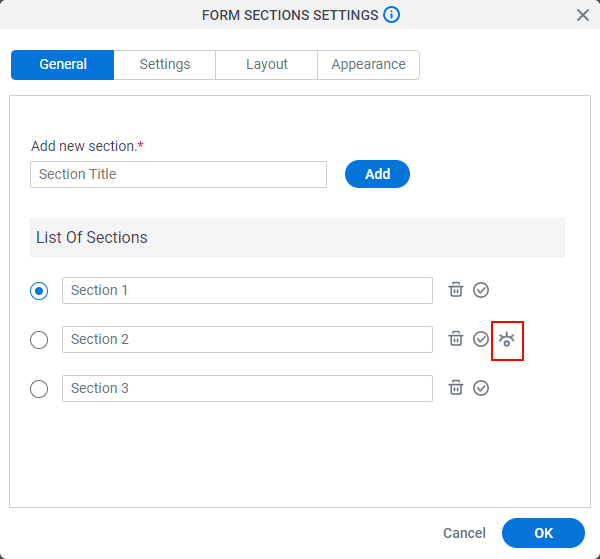
- On the General tab, add your sections, and click Display Rule.
Procedure
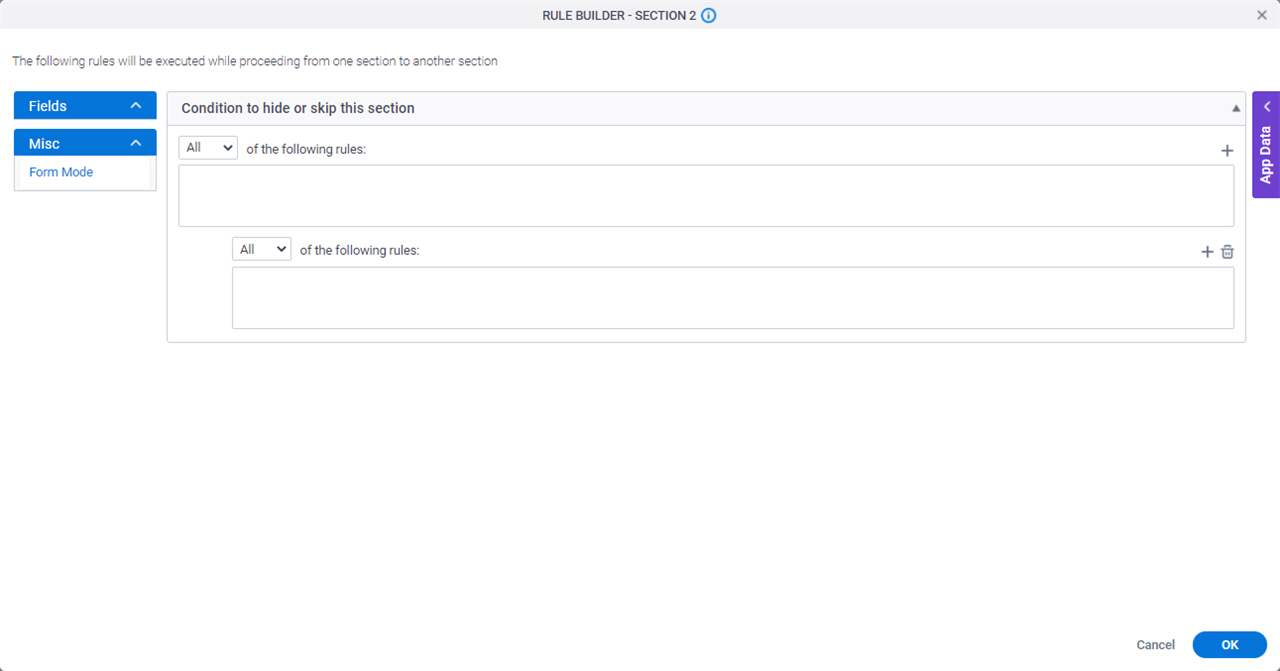
- On the Display Rule Builder screen, in the When field, specify what the set of conditions that invoke the rule.
Field Name Definition When
- Function:
- Specifies when to apply the rule in your eForm.
- Accepted Values:
-
- All - The rule is applied when all the conditions are met.
- Any - The rule is applied when any one of the conditions are met.
- None - The rule is applied when all of the conditions are not met.
- Default Value:
- All
- Example:
- Refer to:
- Drag a form control from the Fields field to the rule screen.
- In the Comparer field, select the operator to compare the values in your rule.
Field Name Definition Comparer
- Function:
- Specifies the operator to used to compare the two input values.
- Accepted Values:
-
- is present
- is blank
- is equal to
- is equal to (Ignore Case)
- is not equal to
- is not equal to (Ignore Case)
- is greater than
- is greater than or equal to
- is less than
- is lesser than or equal to
- contains
- contains (Ignore Case)
- not contains
- not contains (Ignore Case)
- matches regex
- files exist
- files does not exist
- does not contain data
- contains data
- starts with
- ends with
The operators available are different for different form controls.
- Default Value:
- is present
- Example:
- Refer to:
- Limitations:
-
The contains data option is available in these releases:
- AgilePoint NX OnDemand (public cloud)
- AgilePoint NX Private Cloud or AgilePoint NX OnPremises v7.0 Software Update 2 or higher
The starts with and ends with options are available in these releases:
- AgilePoint NX OnDemand (public cloud)
- AgilePoint NX Private Cloud or AgilePoint NX OnPremises v8.0 Software Update 2 or higher
- In the Rule Value field, enter the value to compare, or drag a process data variable from the Process Data screen.
- (Optional) Click Add Condition
 to add more than one condition.
 - (Optional) Click Add Rule to add more than one validation rule.
- (Optional) If you want to see form controls from other sections on the eForm, deselect Show fields from current section only.