Install AgilePoint Data Services
To install AgilePoint Data Services, do the procedure in this topic.
Prerequisites
- AgilePoint NX OnPremises or AgilePoint NX PrivateCloud.
- Your system meets the minimum
system requirements for this component.
For more information, refer to AgilePoint Data Services Requirements.
- You have completed all of the pre-installation instructions for this component.
- AgilePoint Server installed on the AgilePoint Server machine.
How to Start
- Right-click the AgilePoint NX installer package, and click Run as Administrator.
- On the End User License Agreement for AgilePoint Software screen, review the license agreement, and
click I accept the terms in the license agreement.
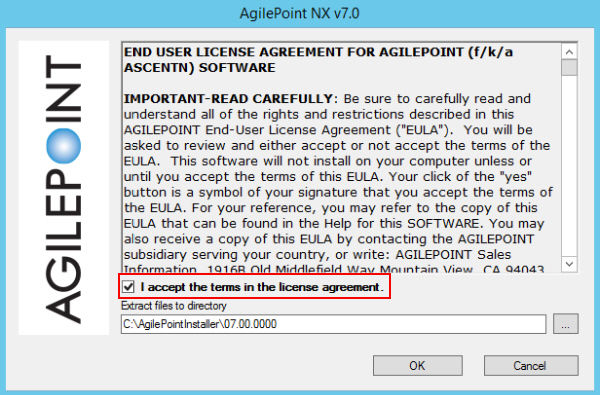
- On the Extract files to directory field, click the Ellipses (...) button to select the folder where you want to extract the installation files.
- Click OK.
The installation files are extracted to the specified folder. When the extraction is complete, the Information screen shows.
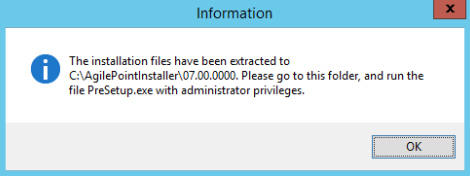
- On the Information screen, click OK.
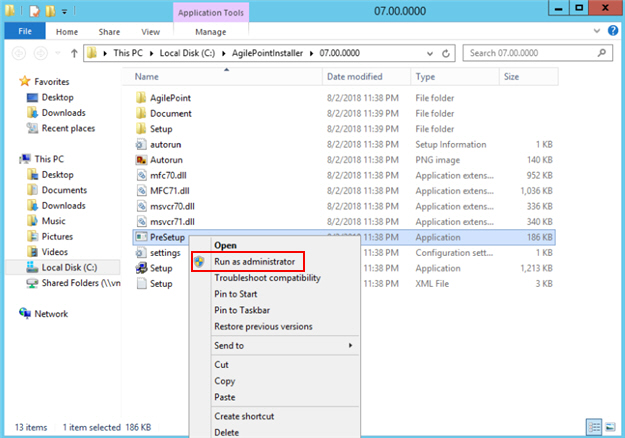
- In your specified folder, right-click the AgilePoint NX PreSetup.exe file, and click Run as Administrator.
- On the Welcome Please Read Before You Begin screen, select all the items on this screen.
You can click Complete the form to create you custom Preparing for Installation guide to complete a short form that will generate a document that tells you on which machines in your enviornment to install the AgilePoint NX components.
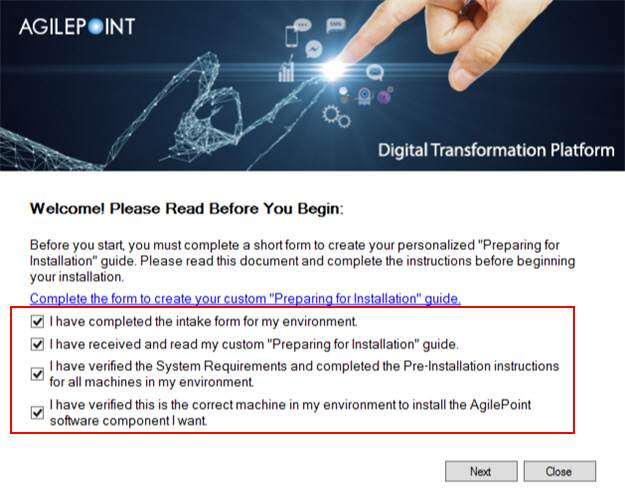
- Click Next.
Procedure
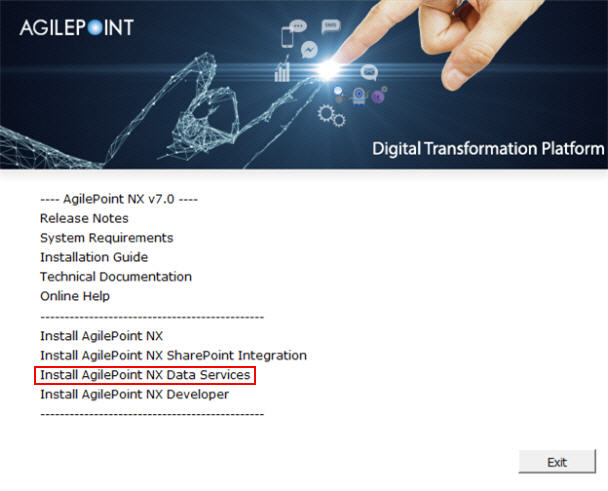
- On the AgilePoint NX v7.0 screen,
click Install AgilePoint NX Data Services.
- On the Welcome screen, click Next.
- On the Verifying System Requirements screen:
- If there are any errors, correct them. Once you have resolved the issue, click
Recheck.
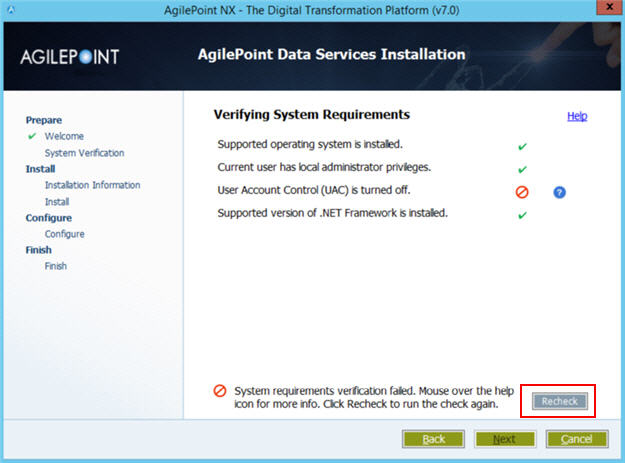
Issue Resolution Supported Operating system is installed
Install a supported operating system on this machine.
For more information, refer to System Requirements for AgilePoint Server.
Current user has Administrative privileges
Log on to this machine as a user with administrator privileges.
User Account Control (UAC) is turned off
Turn user access control (UAC) off.
For more information, refer to Turn Off User Account Control (UAC).
Supported Version of .NET Framework is installed
Install a supported version of .NET Framework on this machine.
For more information, refer to System Requirements for AgilePoint Server.
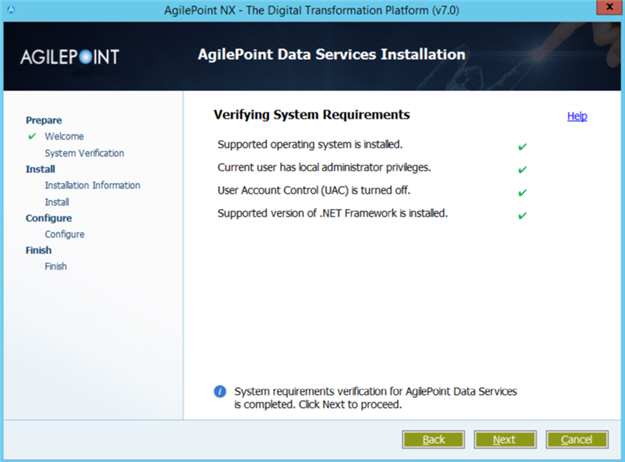
- If there are no errors, click Next.
- If there are any errors, correct them. Once you have resolved the issue, click
Recheck.
- In the Install Location section, enter the following information:
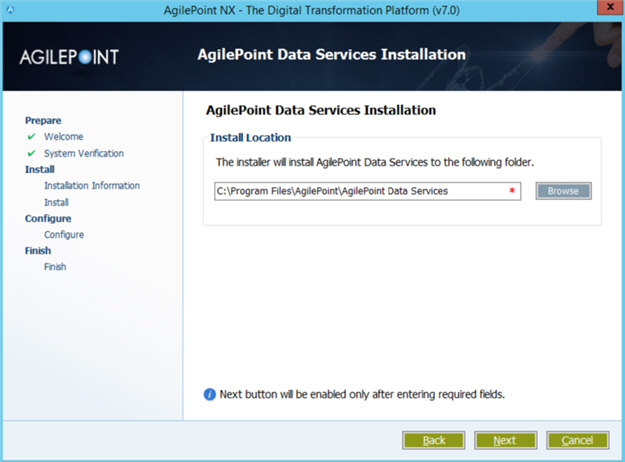
Field Name Definition Install Location
- Function:
- The folder where you want to install the AgilePoint component.
- Click Next.
The AgilePoint Data Services installation starts.
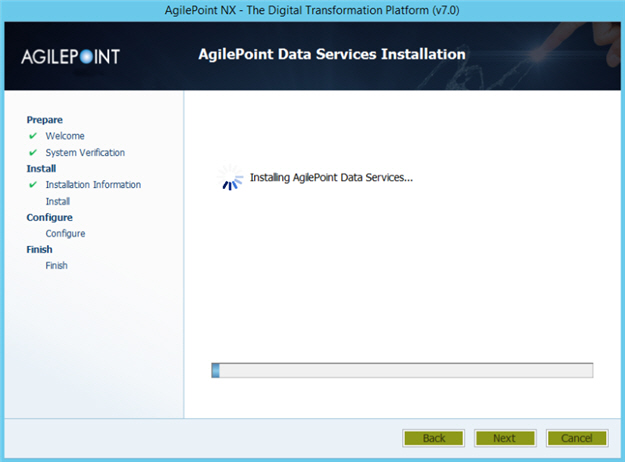
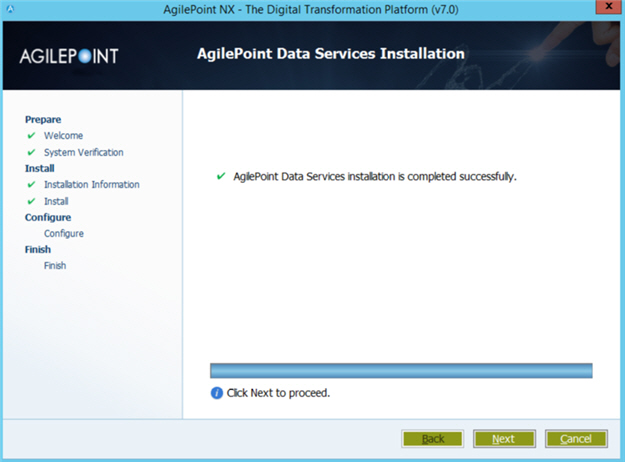
- After the installation completes, click Next.
- On the AgilePoint DataServices Configuration screen, enter the
following information:
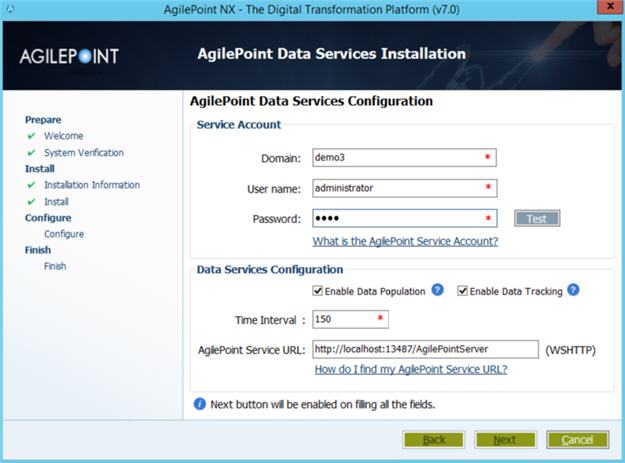
Field Name Definition Domain
- Function:
- The authentication domain for the AgilePoint Service Account.
- Accepted Values:
- An alphanumeric string with no spaces that represents an authentication domain in your environment.
User Name
- Function:
- Specifies the user name for your
AgilePoint Service Account.
This account serves as your AgilePoint Service Account,
your AgilePoint System Account,
and the account
that AgilePoint uses to communicate with
SharePoint,
called the SharePoint impersonator.
This account must be set up before entering the account information here. The AgilePoint installer cannot create this account for you.
For more information, refer to AgilePoint Administrator Types.
- Accepted Values:
- A user name for an account with the required privileges detailed in Set Up the AgilePoint Service Account.
Password
- Function:
- The password for the AgilePoint Service Account.
- Accepted Values:
- An alphanumeric string that represents a password.
Enable Data Population
- Function:
- Turns on the data population feature, which lets application data to be written to the database.
- Accepted Values:
-
- Selected - Turns on the Data Population feature.
- Deselected - Turns off the Data Population feature.
- Default Value:
- Selected
Enable Data Tracking
- Function:
- Turns on the data tracking feature, which lets application data to be tracked across processes and components.
- Accepted Values:
-
- Selected - Turns on the Data Tracking feature.
- Deselected - Turns off the Data Tracking feature.
- Default Value:
- Selected
Time Interval
- Function:
- The timer interval, in seconds, used by Data Services
to check for new entries in the database.
To improve performance, on a production system, this value is often set to 3600 seconds, or 1 hour.
- Accepted Values:
- An integer, representing a number of seconds.
- Default Value:
- 150
AgilePoint Service URL
Specifies the AgilePoint Service URL for your AgilePoint BPMS environment.
For more information, refer to Find Your AgilePoint Service URL in AgilePoint NX.
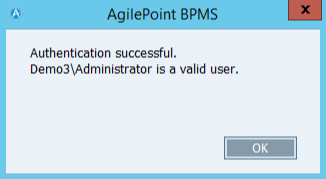
- To make sure the user credentials are valid, click Test.
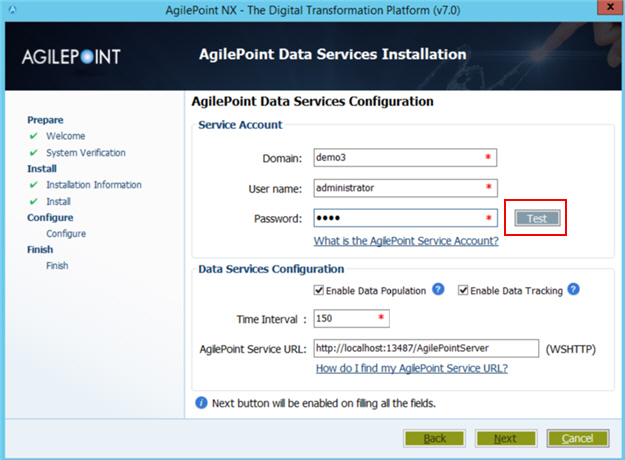
If the user credentials are valid, this screen opens. On this screen, click OK.
- Click Next.
- In the Database Authentication window, enter the
following information for your Data Services database.
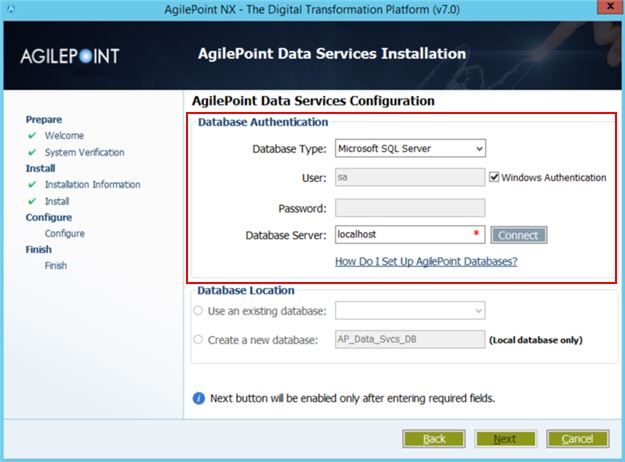
Field Name Definition Database Type
- Function:
- Specifies the database technology to store your data.
- Accepted Values:
- Microsoft SQL Server.
- Default Value:
- Microsoft SQL Server
User
- Function:
- The user name for the account AgilePoint Server uses to connect to the database.
- Accepted Values:
- An alphanumeric string that contains a user name for the database.
- Default Value:
- sa
Password
- Function:
- The password for the authentication account.
- Accepted Values:
- An alphanumeric string that represents a password.
- Default Value:
- None
Database Server
- Function:
- The database used for data tracking.
- Accepted Values:
- An alphanumeric string with no spaces that represents a database server name.
- Default Value:
- localhost
- Example:
-
- mydatabase
- mydatabase/sharepoint
- Once you enter the Database Server, click Connect to authenticate the database user account and populate the names of the databases on your database server.
- In the Database Location section, enter the following information for your
AgilePoint database.
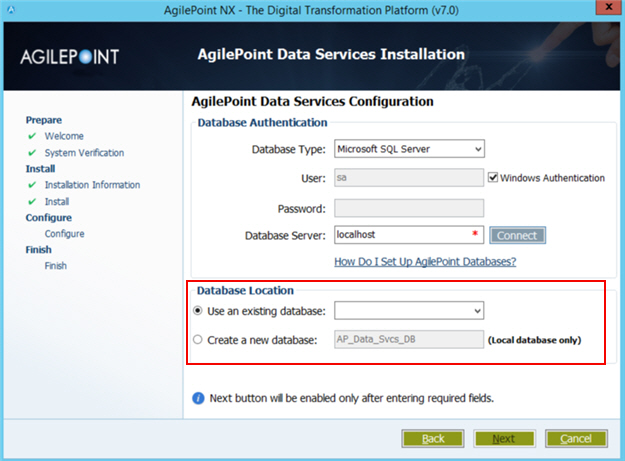
Field Name Definition Use an existing database
- Function:
- Specifies the name of an existing database you want to
use for AgilePoint Server workflow.
Click Connect to populate the list.
- Accepted Values:
- A database name from the list.
Create a new database
- Function:
- Specifies the name of a new database you want to create
as your AgilePoint workflow database.
This option is only available if your database is installed on the same machine where you are installing this component.
- Accepted Values:
- One line of text with no spaces.
- Click Next.
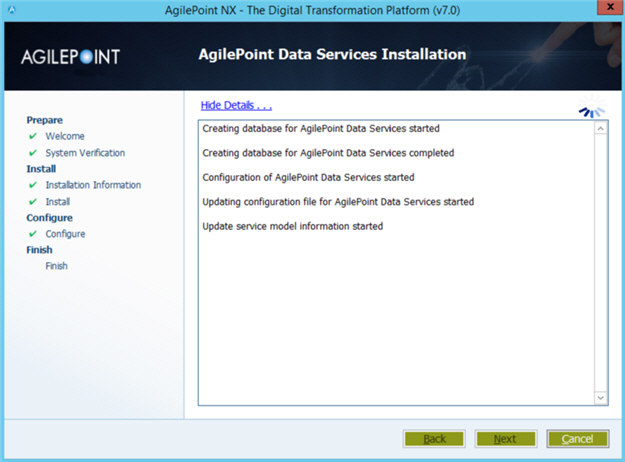
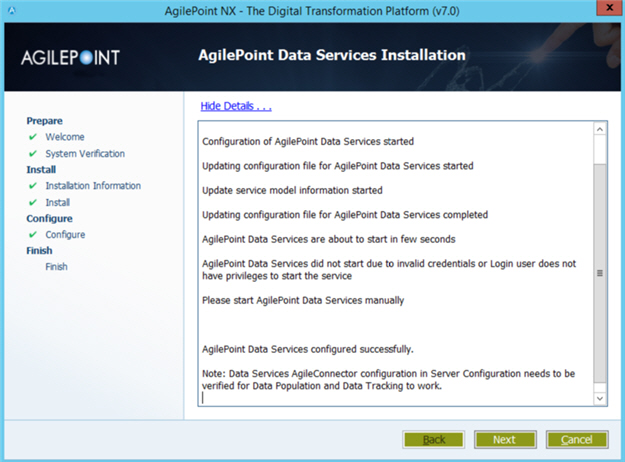
The AgilePoint Data Services installation runs. If any error messages show on the screen, you can use the log to troubleshoot the errors. If an error exists, contact AgilePoint Customer Support.
- After the installation completes, click Next.
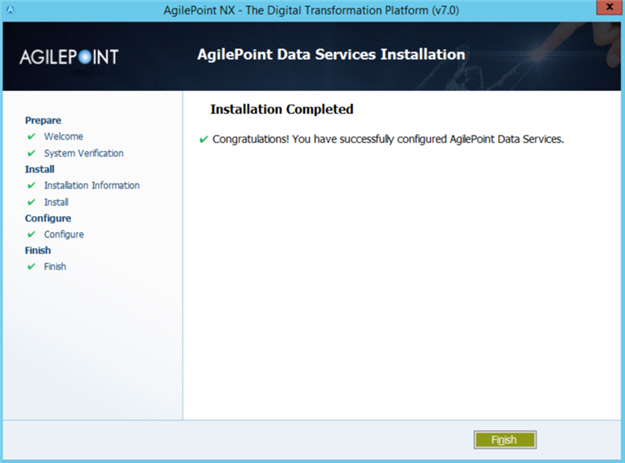
- After the Installation Complete message shows,
click Finish.
- Restart the machine.
This is optional, but recommended. Rarely AgilePoint users have reported an issue with shortcuts not displaying if the machine is not restarted. There are no other known issues if you do not restart the machine. Windows sometimes prompts to restart, and sometimes not. This is determined by the operating system.


