Install SharePoint Integration
To install SharePoint Integration for AgilePoint NX, do the procedure in this topic.
Prerequisites
- AgilePoint NX OnPremises or AgilePoint NX Private Cloud is installed.
- Your system meets the minimum
system requirements for this component.
For more information, refer to System Requirements.
- You have completed all of the pre-installation instructions for this component.
- If
you are installing AgilePoint
SharePoint Integration in a
SharePoint farm, you must
select a SharePoint server you want
to designate as the primary AgilePoint
integration server. Document your decision.
You will need to use the same machine
for all AgilePoint SharePoint
Integration installations and upgrades.
You need only apply installation and upgrade procedures on this one primary server. The SharePoint software will propagate the changes to the other servers in your SharePoint farm.
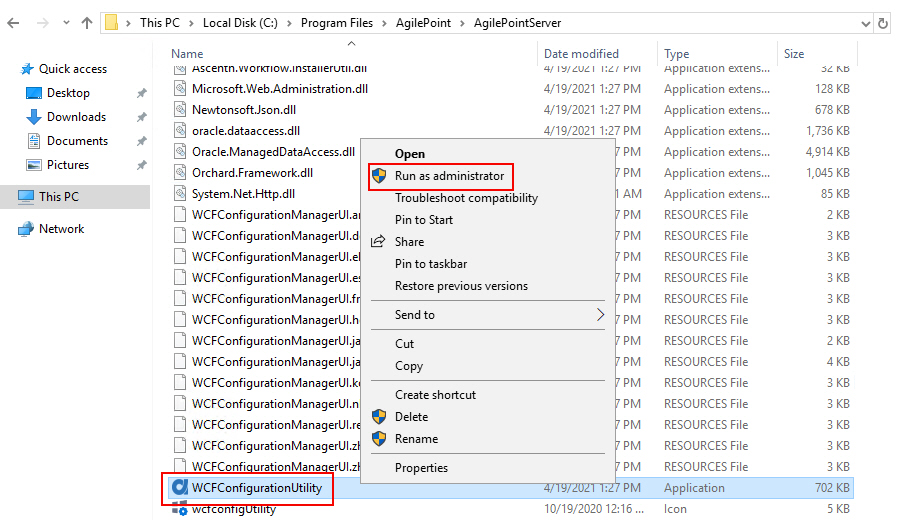
- Sign in to Windows using a user login that belongs to the local system's Administrators group. Note: On some versions of Windows, such as Windows Server 2012, you may need to also right-click the Setup.exe installation file, and click Run as Administrator.
- Download the AgilePoint Installation Package for your solution to your primary SharePoint front-end web server.
- If your AgilePoint Server instance uses HTTPS, to use on-premises SharePoint, the web application for your SharePoint site must be configured to use HTTPS.
Good to Know
- The installer UI is optimized for system resolutions 1366x768 or 1920x1080 with 100% scaling. If you use other screen resolutions, the installer UI may not display correctly, which can cause installation errors.
- The AgilePoint NX Dashboard for SharePoint can be added to a SharePoint web part page or wiki page in any supported version of SharePoint. The AgilePoint NX Dashboard can be added to modern pages in SharePoint for Microsoft 365, but not in on-premises SharePoint. Modern pages were added in on-premises SharePoint 2019.
Procedure
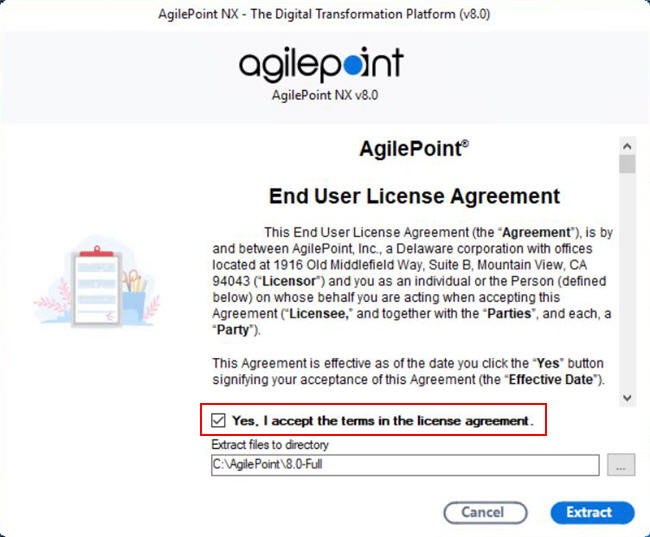
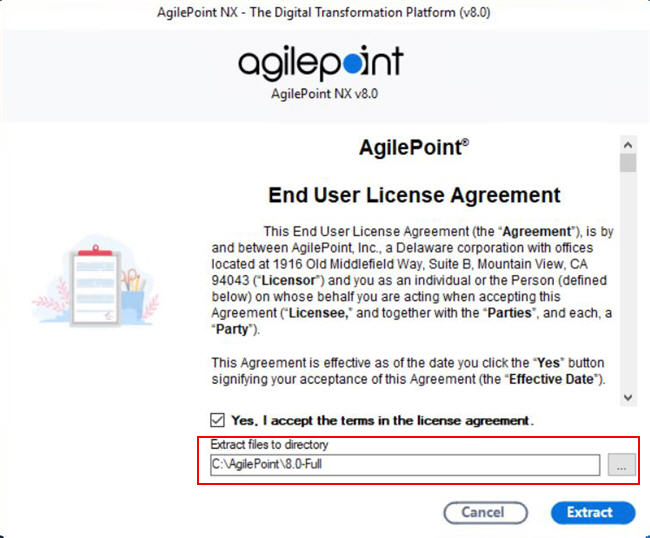
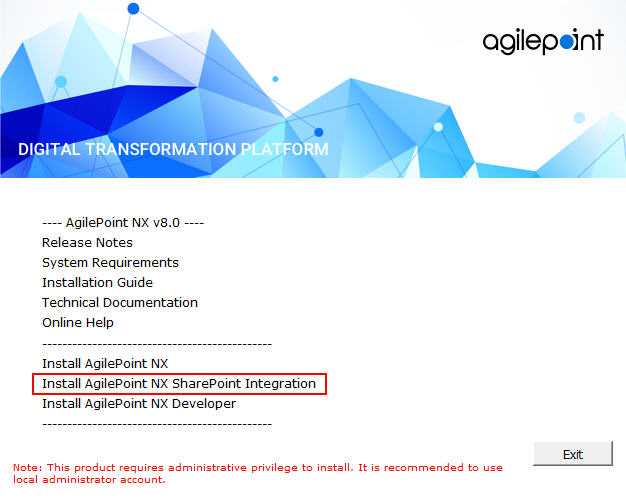
- On the AgilePoint NX v8.0 screen, click Install AgilePoint NX SharePoint Integration.
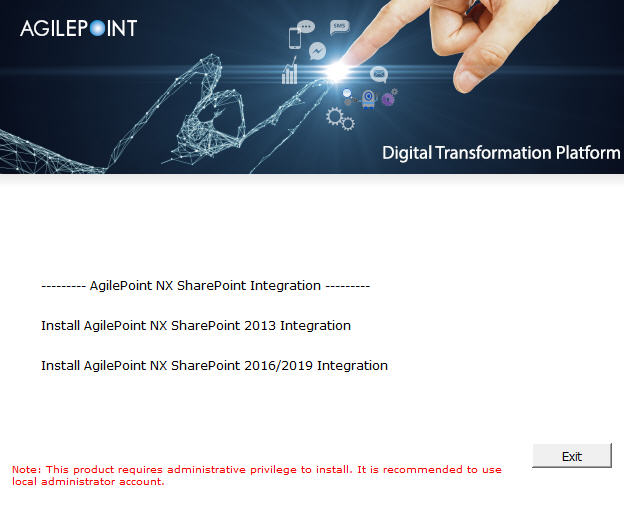
- On the AgilePoint NX SharePoint Integration screen, click the SharePoint Server version you want to install.
The screens used in this procedure are for SharePoint Server 2016.
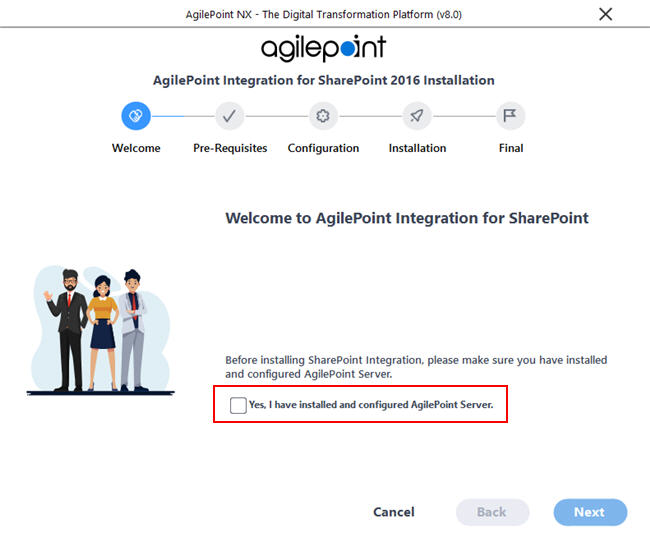
- On the Welcome to AgilePoint Integration for SharePoint screen, make sure AgilePoint Server is installed and configured, and select Yes, I have installed and configured AgilePoint Server.
- Click Next.
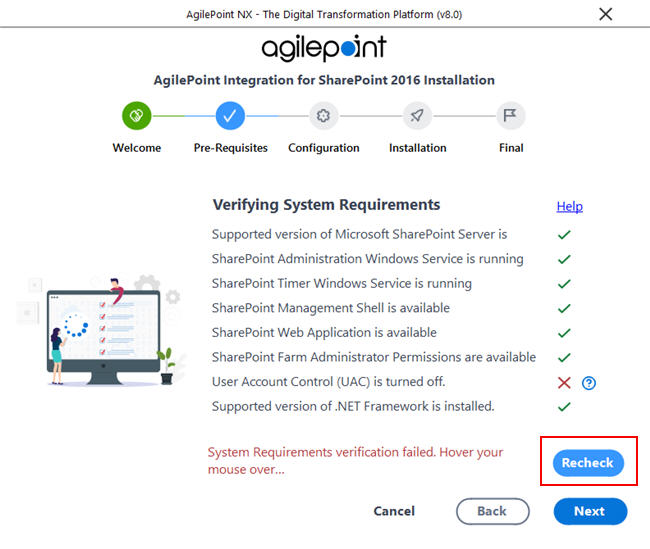
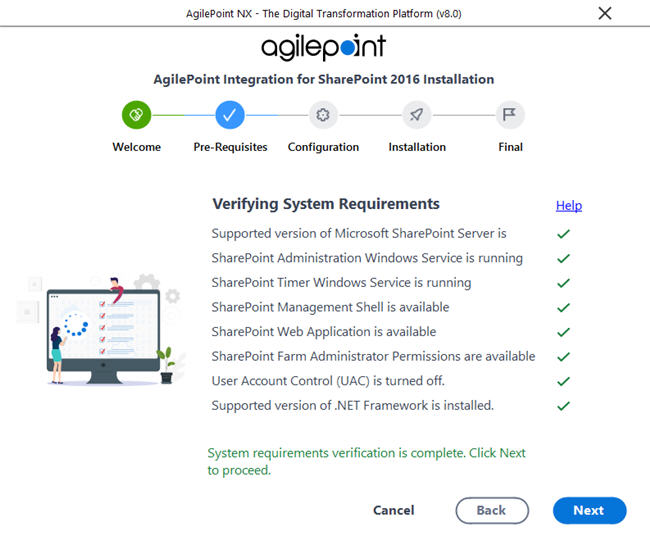
- On the Verifying System Requirements screen:
- If there are any errors, correct them. Once you have resolved the issue, click
Recheck.
Issue Resolution Supported version of Microsoft SharePoint Server is installed
Install and activate a supported version of Microsoft SharePoint Server.
For more information, refer to System Requirements for AgilePoint SharePoint Integration.
SharePoint Administration Windows Service is running
Start the Windows service SharePoint Administration.
SharePoint Timer Windows Service is running
Start the Windows Service SharePoint Timer.
SharePoint Management Shell is available
This tool is installed with SharePoint. Reinstall SharePoint.
SharePoint Web Application is available
- Make sure at least one SharePoint web application is created.
- Make sure the SharePoint web application is up and running.
- Make sure the SharePoint web site can be browsed in Internet Explorer with no errors
- Make sure the AgilePoint Service account is a member of the SharePoint Farm Administrators group, and the SharePoint Farm Administrator account has access to the SharePoint database. To make sure access, run the following PowerShell command on the primary SharePoint machine:
Get-SPDatabase | Add-SPShellAdmin
      [domain]\[AgilePoint Service Account user name]
SharePoint Farm Administrator Permissions are available
Add the SharePoint user (the AgilePoint service account) to the SharePoint Farm Administrators group. This is required only for SharePoint farms.
User Account Control (UAC) is turned off
Turn user access control (UAC) off.
For more information, refer to Turn Off User Account Control (UAC).
Supported Version of .NET Framework is installed
Install a supported version of the .NET Framework on all SharePoint Server machines in your environment.
For more information, refer to System Requirements for AgilePoint SharePoint Integration.
- If there are no errors, click Next.
- If there are any errors, correct them. Once you have resolved the issue, click
Recheck.
- On the SharePoint Integration Configuration screen, in the Server URLs tab, enter the following information:
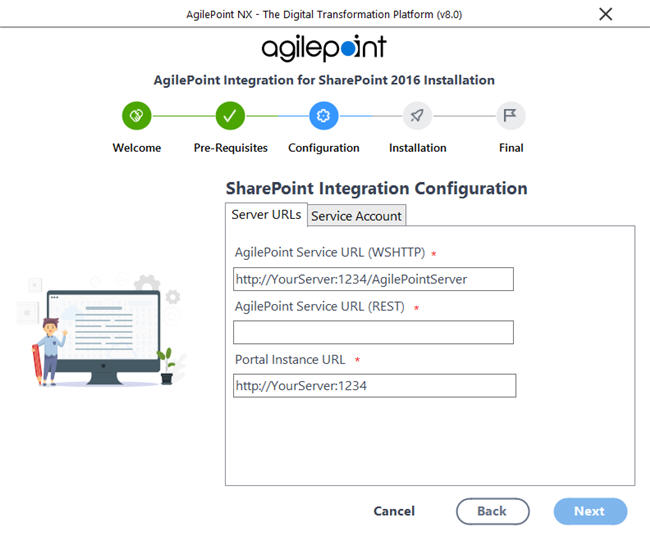
Field Name Definition AgilePoint Service URL (WSHTTP)
Specifies the wsHttp AgilePoint Service URL for your AgilePoint environment.
For more information, refer to Find Your AgilePoint Service URL in AgilePoint NX. Make sure you get the wsHttp URL.
Note: If your AgilePoint Server instance uses HTTPS, to use on-premises SharePoint, the web application for your SharePoint site must be configured to use HTTPS.AgilePoint Service URL (REST)
Specifies the REST AgilePoint Service URL for your AgilePoint environment.
For more information, refer to Find Your AgilePoint Service URL in AgilePoint NX. Make sure you get the REST URL.
Note: If your AgilePoint Server instance uses HTTPS, to use on-premises SharePoint, the web application for your SharePoint site must be configured to use HTTPS.Portal Instance URL
Specifies the Portal Instance URL for your AgilePoint NX environment.
For more information, refer to Find your Portal Instance URL Make sure you get the Portal URL.
Note: If your AgilePoint Server instance uses HTTPS, to use on-premises SharePoint, the web application for your SharePoint site must be configured to use HTTPS. - Click the Service Account tab.
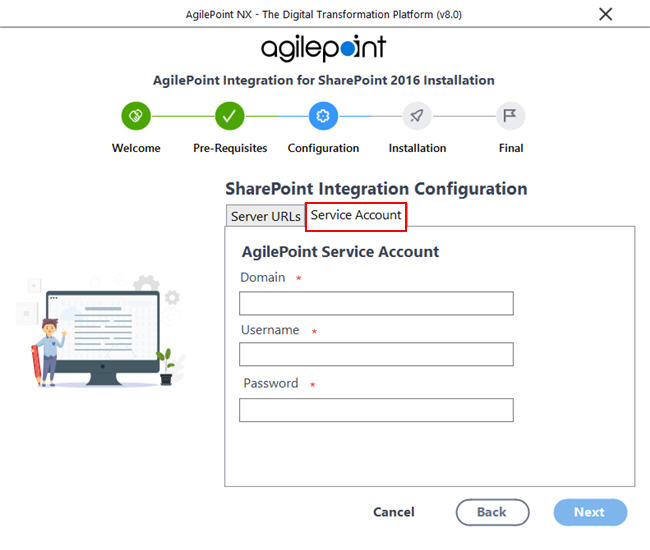
- On the Service Account tab, complete these fields:
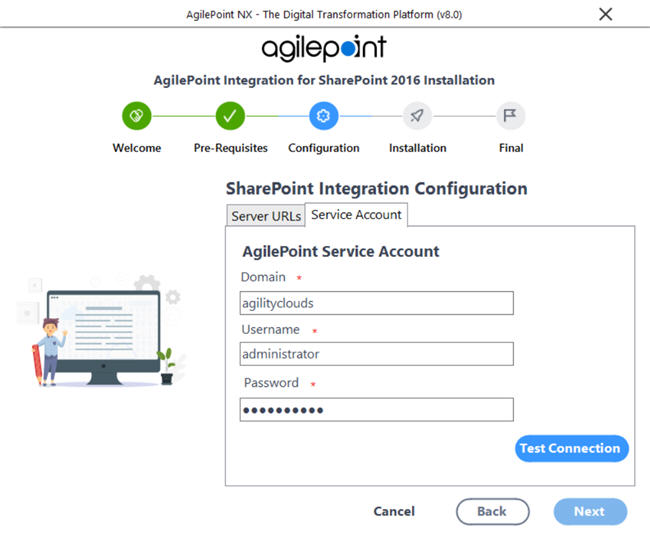
Field Name Definition Domain Name
- Function:
- The authentication domain for the AgilePoint Service Account.
- Accepted Values:
- An alphanumeric string with no spaces that represents an authentication domain in your environment.
User Name
- Function:
- Specifies the user name for your
AgilePoint Service Account.
This account serves as your AgilePoint Service Account,
your AgilePoint System Account,
and the account
that AgilePoint uses to communicate with
SharePoint,
called the SharePoint impersonator.
This account must be set up before entering the account information here. The AgilePoint installer cannot create this account for you.
For more information, refer to Administrator Types and Permission Groups.
- Accepted Values:
- A user name for an account with the required privileges detailed in Set Up the AgilePoint Service Account.
Password
- Function:
- The password for the AgilePoint Service Account.
- Accepted Values:
- An alphanumeric string that represents a password.
- Click Next.
- In the Install Location section, enter the following information for SharePoint Integration:
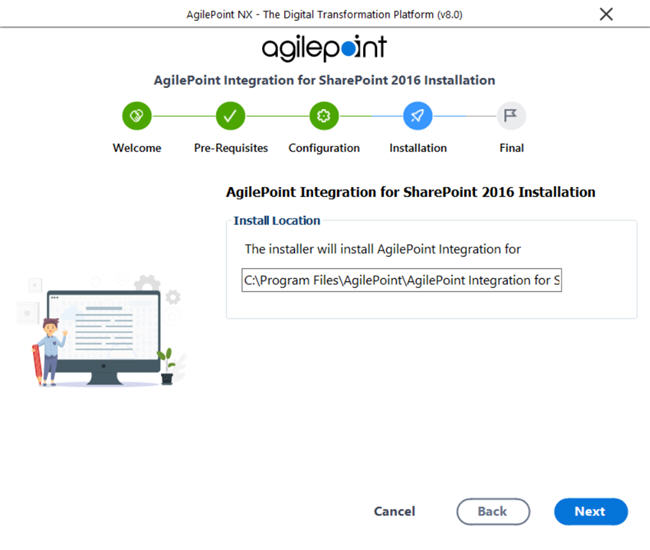
Field Name Definition Install location
The folder where you want to install the AgilePoint component.
- Click Next.
The SharePoint Server installation starts.
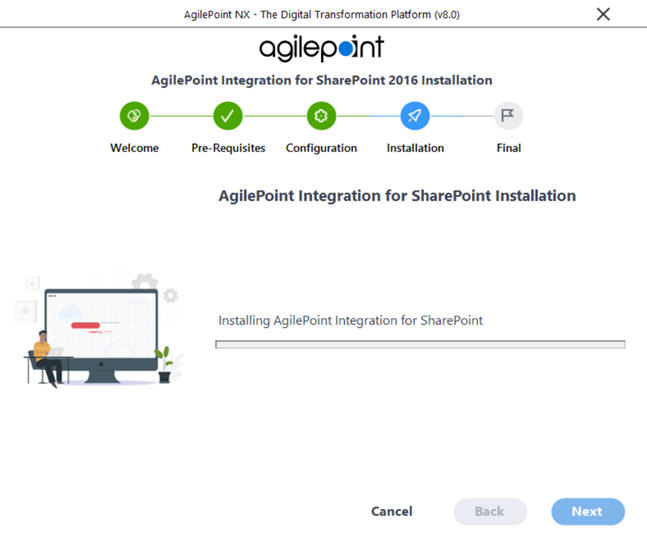
- After the installation completes, click Next.
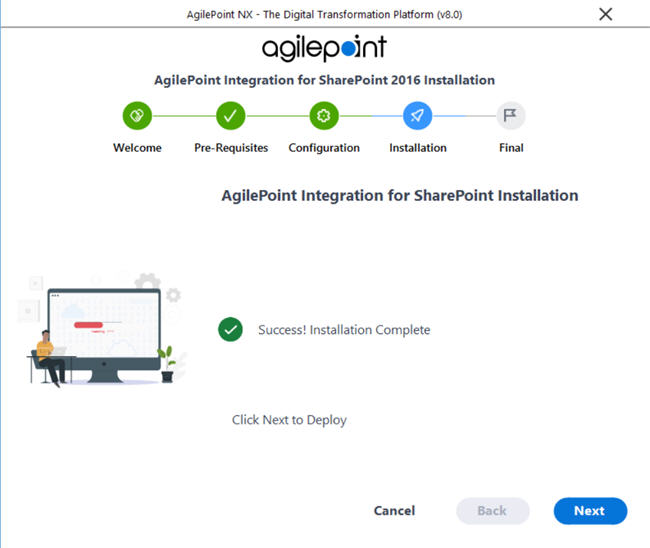
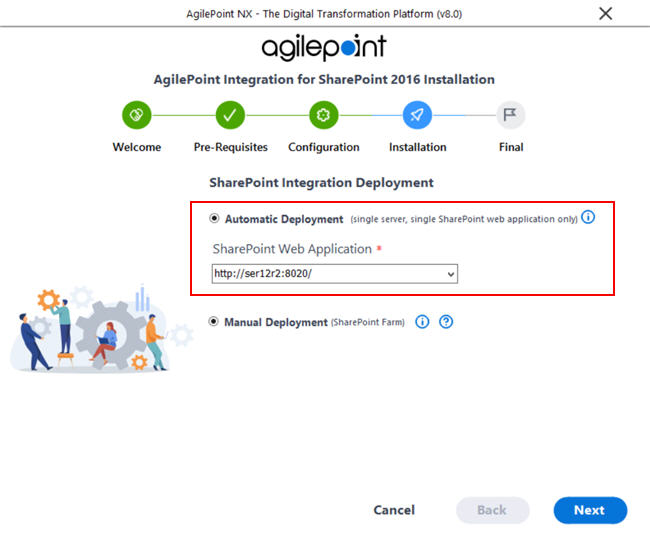
- Select your SharePoint deployment
type, and click Next:
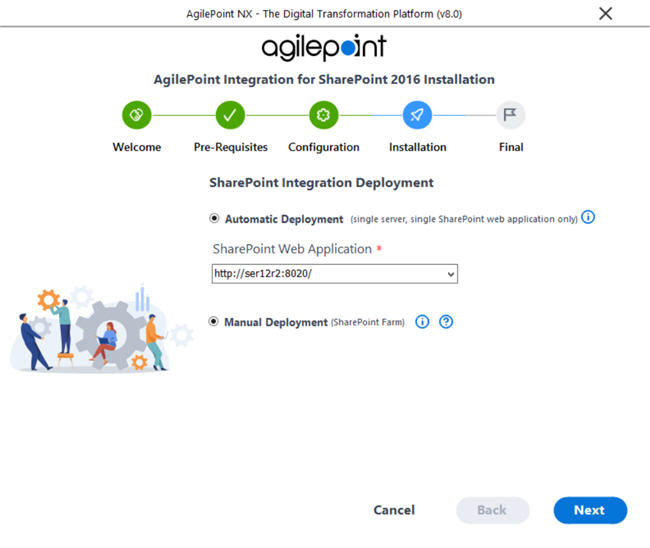
- Automatic Deployment - Installs AgilePoint SharePoint
Integration with no intervention required from you. This option only applies when
SharePoint is installed on a single server with a single web application.
If you select this option, a list shows with all the SharePoint web applications on your machine. Select the SharePoint web application where you want to install AgilePoint components.
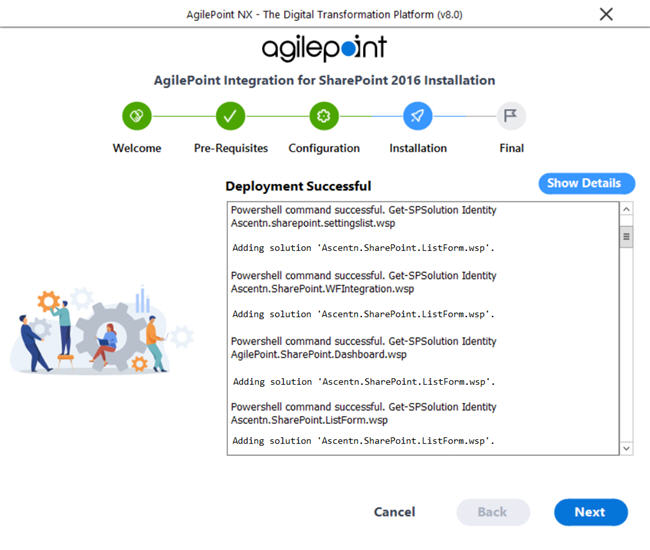
 If you deployed SharePoint Integration automatically, a status window appears. When this is complete, click Next.
- Manual Deployment - Does not install SharePoint. If you have
more than one SharePoint web application and/or server, you will need to install
SharePoint manually later.
For more information, refer to Manual SharePoint Installation Using PowerShell.
- Automatic Deployment - Installs AgilePoint SharePoint
Integration with no intervention required from you. This option only applies when
SharePoint is installed on a single server with a single web application.
- Click Next.
The Important Information screen shows.
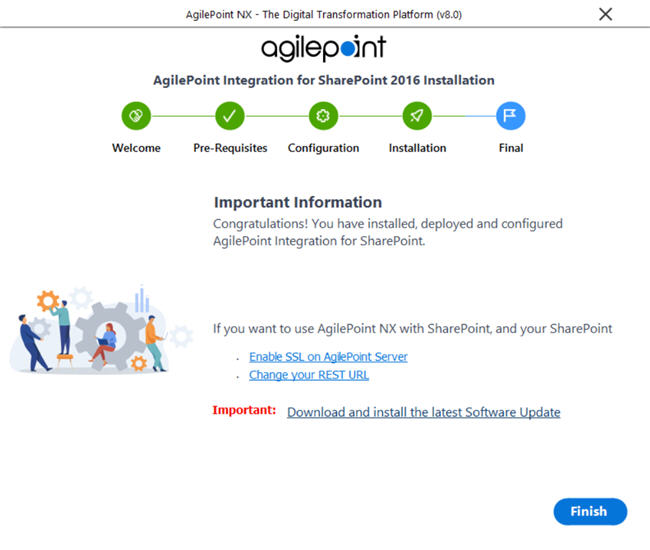
- Read the information on the Important Information screen, and click Finish.


