(Example) How to Get the Access Token Credentials from Jira Software
To get the access token credentials from Jira Software, do the procedure in this topic.
Background and Setup
Prerequisites
- One of these account types:
- Jira Software Basic account
- Jira Software Standard account
- Jira Software Premium account
Good to Know
- To use the Jira Software process activities, your access token must have these credentials:
Activity Name Required Permissions Add Assignee
- Browse Projects
- Assign issues
Add Attachment
- Browse Projects
- Create attachments
Add Comments
- Browse Projects
- Add comments
Create Issue
- Browse Projects
- Create issues
Create Project
- Administer Jira
Delete Issue
- Browse Projects
- Delete issues
Get Issue Details
- Browse Projects
Update Issue
- Browse Projects
- Edit issues
Update Issue Status
- Browse Projects
- Transition issues
For more information, refer to the Jira Software documentation in Third-Party Vendor Documentation.
- OAuth 2.0 access tokens require a 2-way exchange of credentials between AgilePoint NX and the external service. This means that you must get the credentials from the third-party service to paste in the AgilePoint NX access token, and get the redirect URI from AgilePoint NX to paste in the external service. This requires you to open both the AgilePoint NX access token and the third-party service at the same time, so you can copy and paste from one screen to the other.
This topic shows the suggested procedure for Jira Software. The exact procedure for your access token depends on whether you already have a connection (usually called an app) configured in the external service.
- This topic gives one example. The procedure may vary depending on your configuration and account settings in the third-party service.
- Some information about third-party integrations is outside the scope of the AgilePoint NX Product Documentation. It is the responsibility of the vendors who create and maintain these technologies to provide this information. This includes specific business use cases and examples; explanations for third-party concepts; details about the data models and input and output data formats for third-party technologies; and various types of IDs, URL patterns, connection string formats, or other technical information that is specific to the third-party technologies. For more information, refer to Where Can I Find Information and Examples for Third-Party Integrations?
Step 1: Start Creating an Access Token in AgilePoint NX
First, create a new access token in AgilePoint NX for Jira Software.
How to Start
- There is more than one way to create an access token.
For more information, refer to Access Token for Jira Software.
Procedure
- In AgilePoint NX, open the access token configuration screen for Jira Software.
Do not configure the access token credentials.
Keep the access token configuration screen open in AgilePoint NX, but do not save it.
Step 2: Create an App in Jira Software
Next, create an app in Jira Software.
How to Start
- In a new web browser tab, sign in to your Jira Software account:
Procedure
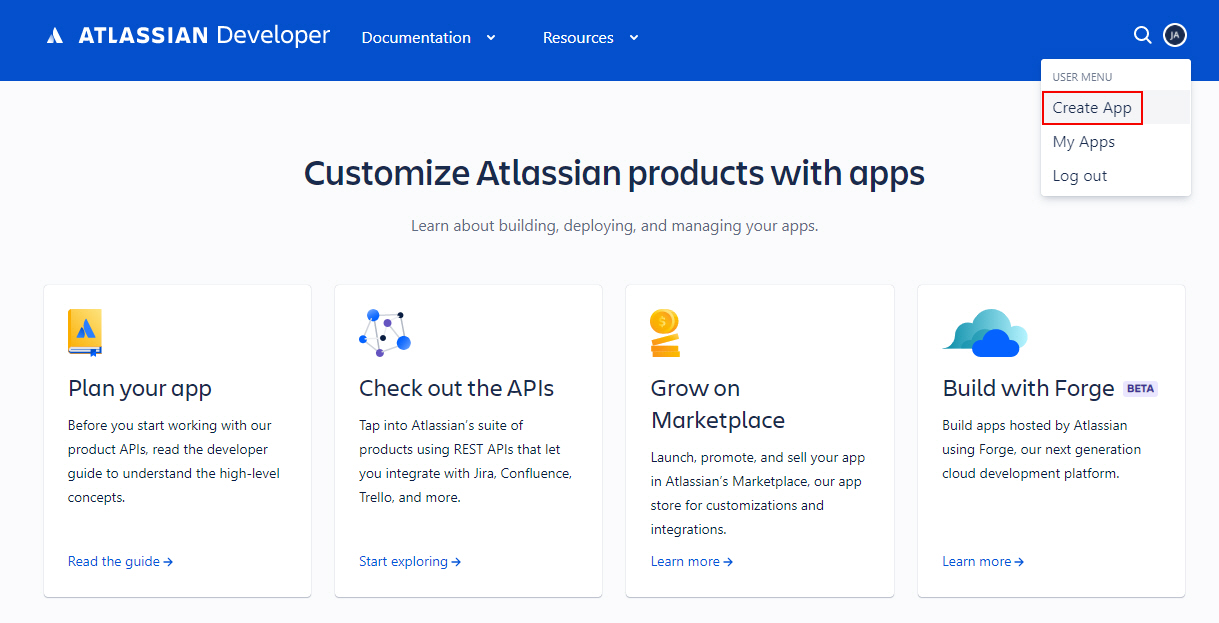
- In Jira Software, on the right pane, click User Menu > Create App.
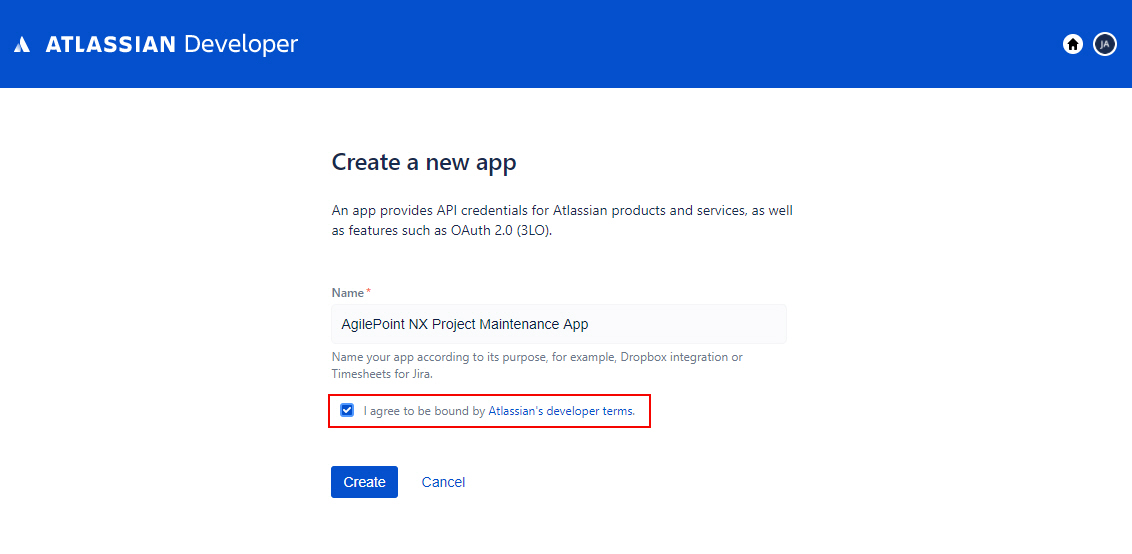
- On the Create a new app screen, in the Name field, enter an app name.
AgilePoint recommends you use an app name associated with your AgilePoint NX app or the way you want to use the app in AgilePoint NX.
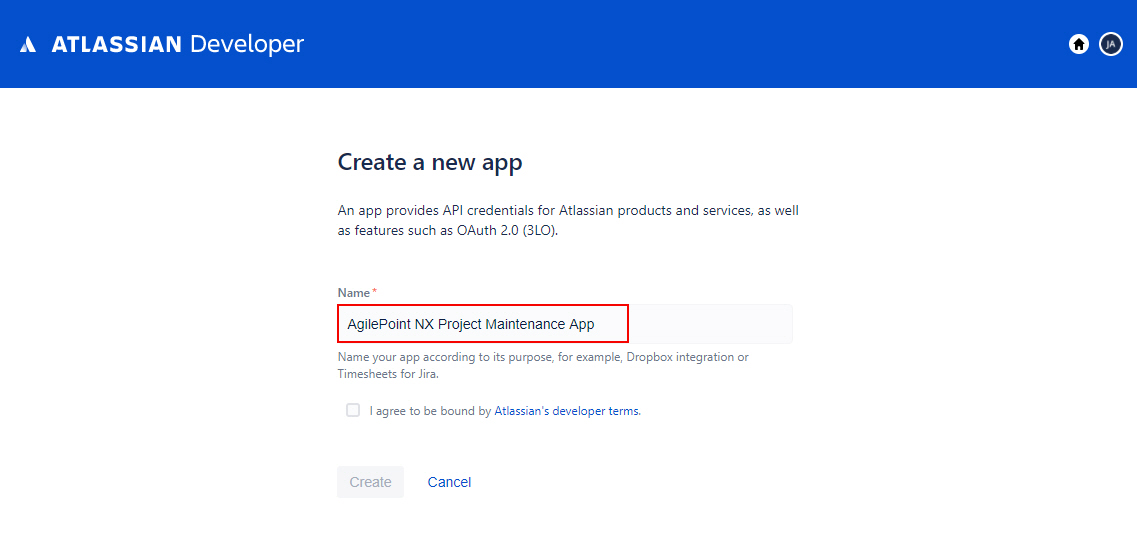
- Select I agree to be bound by Atlassian's developer terms field.
- Click Create.
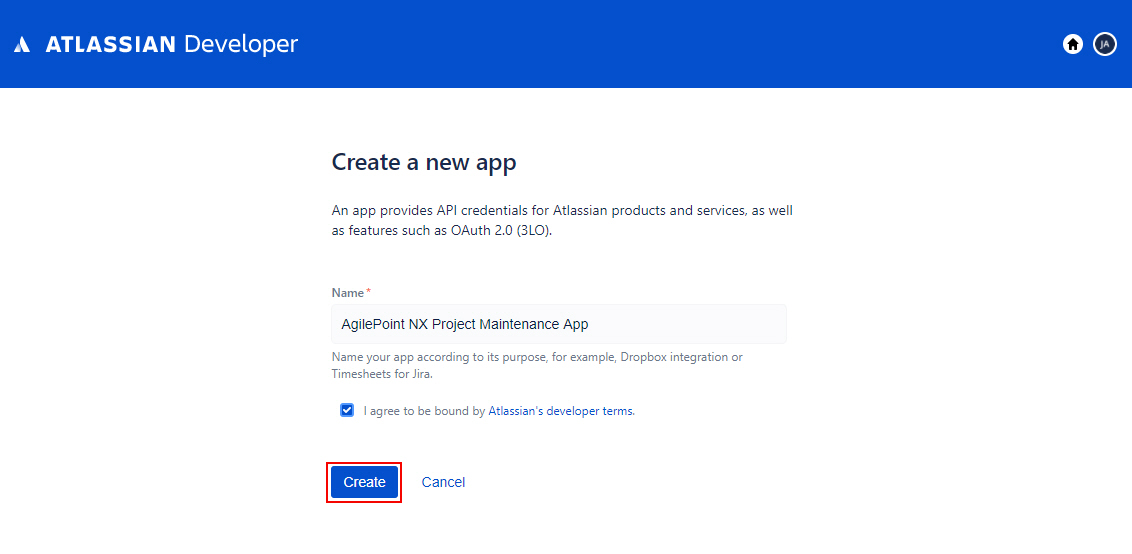
The Jira Software opens the new app.

Step 3: Copy the Jira Software App Credentials
Next, copy the Jira Software app credentials to your AgilePoint NX access token.
How to Start
- In one web browser tab, on the My apps screen,
open the app you created in Jira Software.
For more information, refer to Create an App in Jira Software.
- In a different web browser tab, in AgilePoint NX, open the Jira Software access token configuration screen.
Procedure
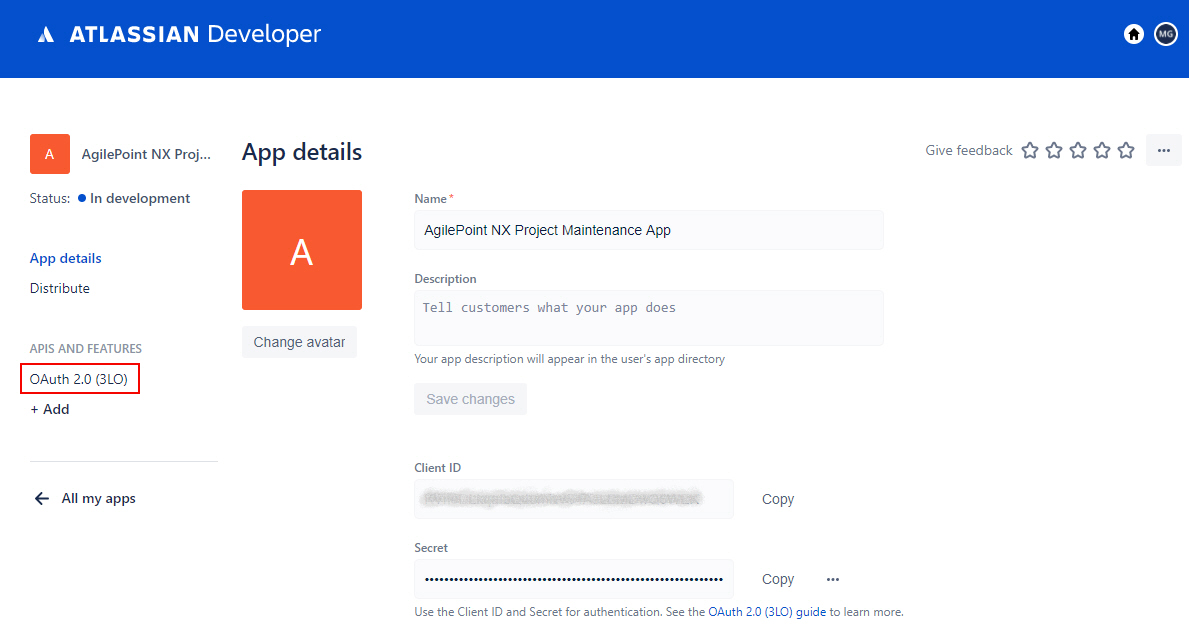
- In Jira Software, to copy the Client ID, on the App details screen, in the Client ID field, click Copy.

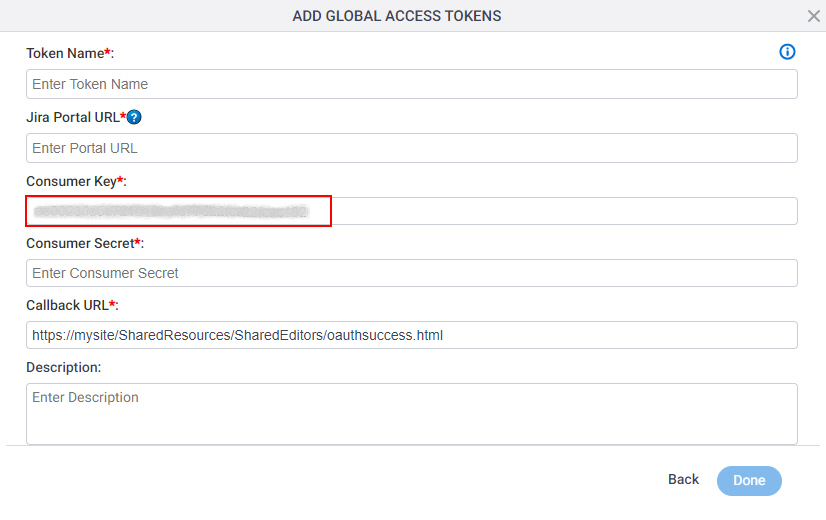
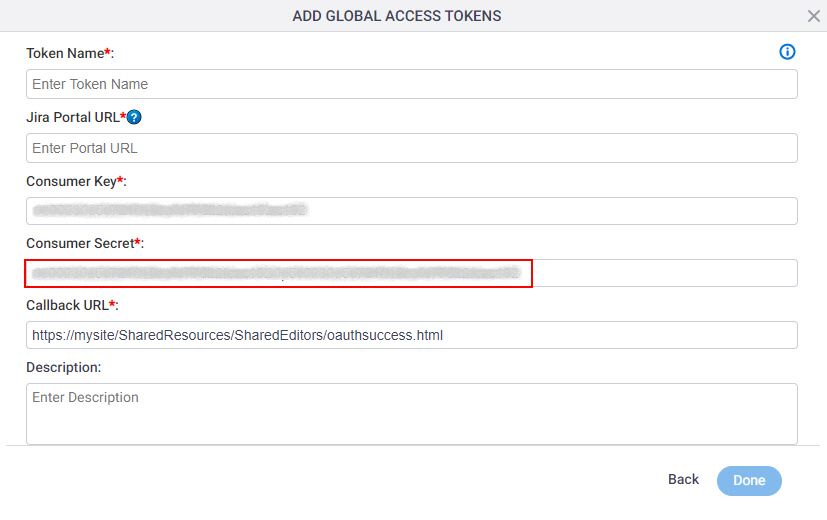
- In AgilePoint NX, on the Jira Software Access Token Configuration screen, in the Consumer Key field, paste the Client ID value from Jira Software.
- In Jira Software, to copy the Secret, on the App details screen, in the Secret field, click Copy.
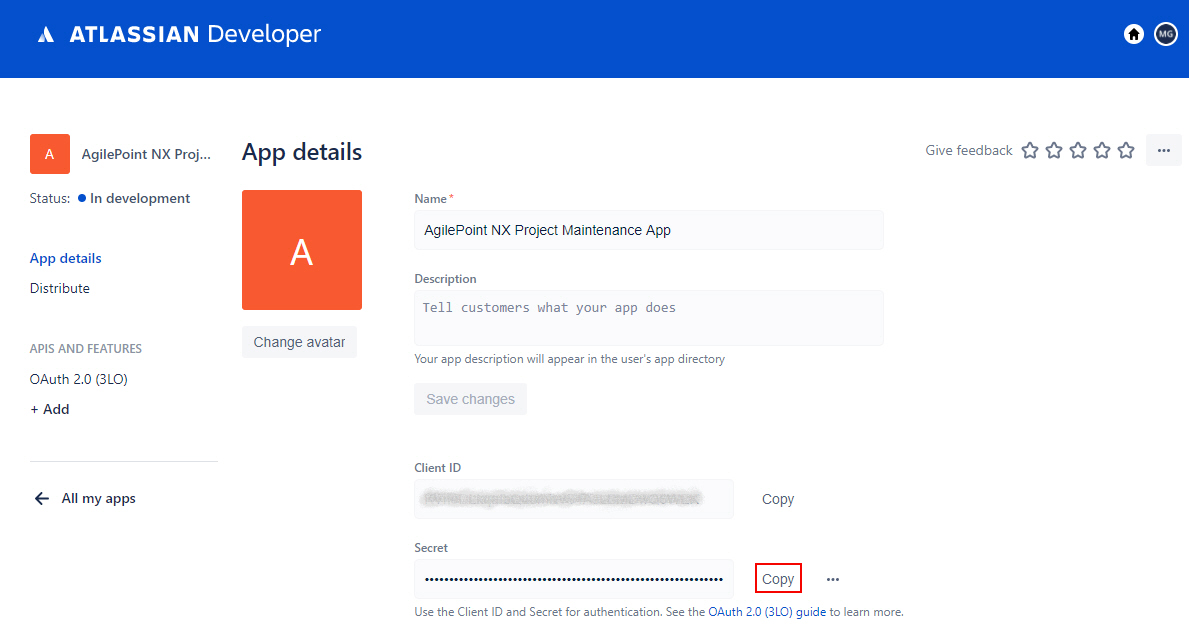
- In AgilePoint NX, on the Jira Software Access Token Configuration screen, in the Consumer Secret field, paste the Secret value from Jira Software.
Step 4: Configure the Redirect URL for Jira Software
Next, configure the Redirect URL in the Jira Software app that connects your AgilePoint NX app.
How to Start
- In one web browser tab, in AgilePoint NX, open the Jira Software access token configuration screen.
- In a different web browser tab, open the Jira Software app details screen.
For more information, refer to Copy the Jira Software App Credentials.
Procedure
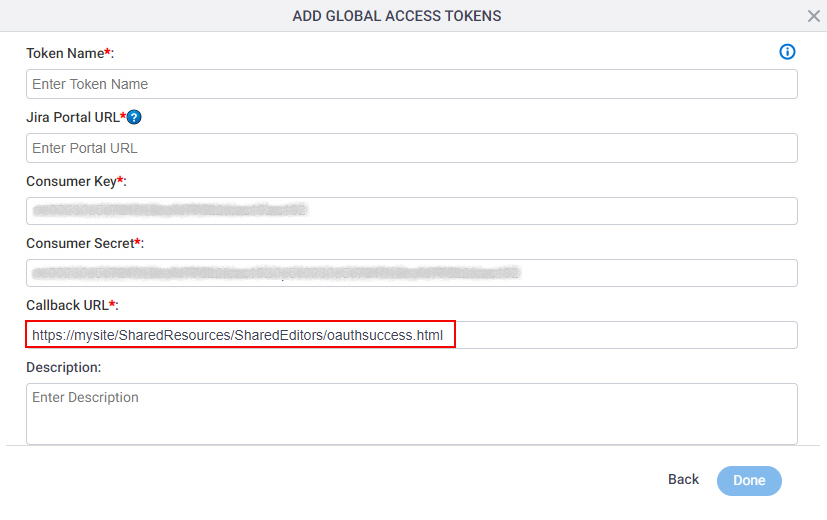
- In AgilePoint NX, on the Jira Software Access Token Configuration screen, in the Callback URL field, copy the value.
This is an example value. In a production environment, copy the actual Callback URL from AgilePoint NX.
- In Jira Software, on the App details screen, in the left pane, click OAuth 2.0 (3LO).
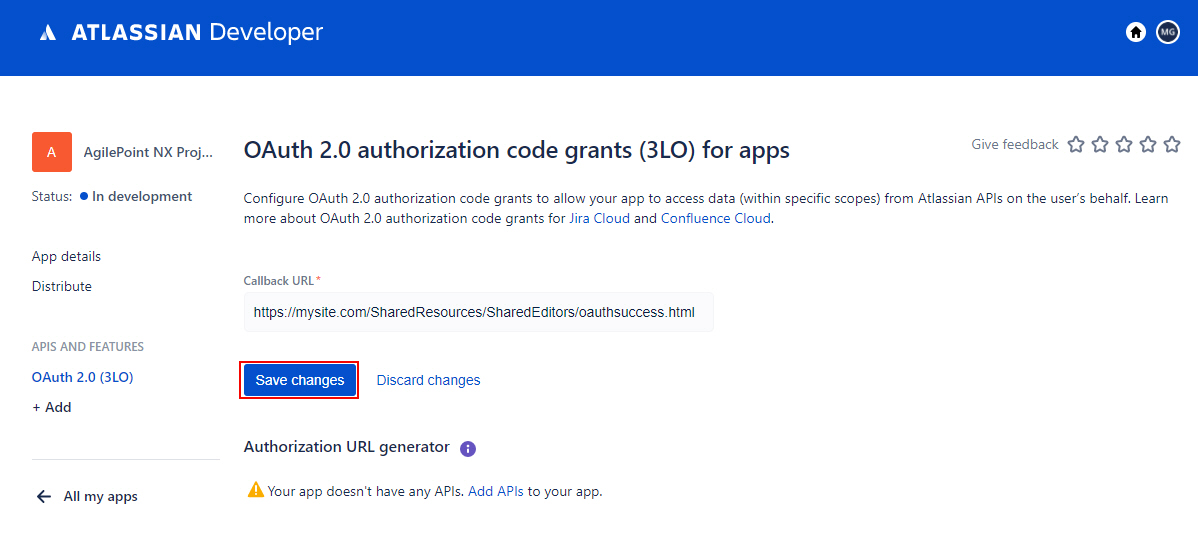
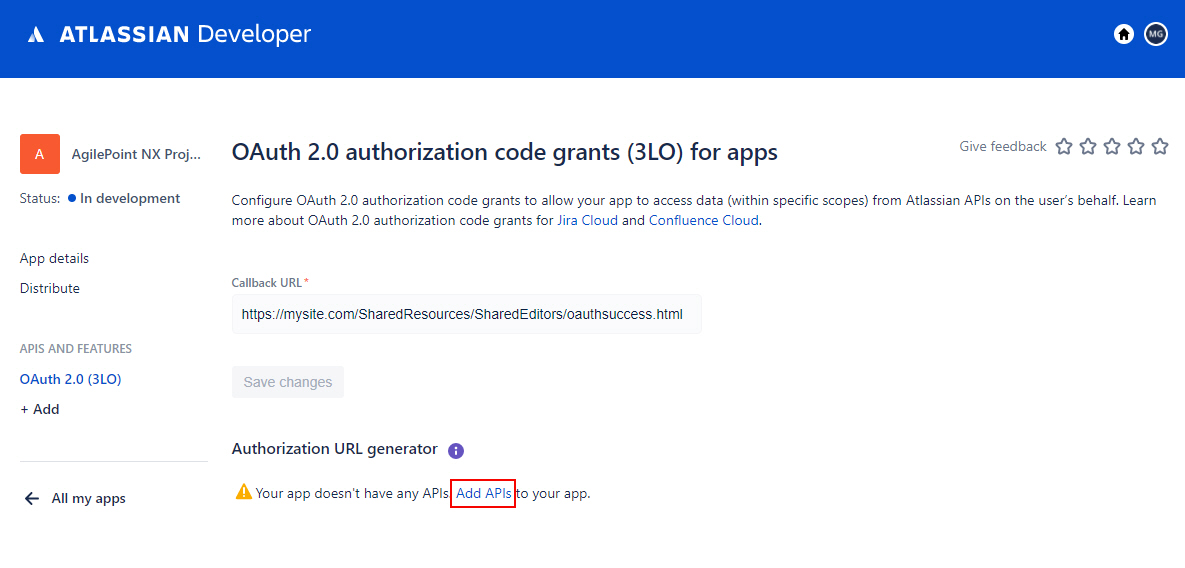
- On the OAuth 2.0 authorization code grants (3LO) for apps screen, in the Callback URL field, paste the Callback URL value from AgilePoint NX.

- Click Save Changes.
Step 5: Configure the REST API for Jira Software
Next, configure the REST API for Jira Software.
How to Start
- In Jira Software, open the Jira OAuth 2.0 authorization code grants (3LO) for apps screen.
For more information, refer to Configure the Redirect URL for Jira Software.
Procedure
- In Jira Software, on the OAuth 2.0 authorization code grants (3LO) for apps screen, click Add APIs.
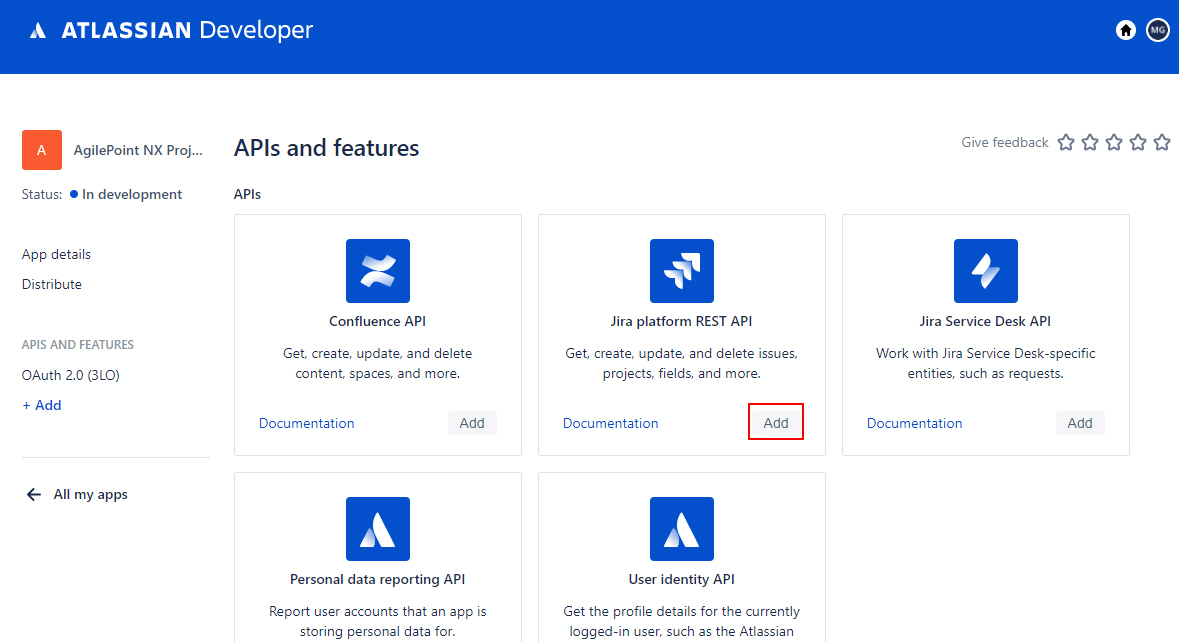
- On the APIs and features screen, in the Jira platform REST API, click Add.
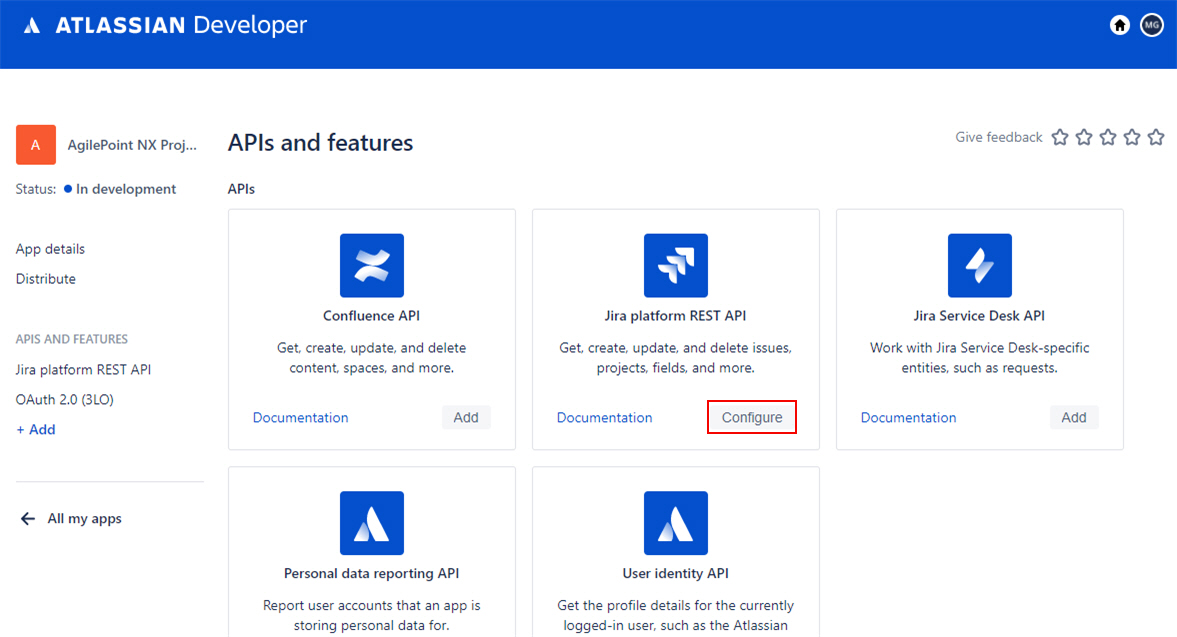
- Click Configure.
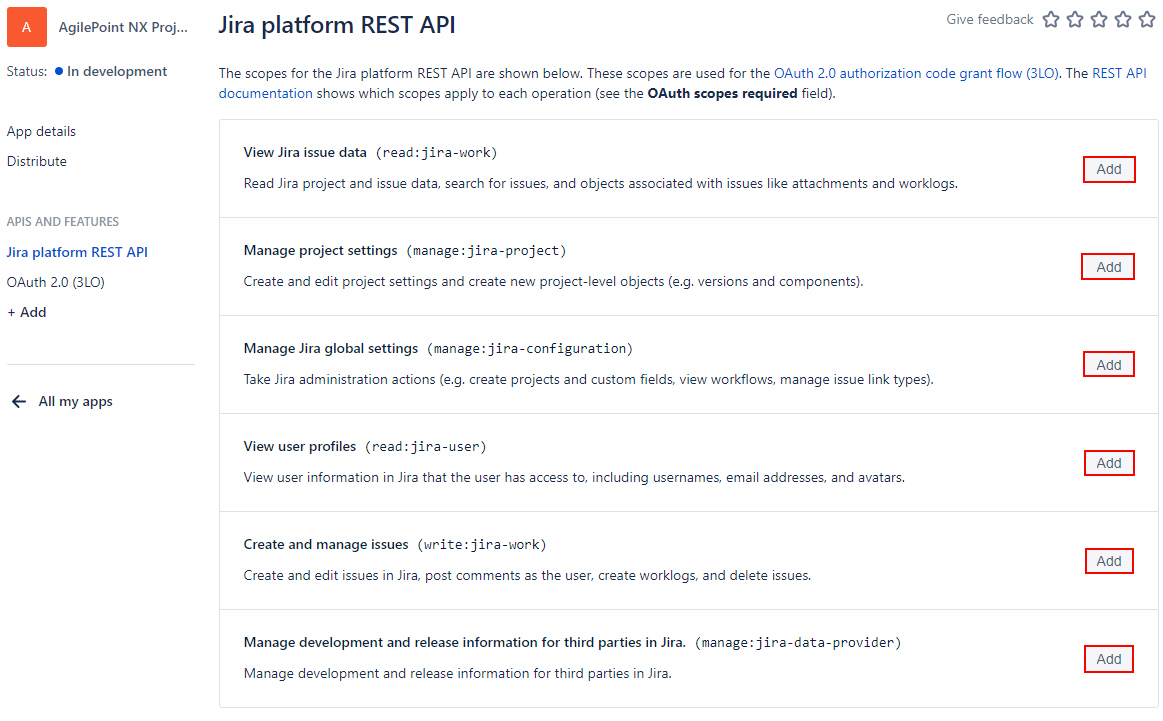
- In the Jira platform REST API screen, add these scopes for the OAuth 2.0 authentication.
- View Jira issue data
- Manage project settings
- Manage Jira global settings
- View user profiles
- Create and manage issues
- Manage development and release information for third parties in Jira
Step 6: Complete the AgilePoint NX Access Token
Next, complete the AgilePoint NX access token configuration for Jira Software.
How to Start
- In AgilePoint NX, open the Jira Software access token configuration screen.
Procedure
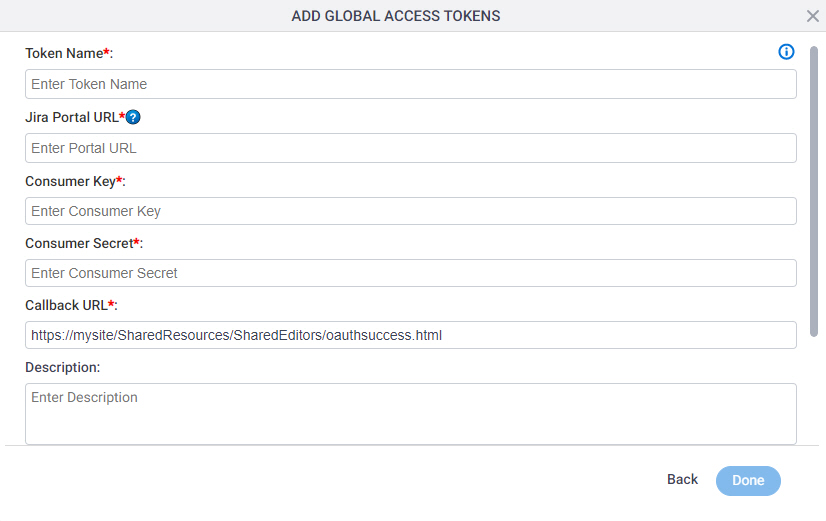
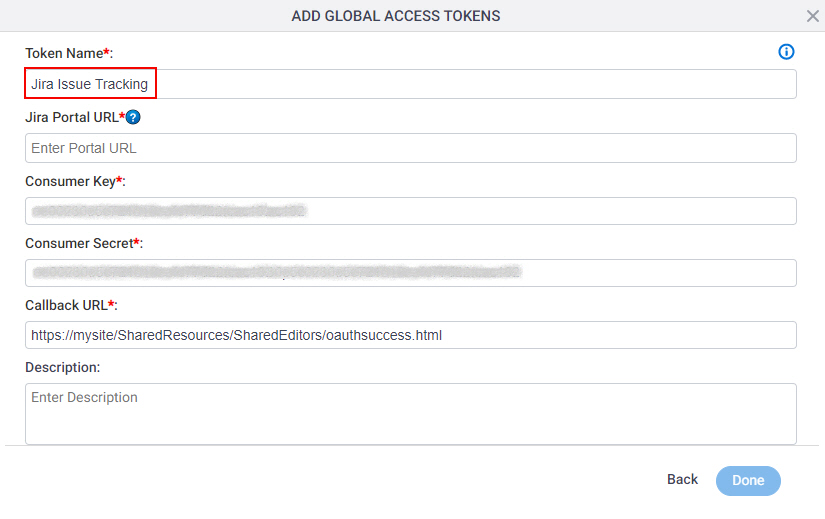
- In AgilePoint NX, on the Jira Software Access Token Configuration screen, in the Token Name field,
enter a name for the access token.
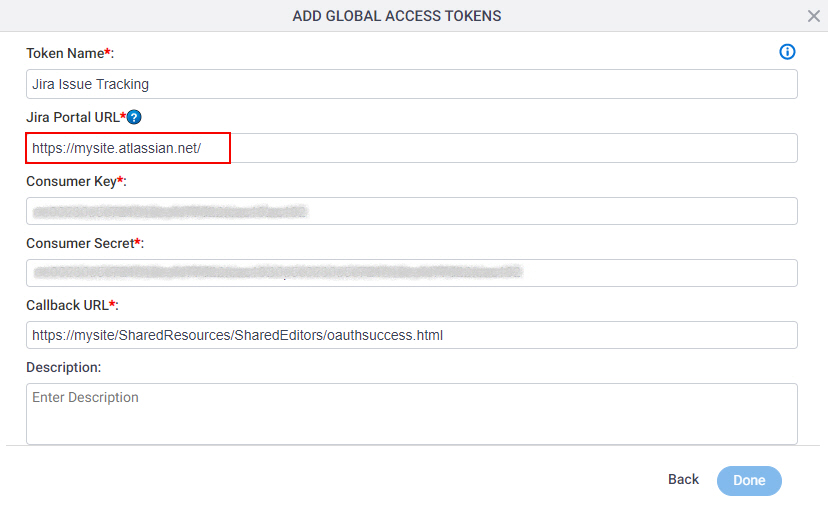
- In the Jira Portal URL field, enter the base URL for your Jira Software site.
This is an example value. In a production environment, enter the actual site URL from Jira Software.
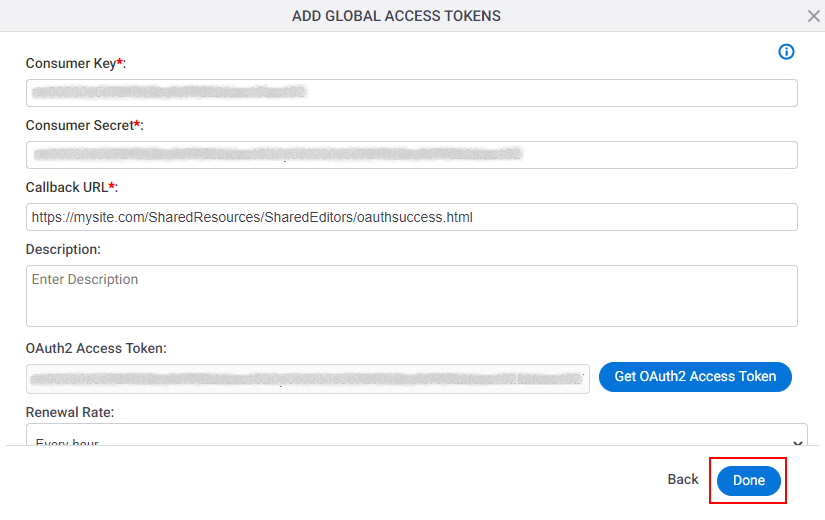
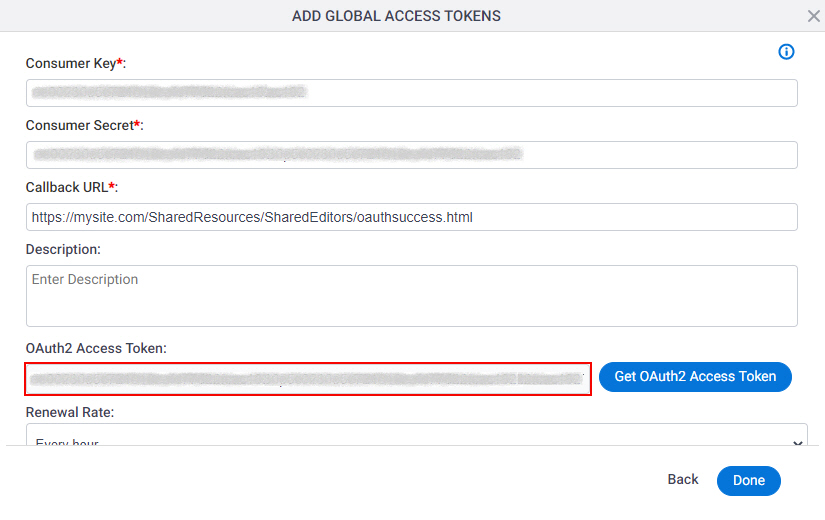
- Click Get OAuth2 Access Token.
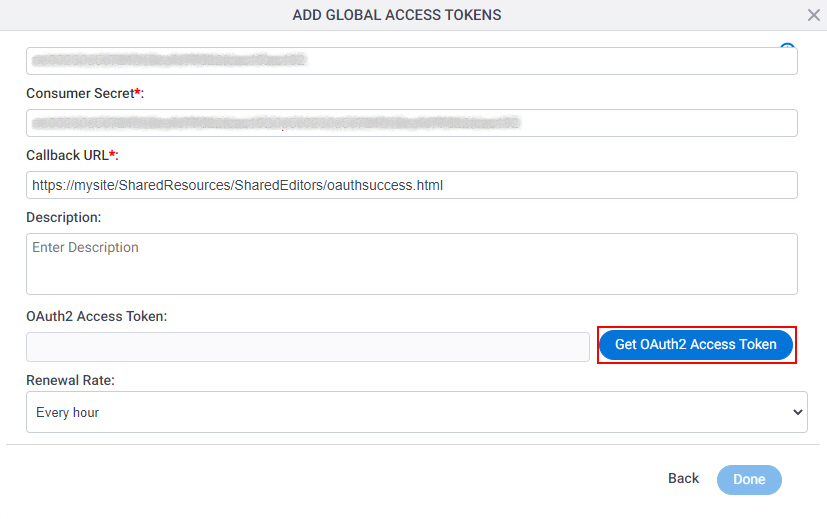
A new tab or window opens in your web browser.
- On the new tab, in the Atlassian screen, in the Authorize for field, select your portal URL for authorization.
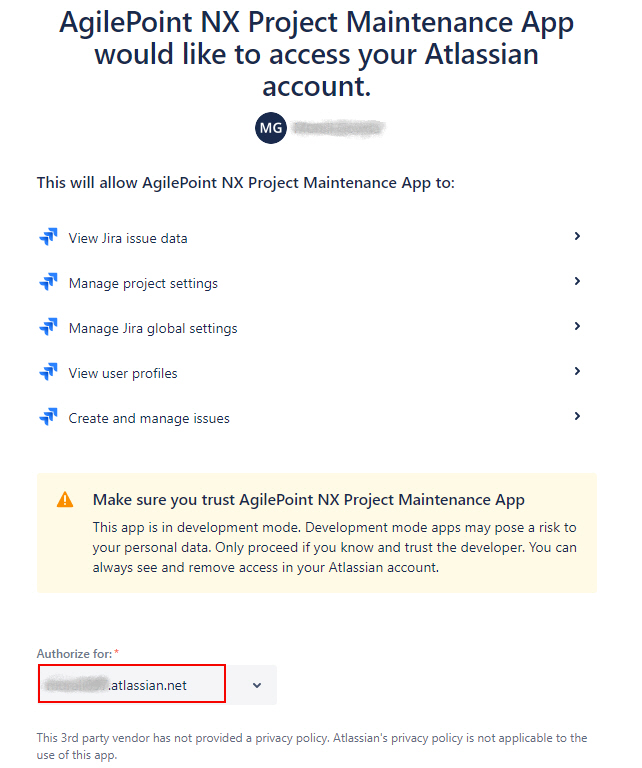
- Click Accept.
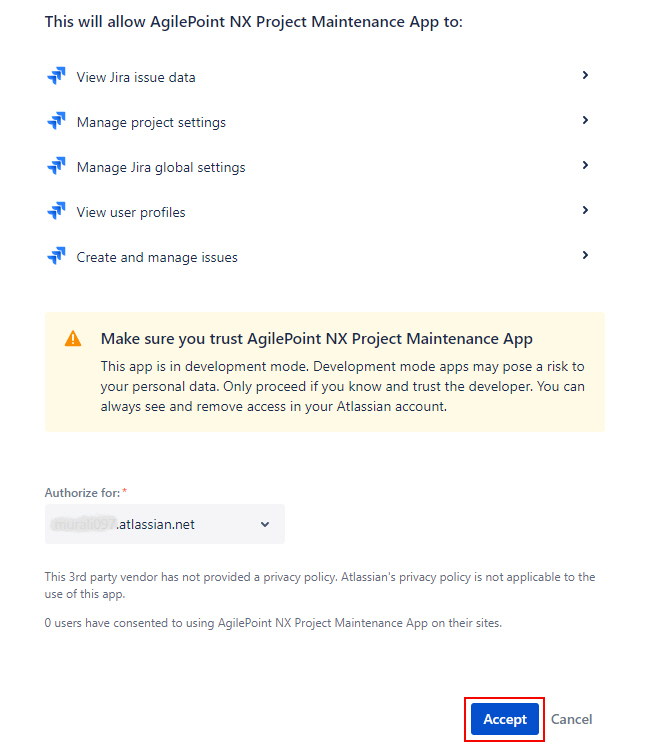
The new tab or window closes in your web browser, and the Jira Software access token screen shows the OAuth 2.0 access token in the OAuth 2.0 Access Token field.
- Click Done.