
(Example) Start a Process with File Dropping Event Service
This section gives procedures to create an file dropping event service to start a process when a file of a specified type is added to a folder.
Background and Setup
Prerequisites
- AgilePoint NX OnPremises or AgilePoint NX PrivateCloud.
- The Event Service AgileConnector must be added via the AgilePoint Server Configuration utility before using the Event Service.
- Create 2 folders in C: drive with the following name.
- Source File
- Destination File
Figure: Source and Destination files 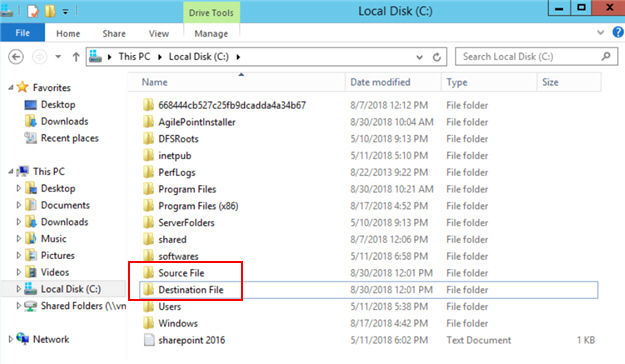
Good to Know
- This example uses the Sales Invoice app from the AgilePoint NX App Store.
For more information, refer to How to Get the App
Create a File Dropping Event
This step shows how to create a file dropping event.
How to Start
- In the Manage Center, click
System
 > Events Service.
 - On the Events Service screen,
click Add Event Service

Procedure
- On the Select the type of Event service to be created screen, select File Dropping.
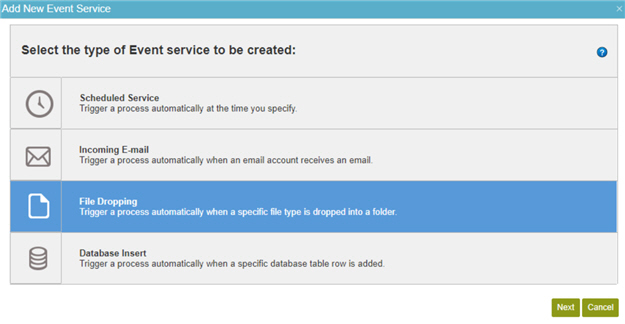
- Click Next.
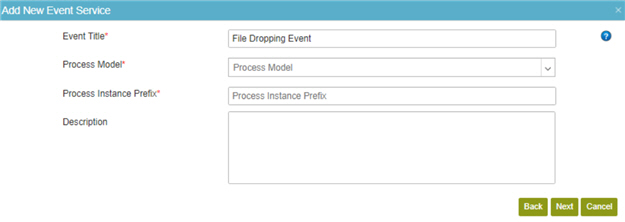
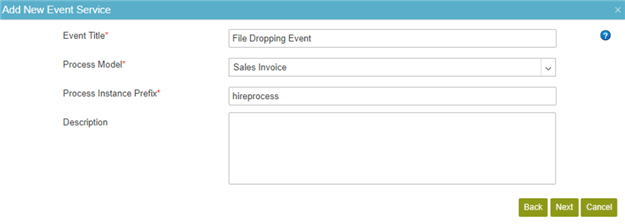
- On the Add New Event Service screen, in the Event Title field, enter File Dropping Event.
- In the Process Model list, select Sales Invoice.
The Sales Invoice is the process model you added to the process builder from AgilePoint NX App Store.
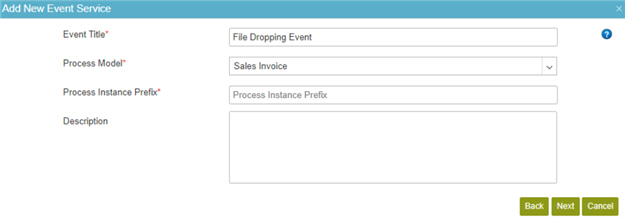
- In the Process Instance Prefix field, enter hireprocess.
- Click Next.
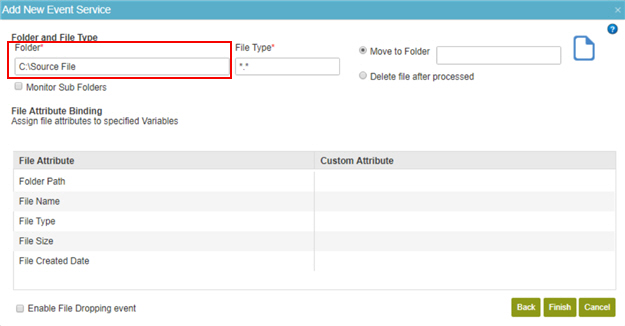
- On the File Dropping screen, in the Folder field, enter C:\Source File.
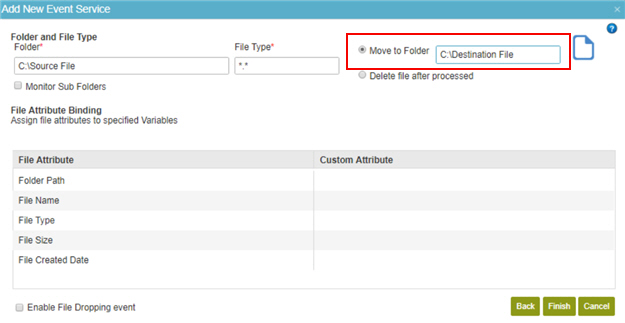
- Select Move to Folder and enter C:\Destination File.
- Click Enable File Dropping event
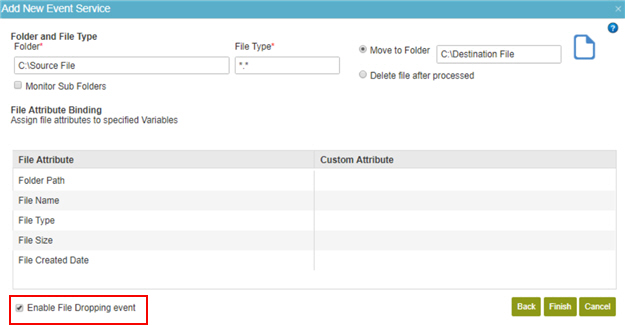
- Click Finish.
- On your machine, in the C: drive, copy and paste a file to the Source File folder.
- The file moves to Destination File folder and process starts.
See the Process Started at Your Scheduled Time
This step shows how to see the process started when a file is added to a folder.
How to Start
- In the Manage Center, click Runtime Management
 > Processes.
Procedure
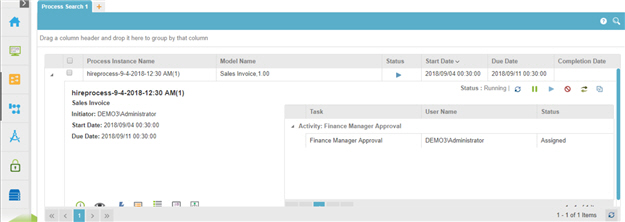
- On the Process screen, you can see your process is running.
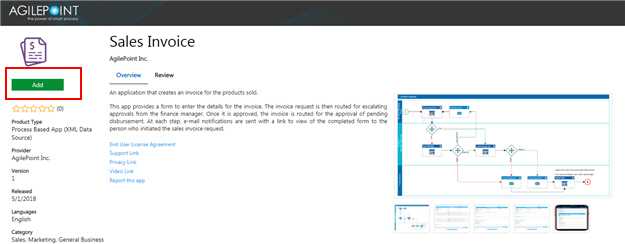
How to Get the App
This example is based on the Sales Invoice app from the AgilePoint NX App Store. Use this procedure to get the app.
Prerequisites
- AgilePoint NX OnDemand (public cloud), or AgilePoint NX PrivateCloud or AgilePoint NX OnPremises v7.0 or higher.
Good to Know
- This procedure is optional. It is provided so you can test the example with an out-of-the-box app.
- This is part of the Background and Setup procedures, but many users preferred this step to appear after the example, not before it.
Procedure
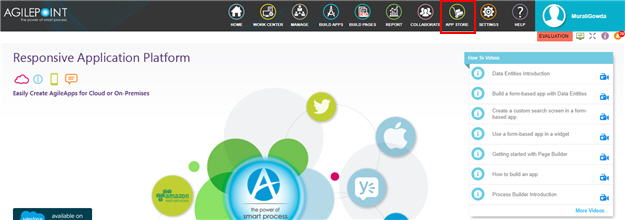
- Click App Store
 .
.
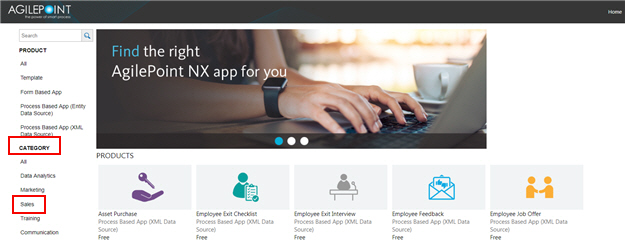
- In the CATEGORY section, click Sales.
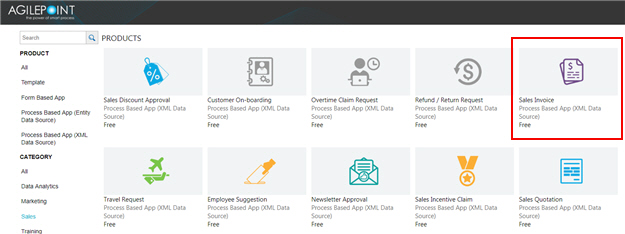
- Click the Sales Invoice app.
- On the Sales Invoice screen, click Add.
- On the Trust App screen, click Trust it.
- Click Return to site.