
(Example) How Can I Map a Repeating Schema Element to Data Population?
This example shows how to map a repeating schema element to data population, do the procedure in this topic.
Background and Setup
Prerequisites
- Create 2 database tables.
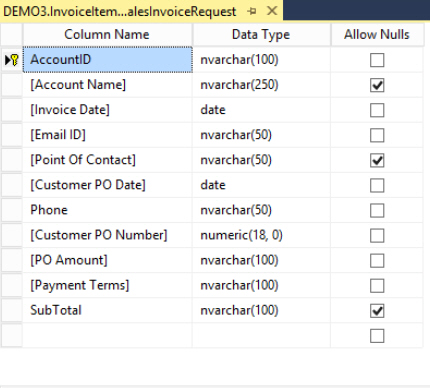
This example shows a table called SalesInvoiceRequest.
The AccountID column name specified as a primary key. The column names specified in this table are similar to the form fields, except AccountID.
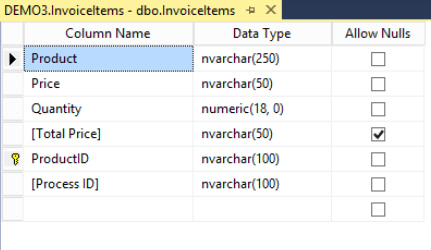
This example shows a table called Invoice Items.
The ProductID column name specified as a primary key. The column names specified in this table are similar to the sub form fields, except ProcessID. The ProductID is a primary key so you need to add ProductID in your subform to insert the values.
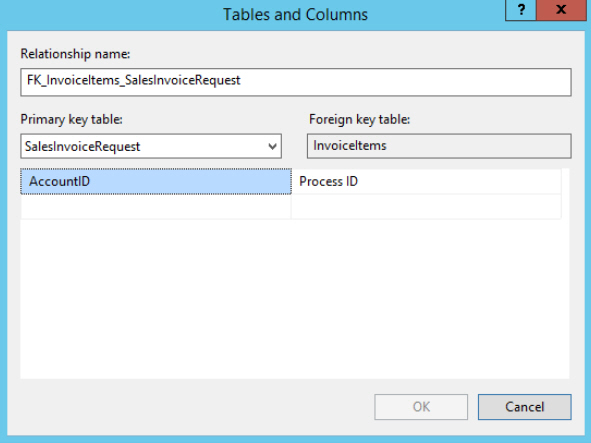
The column name Process ID is set as a foreign key constraint.
- Create Data Population database access token.
For more information, refer to Access tokens for Database.
Good to Know
- This example uses the Sales Invoice app from the AgilePoint NX App Store.
For more information, refer to How to Get the App
Step 1: Configure the ProductID Text Box for Invoice Items Subform
To configure the ProductID text box form control, do the procedure in this topic.
How to Start
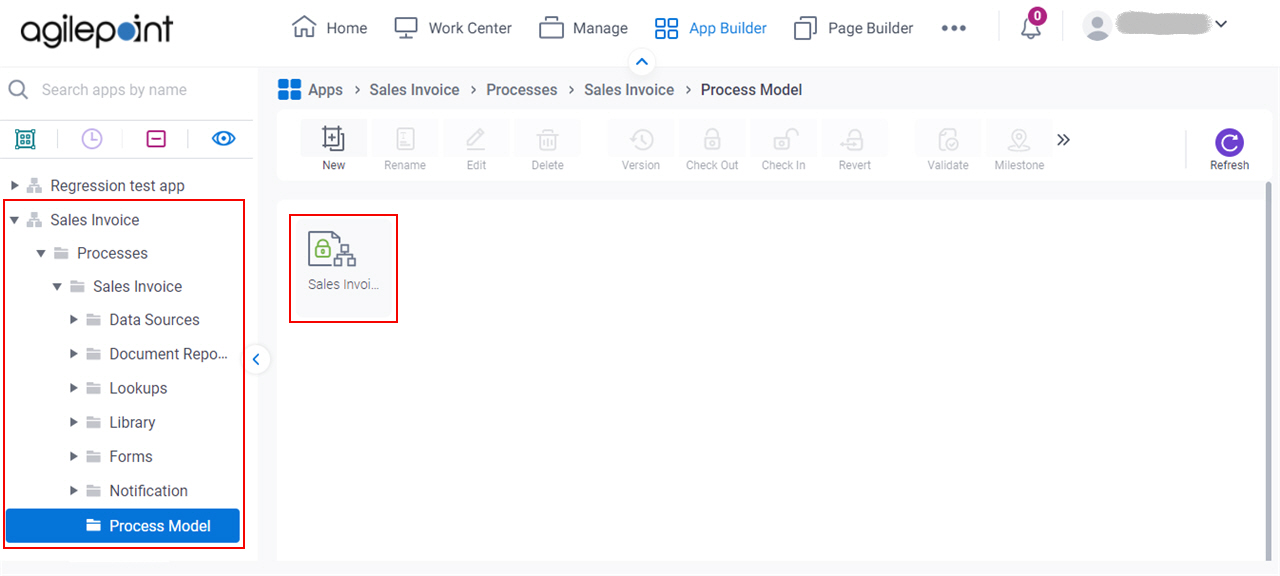
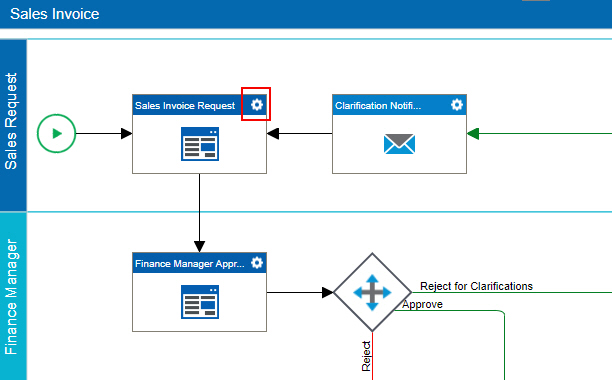
- On the App Explorer screen,
click Sales Invoice > Processes > Sales Invoice > Process Model > Sales Invoice.
Procedure
- On the Sales Invoice process, in the Sales Invoice Request activity, click
Activity Settings
 > Edit eForm
  .
.
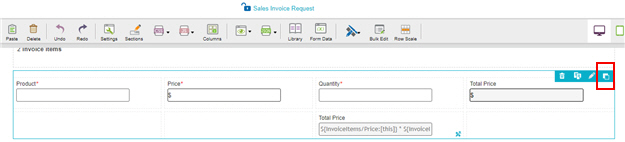
- On the Invoice Items subform, click Design Subform
 .
.
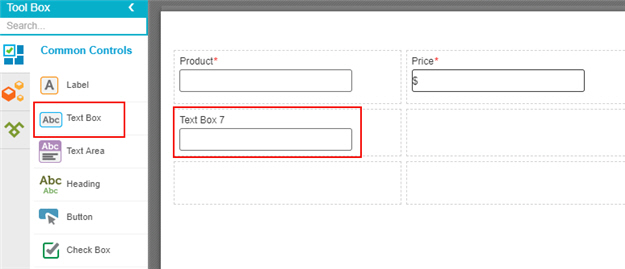
- On the
Common Controls tab,
drag a Text Box
 form control onto your eForm.
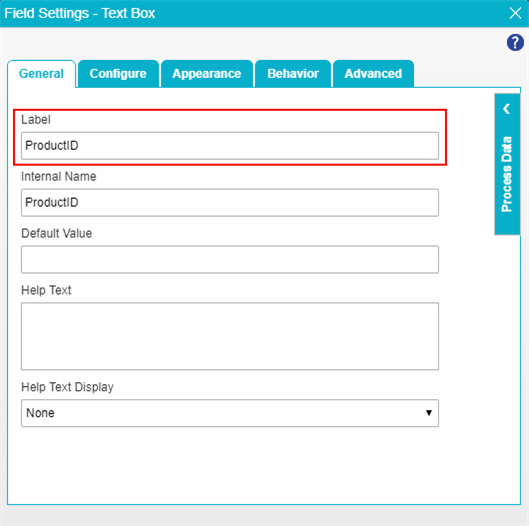
- On the Field Setting - Text Box screen, click the General tab.
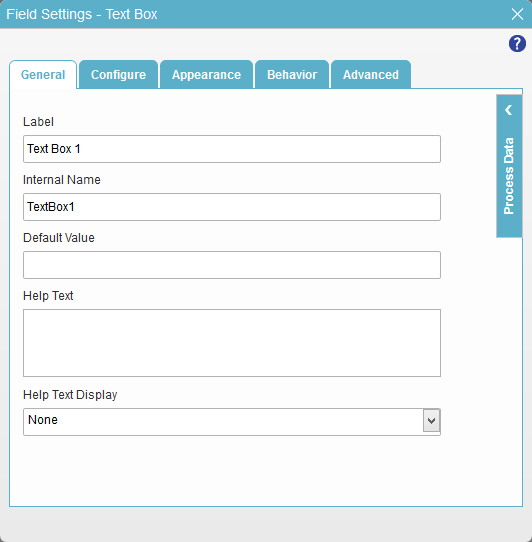
- In the Label field, enter
ProductID.
- Click the Configuration tab.
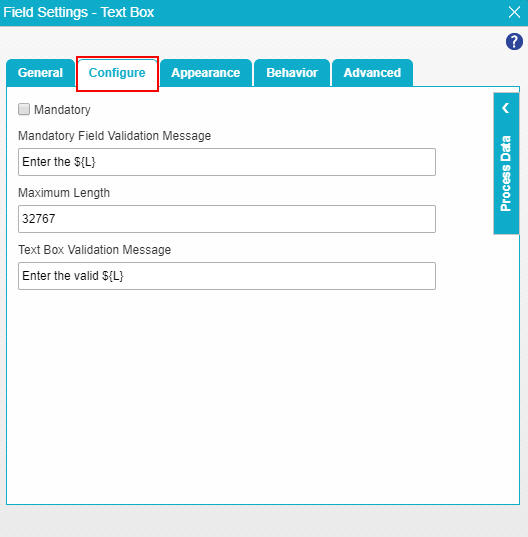
- On the Configuration tab, select Mandatory.

- To save the changes, click Close Screen
 .
. - The Invoice Items subform shows the ProductID text box form control.

- On the Process Builder screen, click Save
 .
. 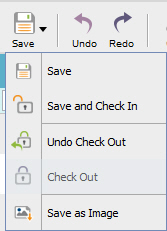
- On the Save quick menu, click Save and Check In
 .
.
Step 2: Configure Data Population with Microsoft SQL Server
This example shows how to configure data population with Microsoft SQL Server.
Procedure
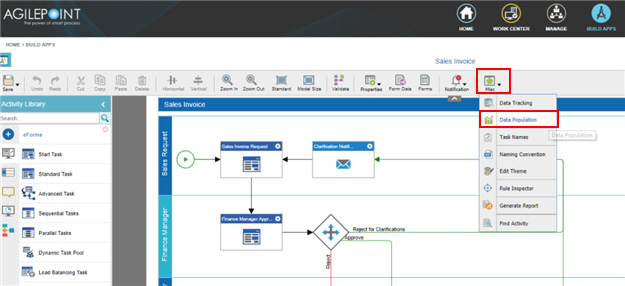
- In the Process Builder, click
Misc
 > Data Population
  .
.
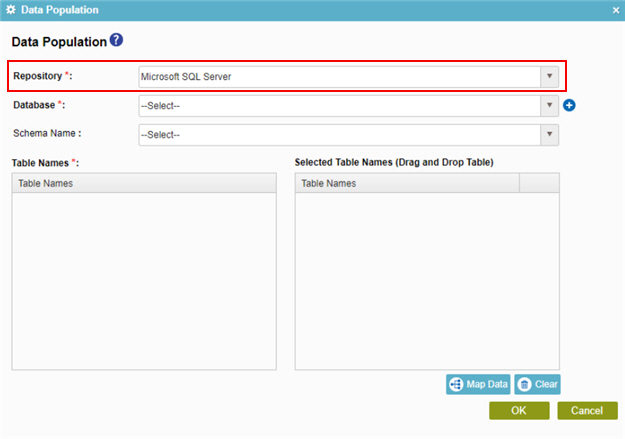
- On the Data Population screen, in the Repository list, select Microsoft SQL Server.
- In the Database list, select DB Token databae access token.
To create a new access token, click Create
 . For more information, refer to
Access Token for Database..
. For more information, refer to
Access Token for Database..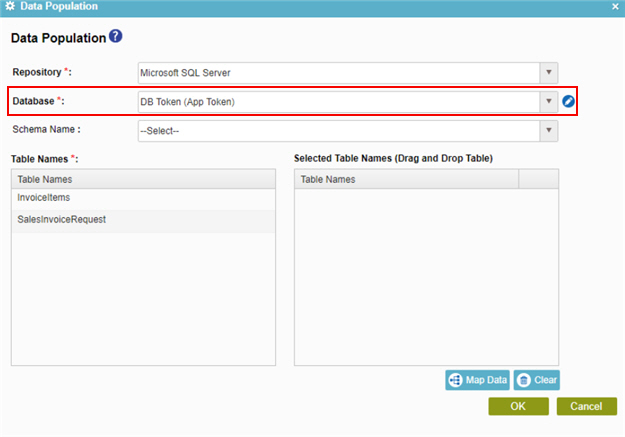
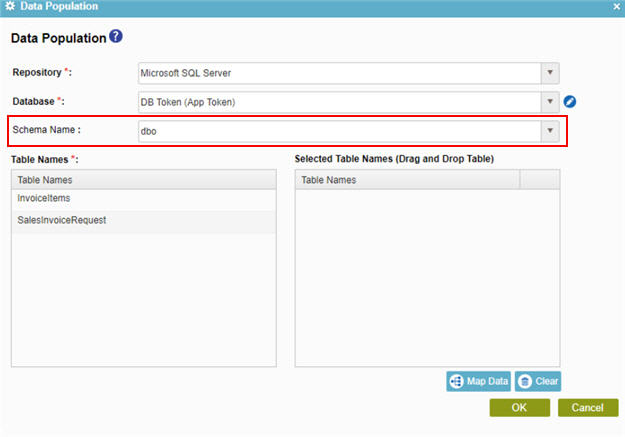
- In the Schema Name field, select dbo.
- Drag InvoiceItems from Table Names to Selected Table Names.
- Drag SalesInvoiceRequest from Table Names to Selected Table Names.
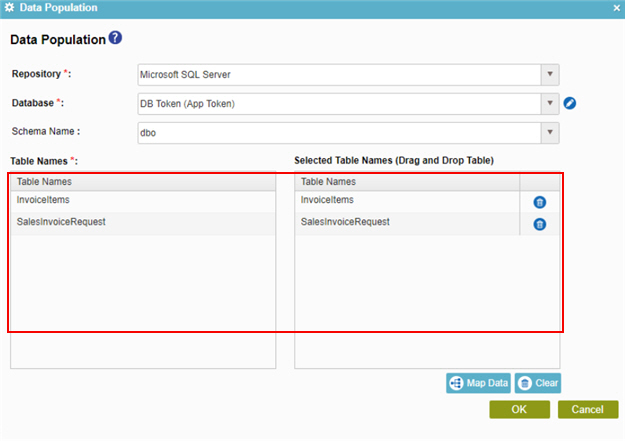
- Click Map Data.
- On the Schema Mapper screen, map the fields to data population.
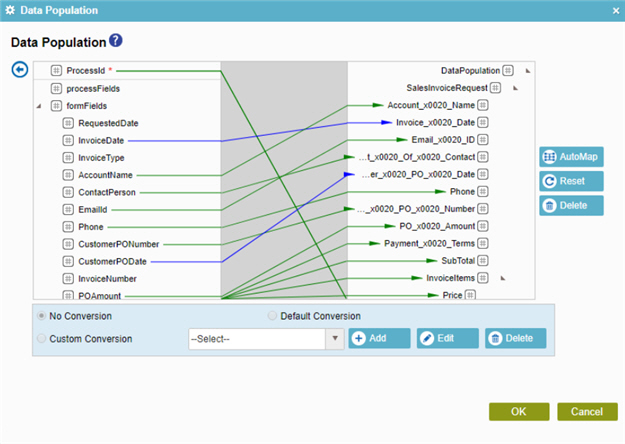
Process Data Database Column Names ProcessId Process_x0020_ID, AccountID InvoiceDate Invoice_x0020_Date AccountName Account_x0020_Name ContactPerson Point_x0020_Of_x0020_Contact EmailId Email_x0020_ID Phone Phone CustomerPONumber Contact_x0020_PO_x0020_Number CustomerPODate Customer_x0020_PO_x0020_Date POAmount PO_x0020_Amount InvoiceItems InvoiceItems Product Product Price Price Quantity Quantity TotalPrice Total_x0020_Price ProductID ProductID SubTotal SubTotal PaymentTerms Payment_x0020_Terms
How to Get the App
This example is based on the Sales Invoice app from the AgilePoint NX App Store. Use this procedure to get the app.
Prerequisites
- AgilePoint NX OnDemand (public cloud), or AgilePoint NX Private Cloud or AgilePoint NX OnPremises v7.0 or higher.
Good to Know
- This procedure is optional. It is provided so you can test the example with an out-of-the-box app.
- This is part of the Background and Setup procedures, but many users preferred this step to appear after the example, not before it.
Procedure
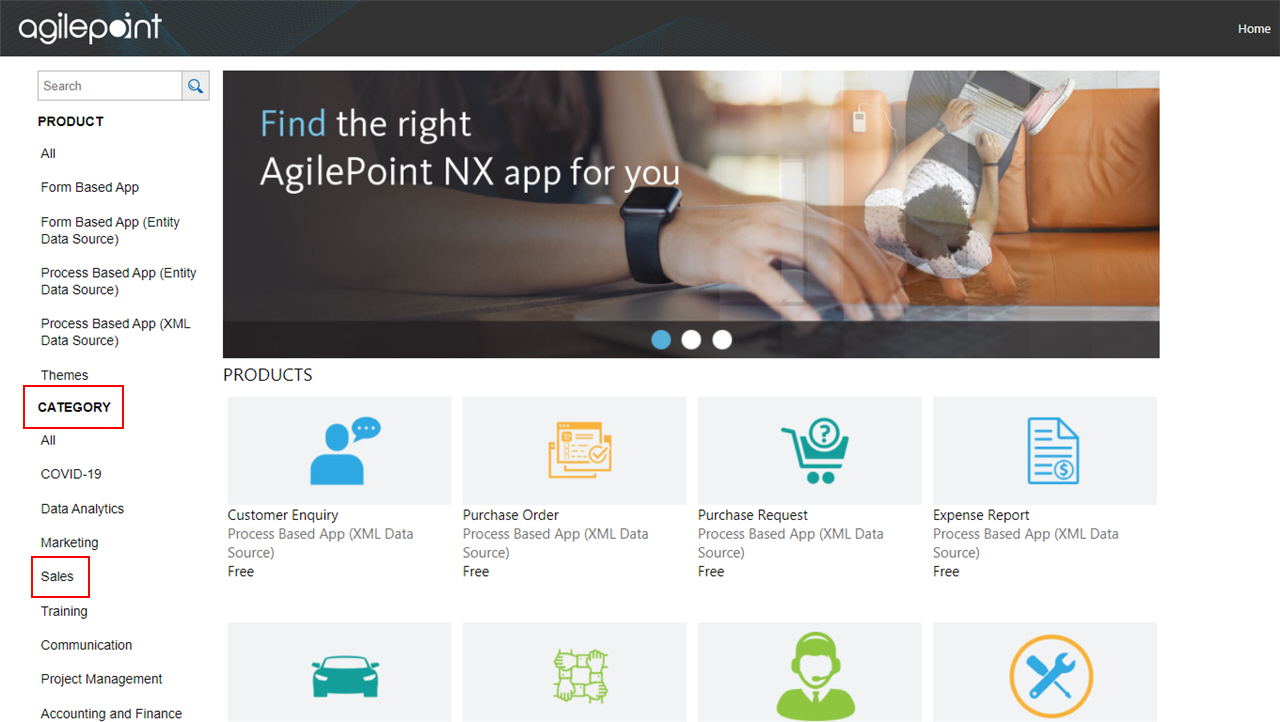
- Click App Store
 .
.

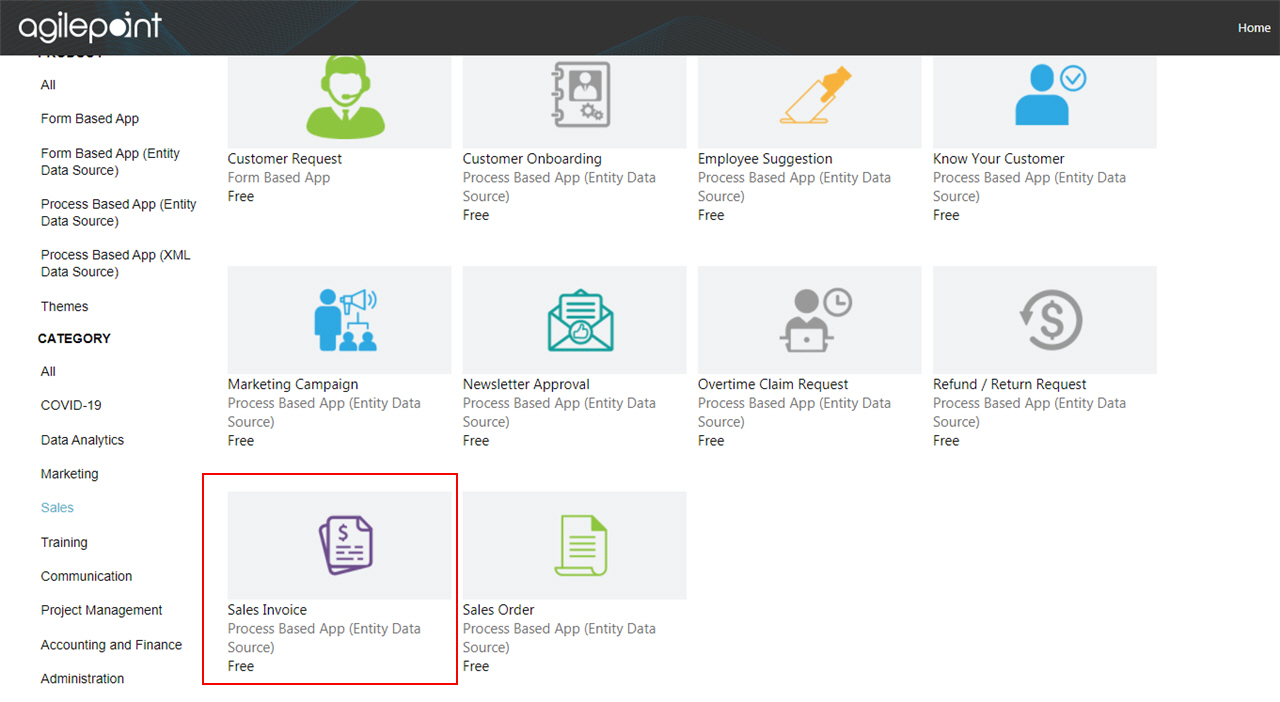
- In the CATEGORY section, click Sales.
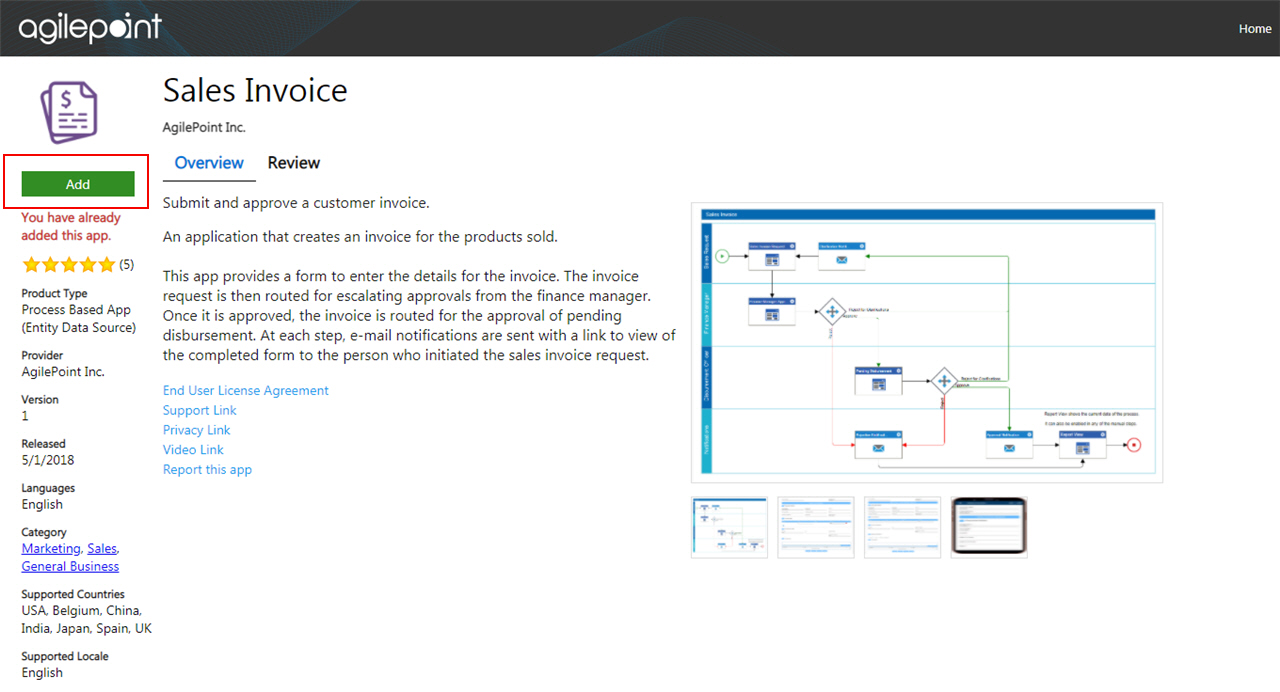
- Click the Sales Invoice app.
- On the Sales Invoice screen, click Add.
- On the Trust App screen, click Trust it.
- Click Return to site.