
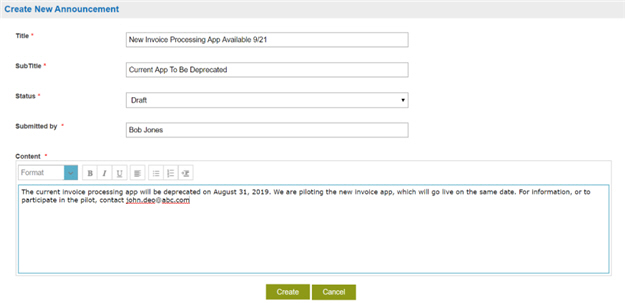
Create New Announcement screen
Creates an announcement for NX Portal.
Prerequisites
- AgilePoint NX PrivateCloud or AgilePoint NX OnPremises v7.0 Software Update 2 or higher.
Good to Know
- By default, the NX Portal Administrator has permission to create, change, and delete an announcement.
- Other users can create, change, and delete announcements if
they have access rights for the Settings module, and they are named in the
NX Portal web.config file in the key announcement:AllowedUsers.
For more information, refer to Configure the Announcements Component in NX Portal.
How to Start
- Click Profile Picture
 .
. - Click Announcements
 .
. - On the Announcements screen, click Create New Announcement.
Fields
| Field Name | Definition |
|---|---|
Title |
|
Subtitle |
|
Status |
|
Submitted by |
|
Content |
|
Create |
|