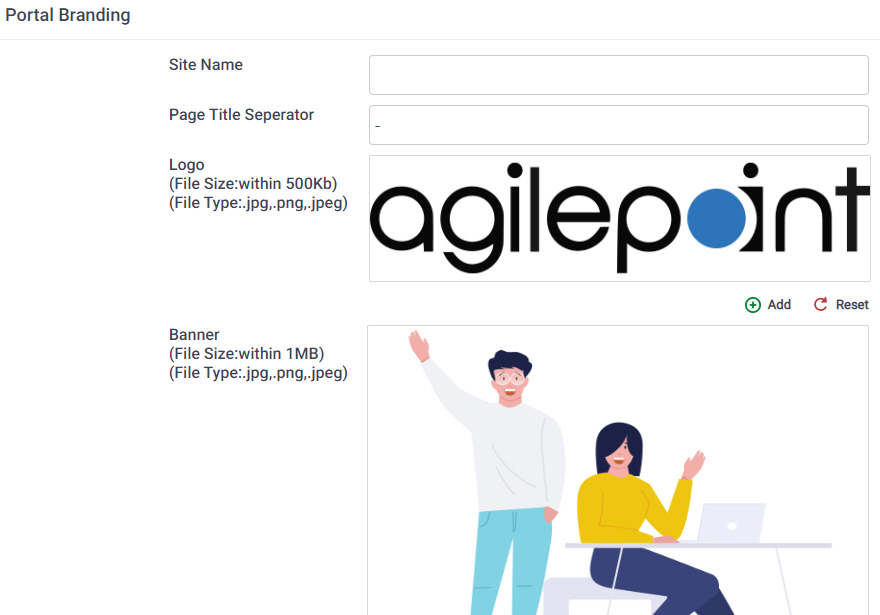
Configures the branding for your portal site, such as site name, logo, and banner.
Figure: Portal Branding screen
Video: Set Up Your Workspace
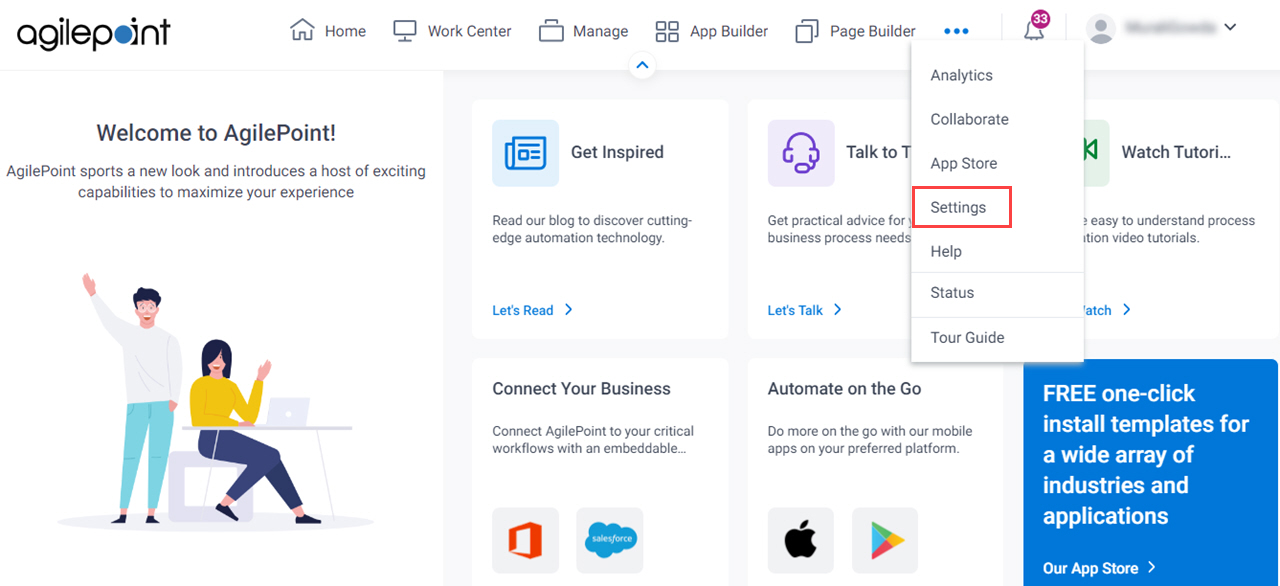
How to Start
- Click Settings.
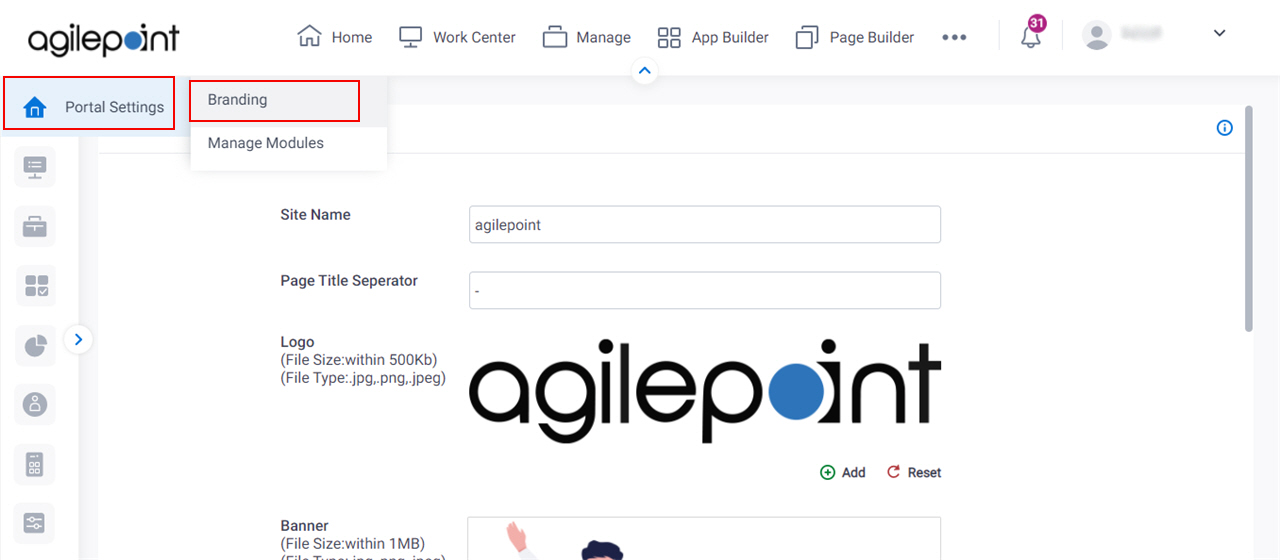
- Click Portal Setting
> Branding.
Fields
| Field Name | Definition |
|---|
Site Name |
- Function:
- Specifies the name of the title for your site.
- Accepted Values:
- One line of text that can have spaces.
|
Page Title Separator |
- Function:
- Specifies the separators before the page title.
- Accepted Values:
- Any special character.
|
Logo |
- Function:
- Specifies the logo image for your site.
- Accepted Values:
- Use the Choose File button to select your logo image.
|
Banner |
- Function:
- Specifies the banner that shows at the top of
your portal page.
- Accepted Values:
- Use the Choose File button to select your banner.
|
Icon |
- Function:
- Specifies the icon image for The AgilePoint NX Portal.
- Accepted Values:
- An image file that meets these requirements:
- .ico format
- 100 KB maximum
- 16 px x 16 px
- 72 px/in resolution
Use the Choose File button to select your icon image.
|
Add |
- Function:
- Uploads the selected files to your portal site.
|
Reset |
- Function:
- Sets the logo or banner of your AgilePoint NX Portal site to the default image.
|
