

Run the Upgrade Installer
To run the AgilePoint NX Upgrade Installer, do the procedure in this topic.
Prerequisites
- Verify that AgilePoint NX v9.0, Software Update 1 is installed on your machines. If you are performing an upgrade following a new installation, make sure you have
installed all the components on all machines first before starting the upgrade.
For more information, refer to How Can I Find the Installed Version of My AgilePoint Component?.
- If AgilePoint NX v9.0, Software Update 1 is configured with SSL or TLS,
you must have the certificate used for AgilePoint NX v10.0.
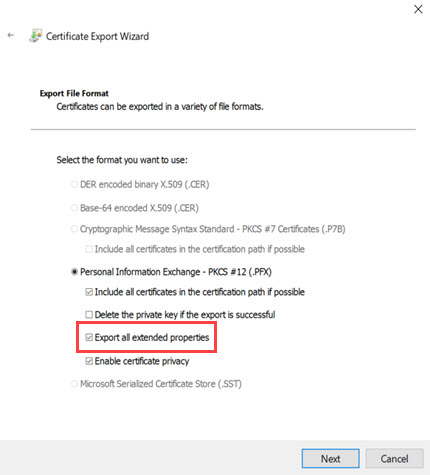
Note:If your certificate is stored in the Microsoft certificate store, when you export the certificate, select Export all extended properties. If this option is not selected, the certificate will cause errors.
- You must run the upgrade installer on every machine that has AgilePoint Server or AgilePoint client components installed. This includes:
- AgilePoint Server machines - If AgilePoint Server is installed in an NLB environment, you must run the installer on every server in the environment where AgilePoint Server is installed.
- AgilePoint NX Portal server machines - If AgilePoint NX Portal is installed on a different machine than AgilePoint Server, you must run the Upgrade Installer on the Portal machine. This is not a common configuration. Usually the Portal is installed on the AgilePoint Server machine.
- Data Services machines - If AgilePoint Data Services is installed on a different machine than AgilePoint Server, you must run the Upgrade Installer on the Data Services machine. This is not a common configuration. Usually Data Services is installed on the AgilePoint Server machine.
- Primary SharePoint server - If you use the SharePoint Integration component for AgilePoint NX, you must complete the upgrade procedure on your primary SharePoint server. You must also decide whether to use the automated or manual SharePoint installation procedure. For a single‑server farm, automated deployment using the Upgrade Installer is recommended. For a multi‑server farm with multiple Web Front End servers, manual installation is recommended to ensure consistent deployment across all servers. Most organizations adopt the manual procedure to maintain control and reliability in larger environments.
- Download the AgilePoint NX Upgrade Installer Package to your AgilePoint Server machine.
- Make sure the correct URL is configured for AgilePoint NX Portal. The URL is configured in the Portal web.yaml file in the portalurl and idpurl configuration key.
- There is no upgrade installer for AgilePoint NX Developer v10.0. You must uninstall AgilePoint NX Developer on each machine where it is installed, and install the new version.
Note:AgilePoint NX Developer v10.0 supports Visual Studio 2022 and 2026 only.
- After you download an installation or upgrade package from AgilePoint, before you extract the package, make sure the file is not blocked by Windows:
- Right-click the installation package file, and click Properties.
- On the file properties screen, select Unblock.
- Sign in to Windows using a user login that belongs to the local system's Administrators group.
- Applying this upgrade will cause AgilePoint Server and other related services to restart. Make sure you perform the upgrade at times when these restarts will have minimal impact on your operations.
- These AgilePoint services must not be set to restart automatically:
- AgilePoint Server Instance (AgilePointServerInstance)
- Data Services (AgilePointDataServices)
For more information, refer to How Do I Configure an AgilePoint Service to Start Automatically, Or Not?
- Close any configuration utilities or screens for AgilePoint NX configuration.
Good to Know
- The AgilePoint NX upgrade includes AgilePoint Server, AgilePoint NX Portal, Analytics Center,and SharePoint Integration.
- The installer UI is optimized for system resolutions 1366x768 or 1920x1080 with 100% scaling. If you use other screen resolutions, the installer UI may not display correctly, which can cause installation errors.
How to Start
- On the AgilePoint Server machine, right-click the AgilePoint NX upgrade installer package, and click Run as administrator.
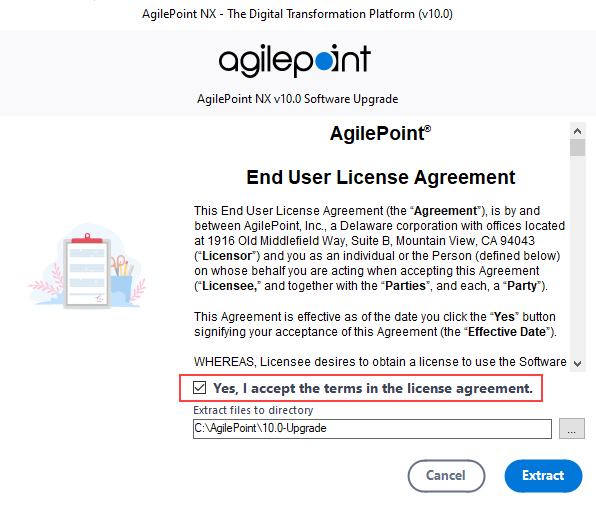
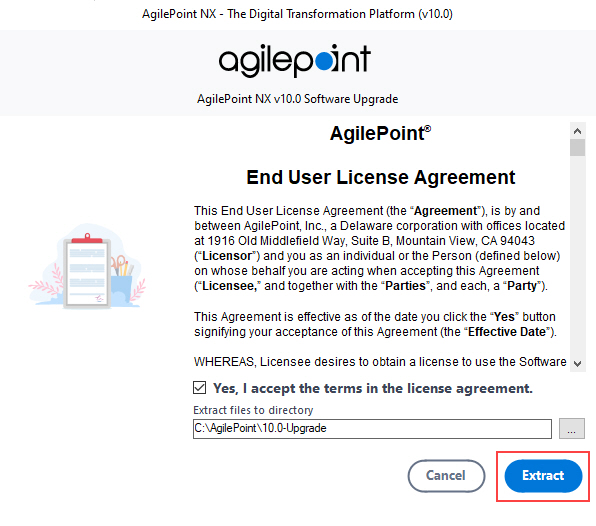
- On the End User License Agreement screen, review the license agreement,
and click Yes. I accept the terms in the license agreement.
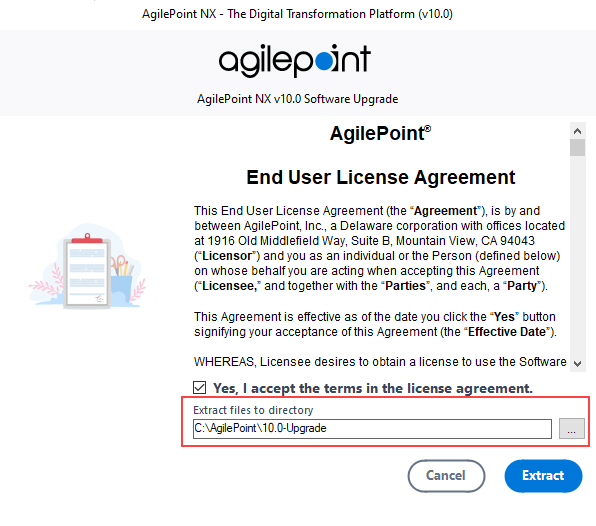
- On the Extract files to directory field, click the Ellipses (...) button to select the folder where you want to extract the
installation files.
The default location for the installer is C:\AgilePoint. It is recommended that you decompress the installation package directly under you C:\ drive folder. The installation file path must be fewer than 50 characters.
- Click Extract.
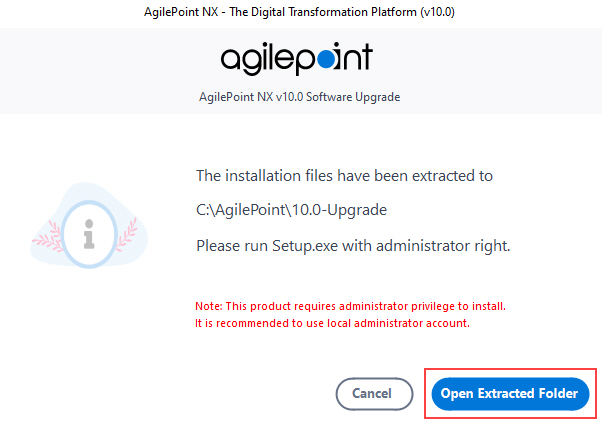
- On the Information screen, click Open Extracted Folder.
The upgrade installation files are extracted to the specified folder. When the extraction is complete, this screen shows.
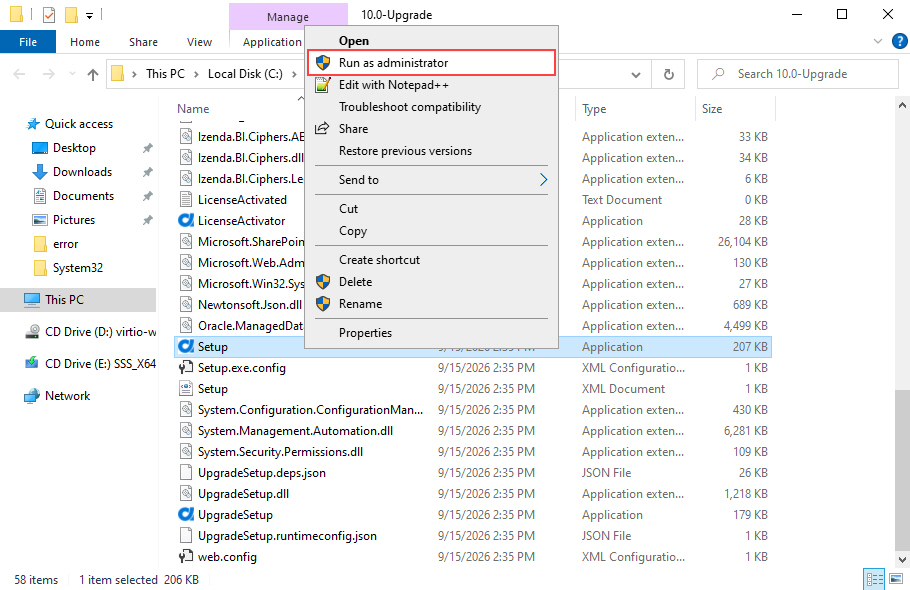
- Right-click the AgilePoint NX upgrade Setup.exe file, and
click Run as administrator.
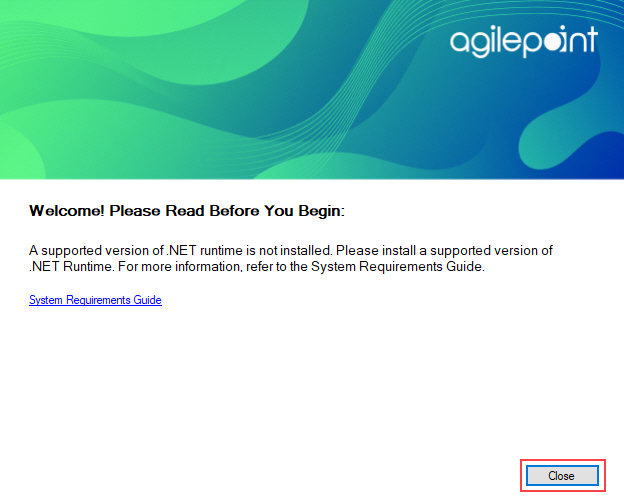
- If a supported version of .NET Runtime is not installed, this screen shows.
- Click Close.
- Install the supported version of .NET Runtime.
- Right-click the AgilePoint NX upgrade Setup.exe file, and click Run as administrator.
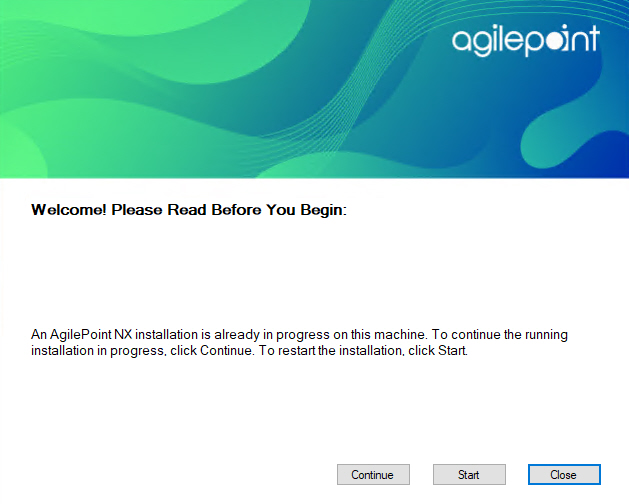
- After installing the supported version of .NET Runtime, this screen shows when you run the AgilePoint NX upgrade Setup.exe file.
- To resume the installation, click Continue.
- To restart the installation, click Start.
Procedure
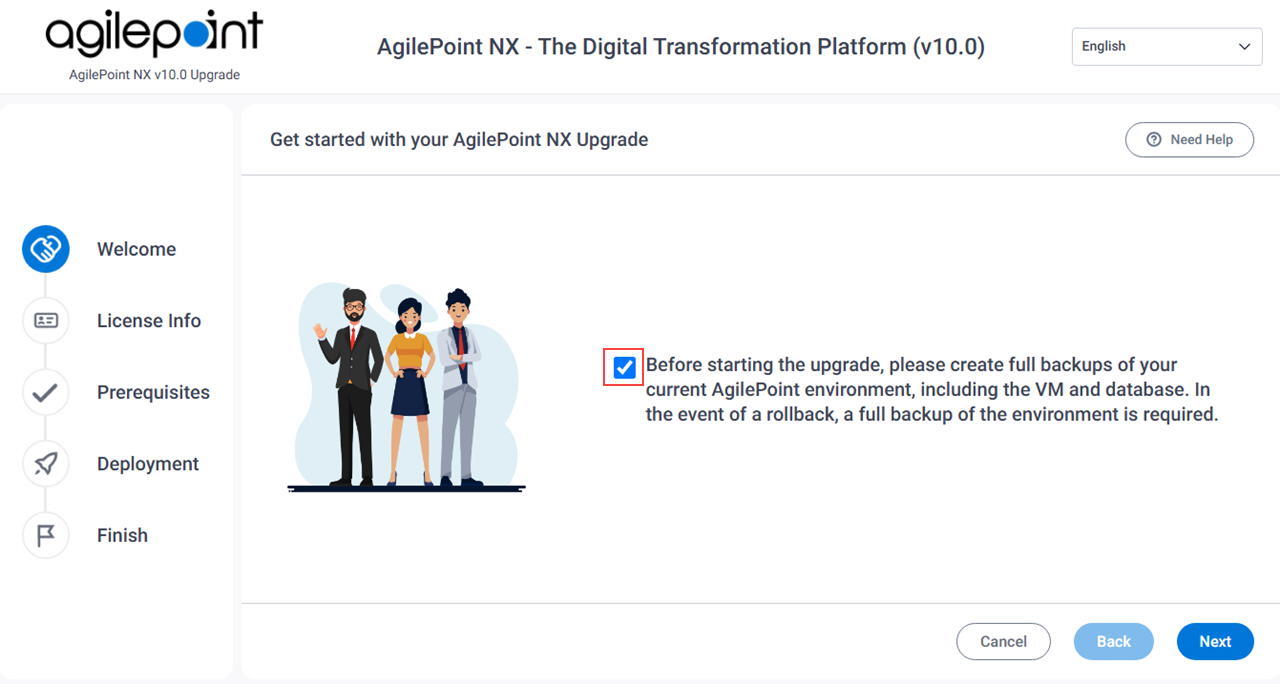
- On the Get Started with your AgilePoint NX Upgrade screen, select
Before starting the upgrade, please create full backups of your current AgilePoint environment,
including the VM and database. In the event of a rollback, a full backup of the environment is required.
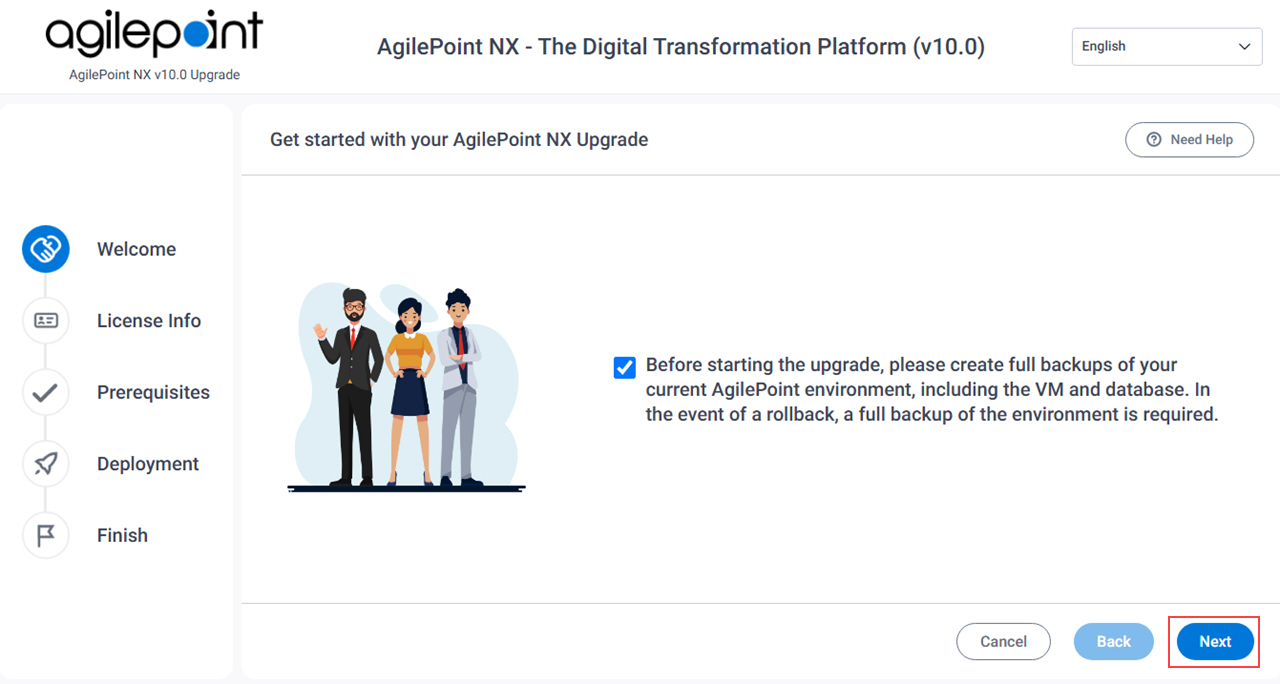
- Click Next.
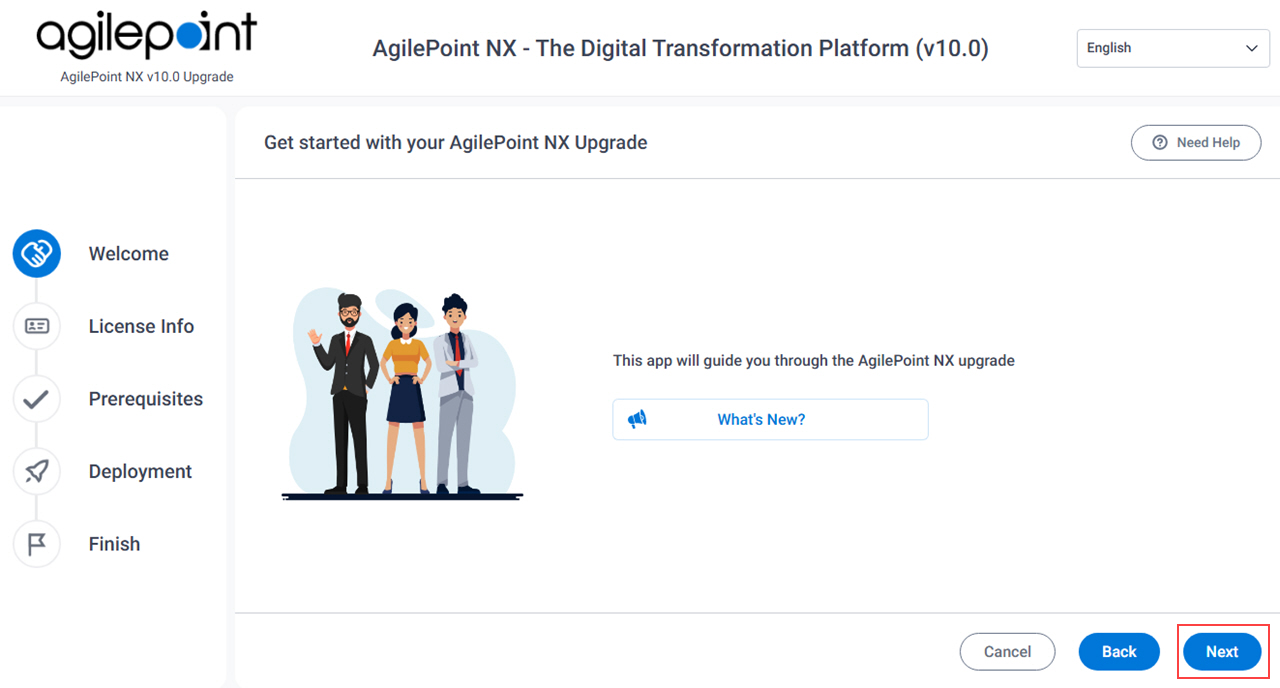
- Click Next.
- On the License Information screen, in the AgilePoint NX v10.0 License key field,
enter the license key for v10, and click Activate.
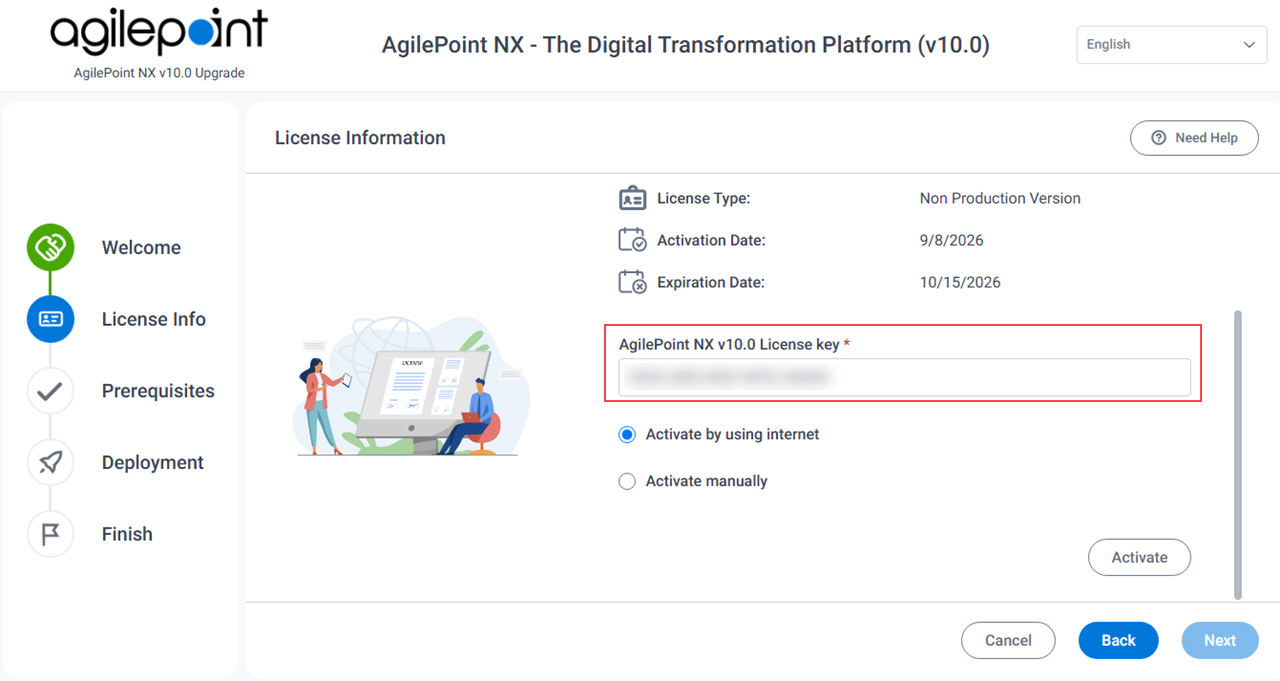
- On the License Information screen, click Next.
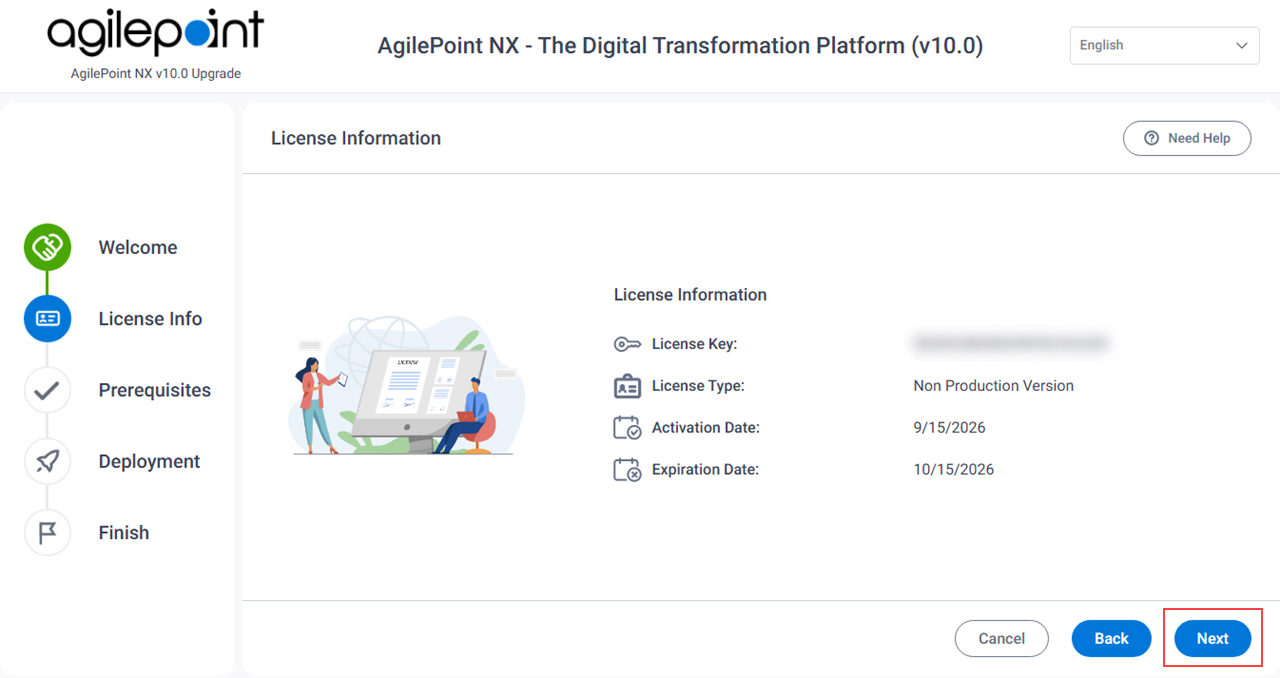
- On the Compatibility Notification screen, select the item.
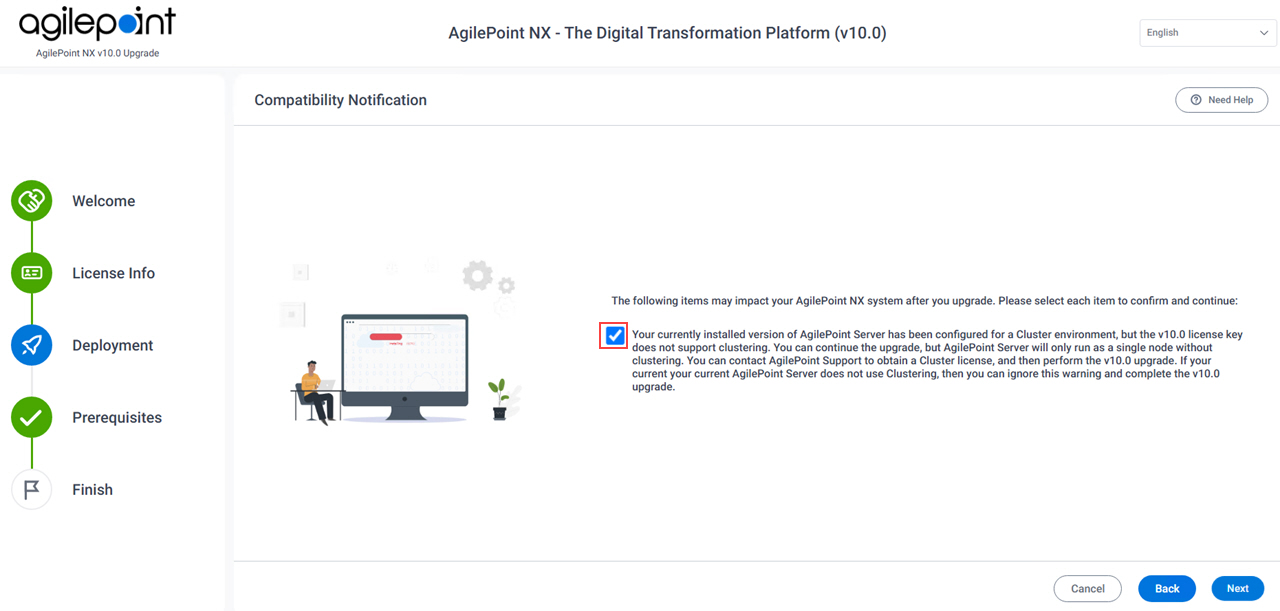
Issue Resolution The v10.0 license key does not support clustering.
Upgrade your license key to support a Cluster license. You can contact AgilePoint Support to obtain a Cluster license.
- Click Next.
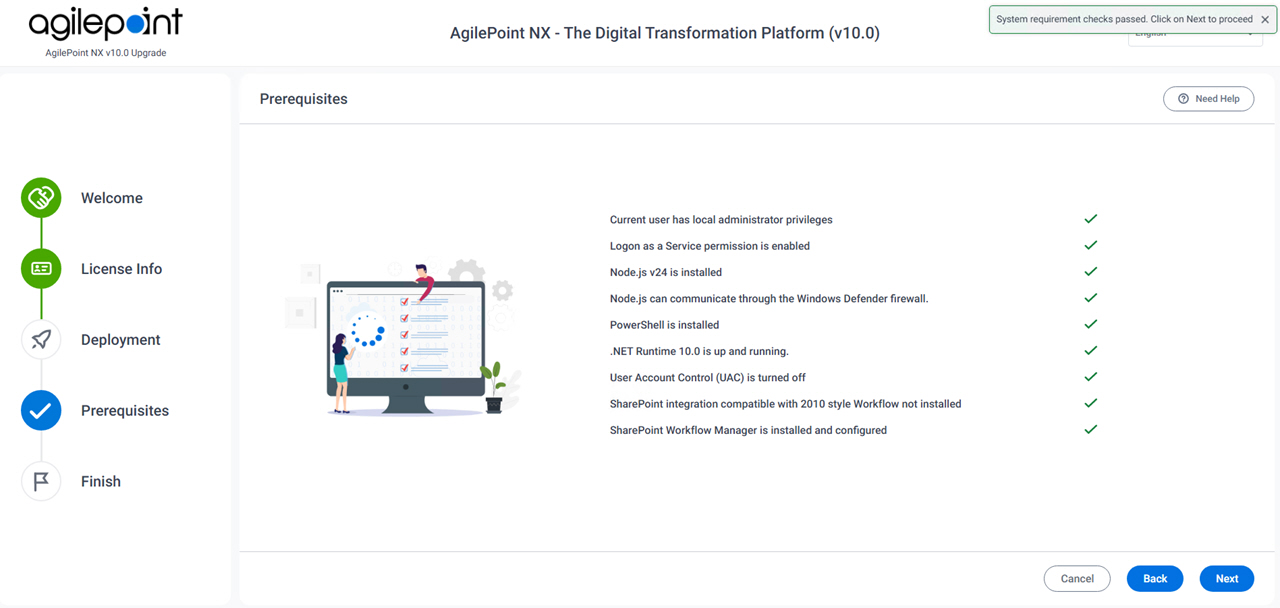
- On the Prerequisites screen:
- If there are any errors, do this procedure:
- Click Cancel.
- Correct the errors.
- Right-click the AgilePoint NX upgrade Setup.exe file, and click Run as administrator.
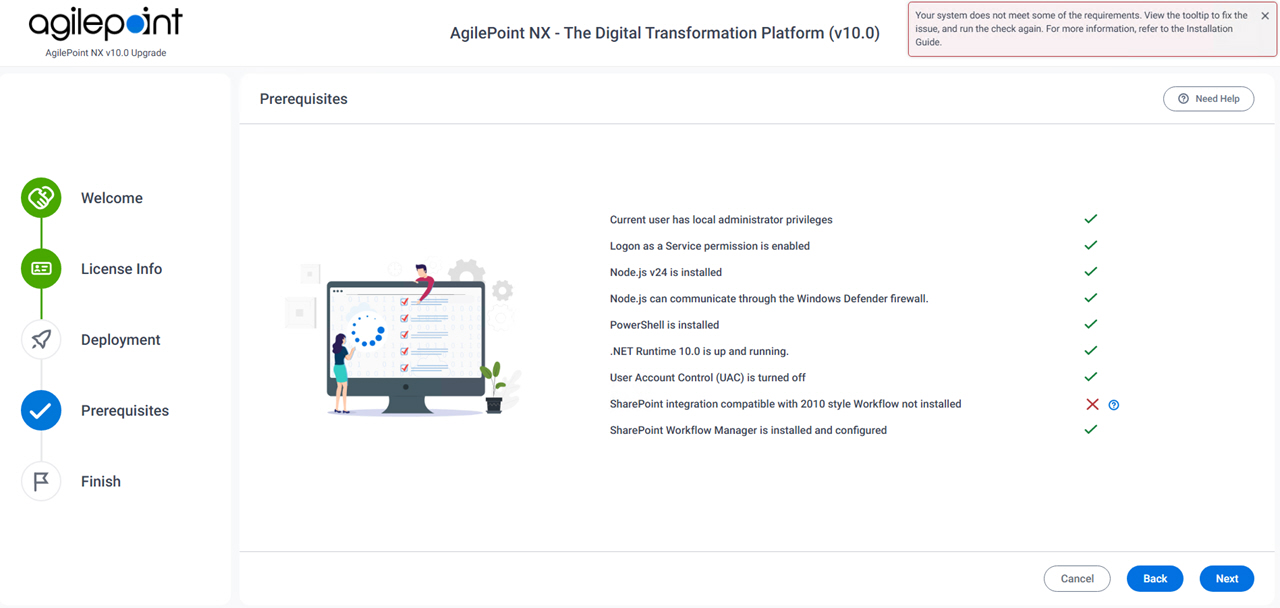
Issue Resolution Current user has local administrator privileges
Sign in to this machine as a user with administrator privileges.
Logon as a Service permission is enabled
Add the Log on as a Service permission to the account.
For more information, refer to Add the Log on as a service Right to the AgilePoint Service Account.
Node.js v24 is installed
Install Node.js on the AgilePoint Server machine.
Node.js can communicate through the Windows Defender firewall
Configure Node.js to communicate through the Windows Defender firewall.
For more information, refer to Configure Node.js To Communicate Through the Firewall.
PowerShell is installed
PowerShell is installed on your primary SharePoint machine.
.NET Runtime 10.0 is up and running
Start .NET Runtime 10.0.
User Account Control (UAC) is turned off
Turn user access control (UAC) off.
For more information, refer to Turn Off User Account Control (UAC).
SharePoint integration compatible with 2010 style Workflow not installed
SharePoint 2010 Workflow is uninstalled on your primary SharePoint server.
SharePoint Workflow Manager is installed and configured
Install and configure SharePoint Workflow Manager on your primary SharePoint server.
- If there are no errors, click Next.
- If there are any errors, do this procedure:
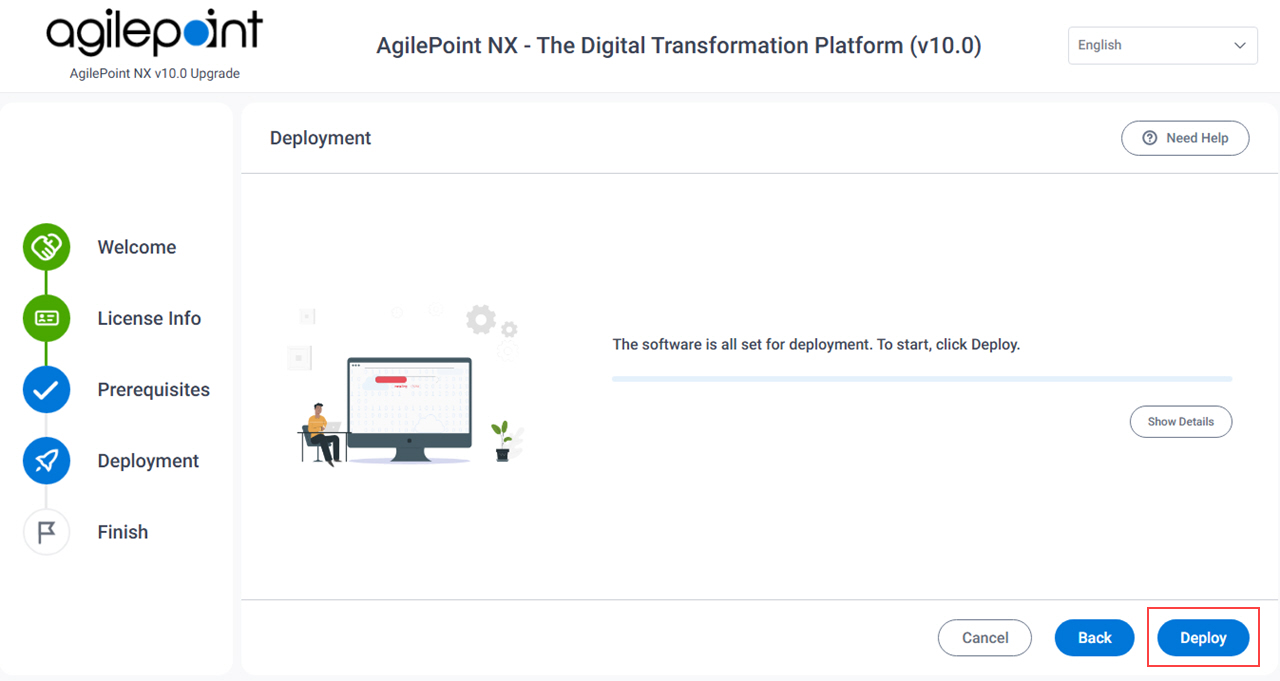
- On the Deployment screen, click Deploy.
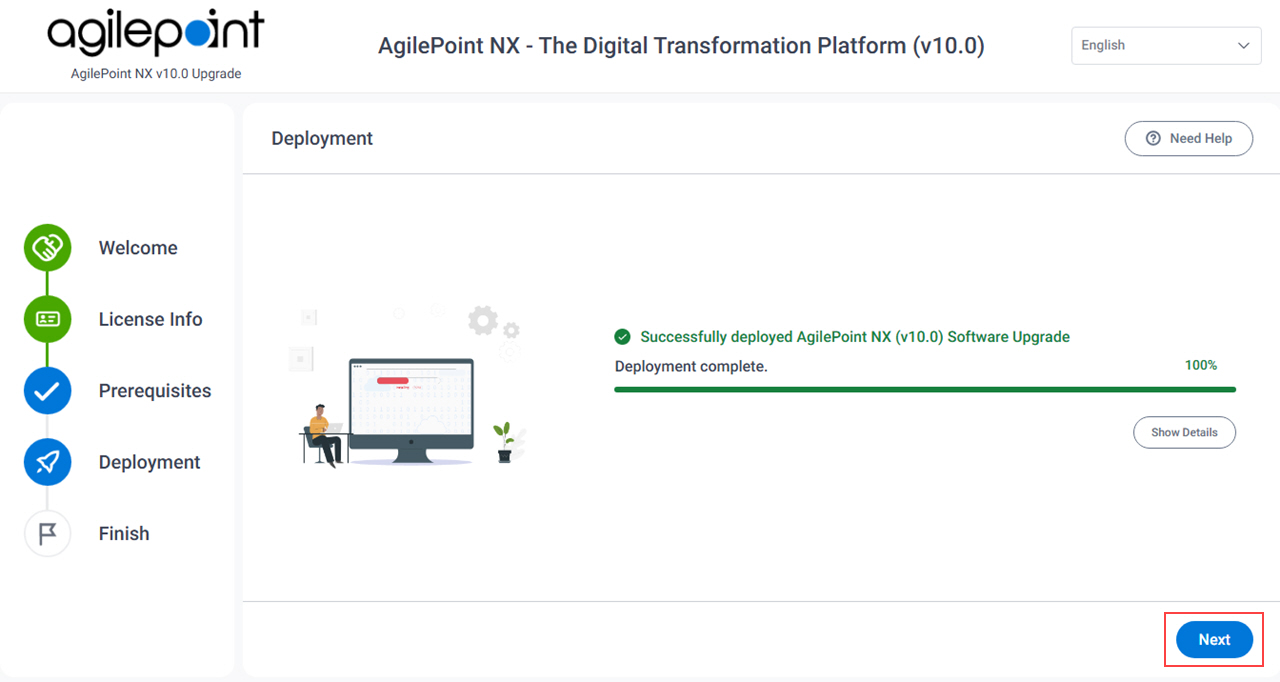
- After the upgrade installation is complete, click Next.
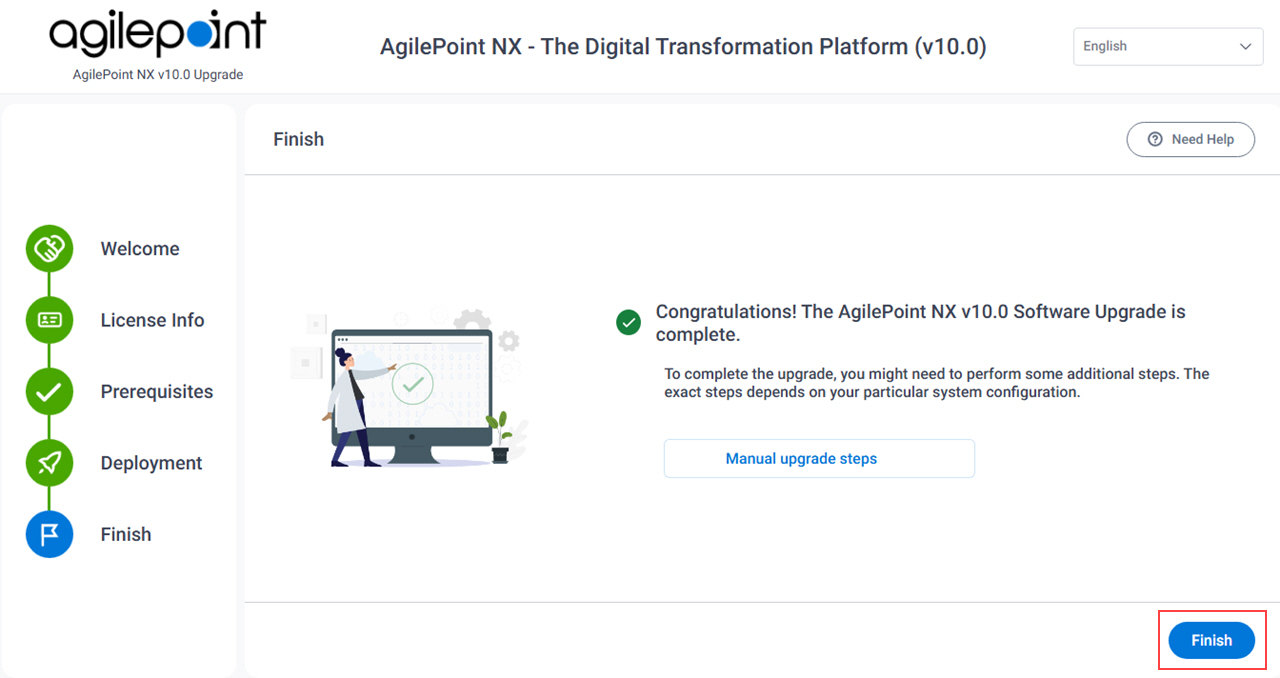
- On the Finish screen, click Finish.