Data Model/Relationships and Schema
The Data Model/Relationships and Data Model/Schema pages allows user to
manage relationships for tables, views and stored procedures
view database schema
List relationships
In browser, log in to AgilePoint NX as a user with Data Model permission.
Click Settings, then Data Setup then Data Model in the left menu.
Select the Setting Level: either System or a specific tenant.
Select Relationships in the Middle Panel. (Fig. 49)
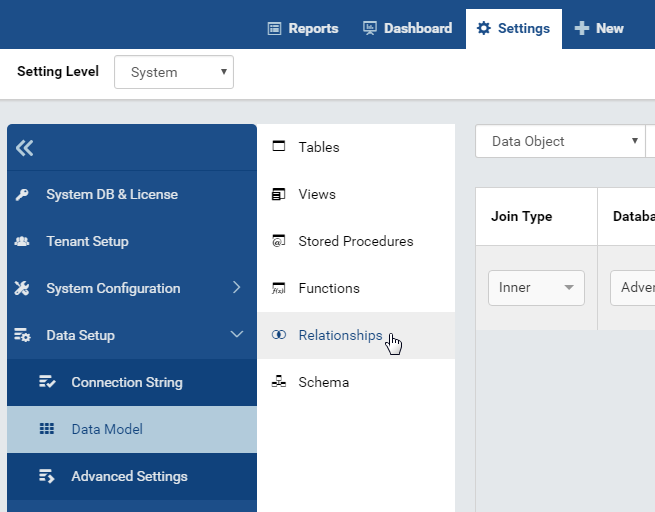
Fig. 49 Data Model - Relationships
¶Relationships of all visible data sources from all connections will be displayed.
By default, only the first page with 10 items are displayed. To see more, either use the next page icon
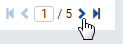
Fig. 50 Data Model - Next Page
¶or select a larger number in Items per page box.
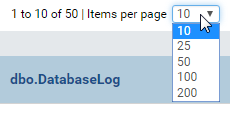
Fig. 51 Data Model - Items per page
Search for relationships
The Search box at the top allows user to search for specific relationships.

Fig. 52 Data Model - Search Relationships by element
Select a specific element to search for in the dropdown on the left of the Search box. Default is All.
Type a partial name and click the search icon (🔍).
Only the matching relationships will be displayed.
Add relationship

Fig. 53 Data Model - Add New Relationship
Click the Add Relationship button at the top. (Fig. 53)
A new empty row will appear at the first line.
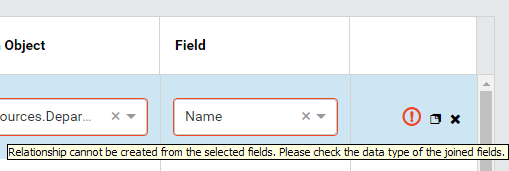
Select the elements of the relationship from dropdown boxes.
User must select Connection Name, then Data Source, then Data Source Field in that order for the dropdown boxes to populate conveniently.
User should input the positionID to define the priority of each relationship when querying data. (This option is available from version 2.16.0).
Continue to add more relationships.
Click the Save button at the top.1w`
Note
Only single-column relationships are supported in Data Model. Multiple-column relationships are supported in Report Designer.
Copy relationship
The copy feature help users to save efforts in adding and editing relationships.
Click the Copy icon (that looks a bit like this ❐) of each relationship to copy its details to a new line beneath.
Edit the new line to make a new relationship.
Continue for more relationships.
Click the Save button at the top.
Edit relationship
User can freely edit any relationship in a page and save them.
Delete relationship
User can only delete relationships newly created in Data Model. Relationships originally created from physical database cannot be deleted, their delete icon will be disabled.
Click the Delete icon (x) of each relationship.
Click OK in the confirmation pop-up.
The relationship is deleted.
Warning
The Cancel button at the top will have no effect in this case.
View the schema
To be updated.