(Example) Link to a File from an E-mail
This example shows how to create a link to a file from a cloud-based data source in an e-mail notification.
Prerequisites
- The file to which you want to link is stored in a cloud-based file repository.
- For the e-mail recipient to download the file from the link, one of these conditions
is required:
- The repository is configured so that the file is publicly available.
- The e-mail recipient is signed in to the repository with credentials that can access the file.
Good to Know
- In AgilePoint NX OnDemand (public cloud),
you can not attach a file directly to an e-mail. You must link to a file stored in a cloud-based storage service.
For more information, refer to Why Are E-mail Attachments Disabled in AgilePoint NX OnDemand?.
- This example uses the Travel Request application from the AgilePoint NX
App Store.
For more information, refer to How to Get the App
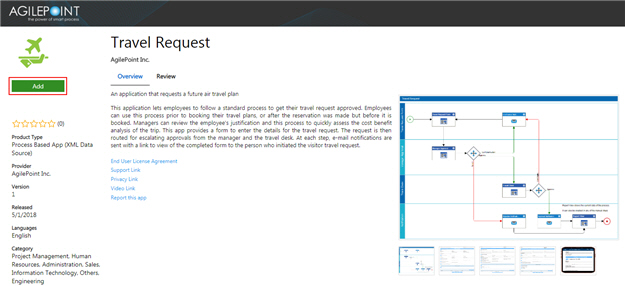
Travel Request is an application that requests a future air travel plan. This application lets employees to follow a standard process to get their travel request approved. Employees can use this process prior to booking their travel plans, or after the reservation was made but before it is booked. Managers can review the employee's justification and this process to quickly assess the cost benefit analysis of the trip. This app provides a form to enter the details for the travel request. The request is then routed for escalating approvals from the manager and the travel desk. At each step, e-mail notifications are sent with a link to view of the completed form to the person who initiated the visitor travel request.
The specific functions of this app are not important to understand. This simply puts the example in the context of a real-world use case.
How to Start
- On the Application Explorer screen,
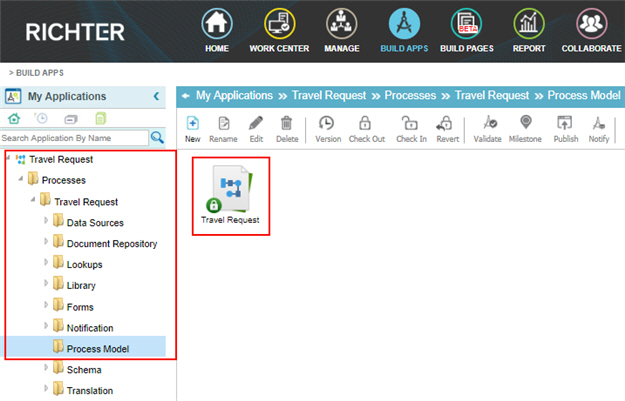
on the My Application pane, click Travel Request > Processes > Travel Request > Process Model > Travel Request.
Procedure
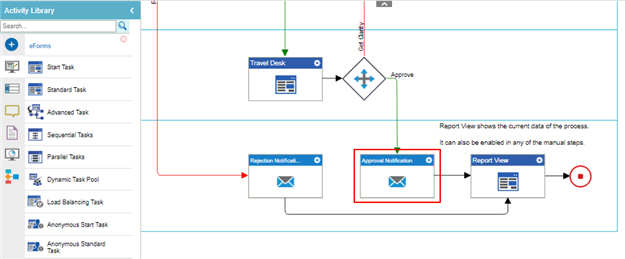
- On the Process Builder screen, double-click on Approval Notification activity.
- Click Next.
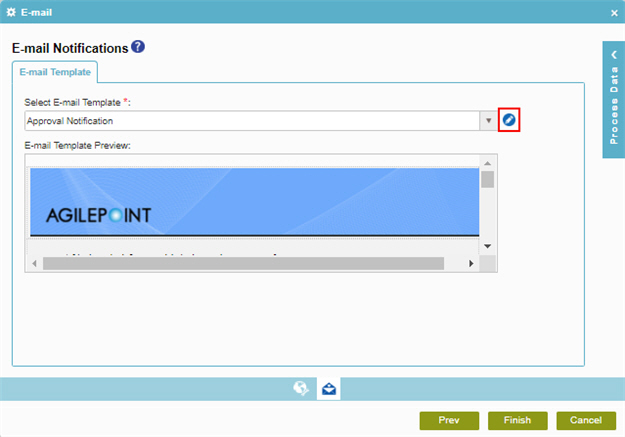
- On the E-mail Notifications screen, click Edit
 .
.
- On the E-mail Template Configuration screen, click the Content tab.
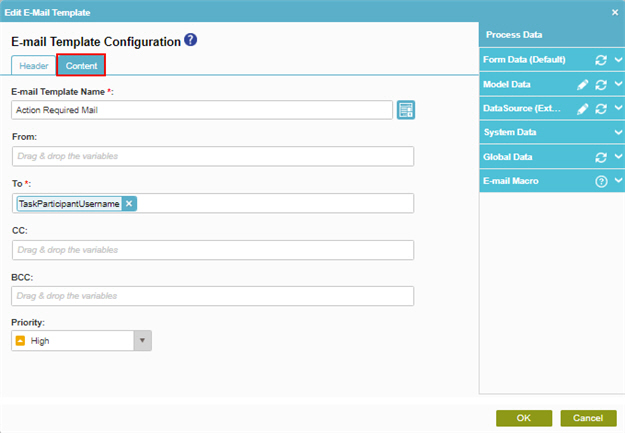
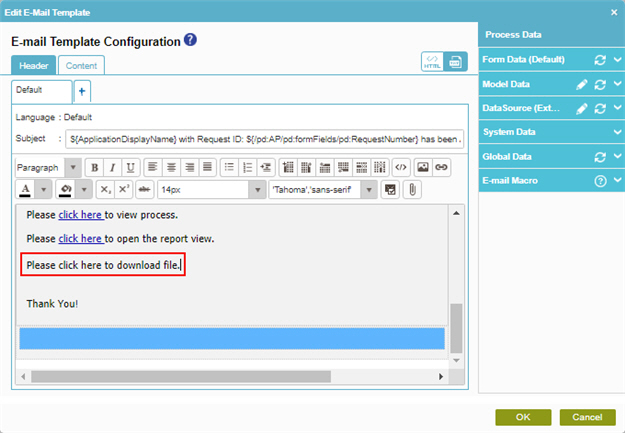
- On the e-mail body, enter Please click here to download file.
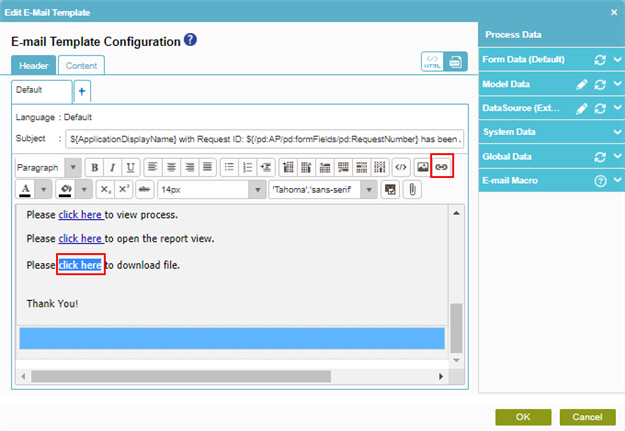
- Select the text click here, and click Insert hyperlink.
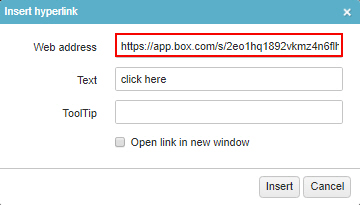
- On the Insert hyperlink screen, in the Web address field, enter https://app.box.com/s/2eo1hq1892vkmz4n6flhh5ovk8oyd8dr.
- Click Insert.
The E-mail Notification Configuration screen appears.
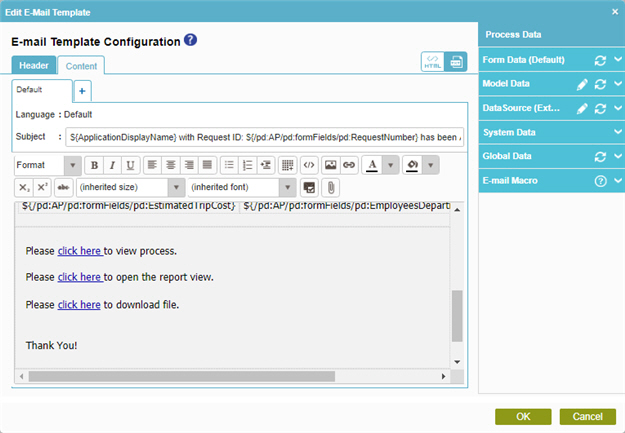
- Click OK.
The E-mail Notification screen appears.
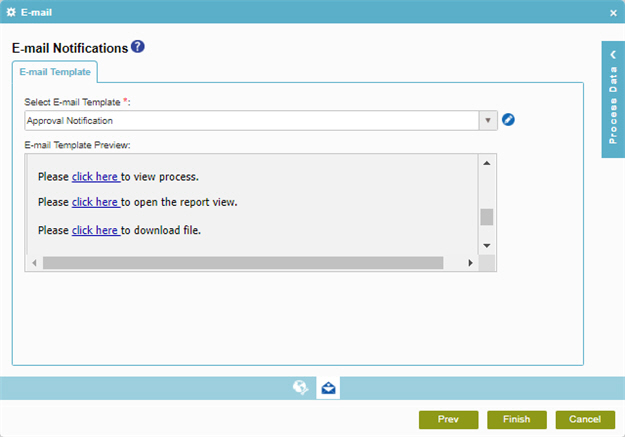
- Click Finish.
How to Get the App
This example is based on the Travel Request app from the AgilePoint NX App Store. Use this procedure to get the app.
Prerequisites
- AgilePoint NX OnDemand (public cloud), or AgilePoint NX PrivateCloud or AgilePoint NX OnPremises v7.0 or higher.
Good to Know
- This procedure is optional. It is provided so you can test the example with an out-of-the-box app.
- This is part of the Background and Setup procedures, but many users preferred this step to appear after the example, not before it.
Procedure
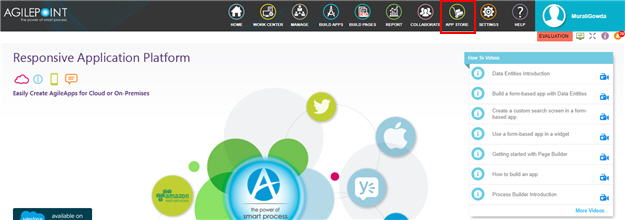
- Click App Store
 .
.
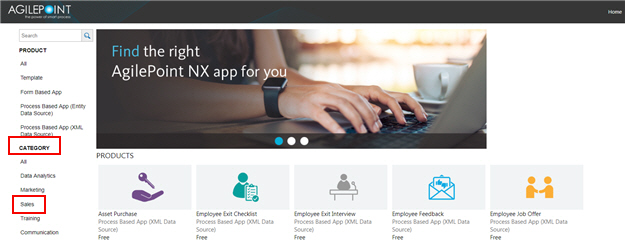
- In the CATEGORY section, click Sales.
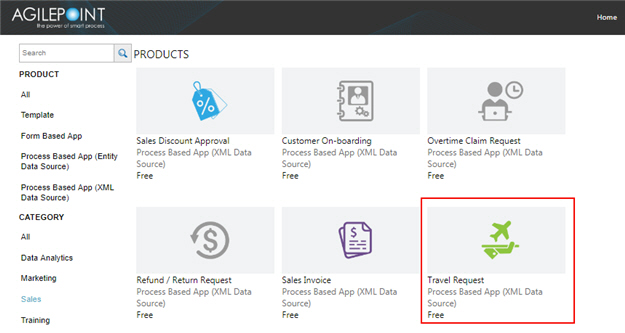
- Click the Travel Request app.
- On the Travel Request screen, click Add.
- On the Trust App screen, click Trust it.
- Click Return to site.


