The following instructions are a use case for mapping custom attributes to multiple tables.
- Create a Generic AgilePoint application without a schema.
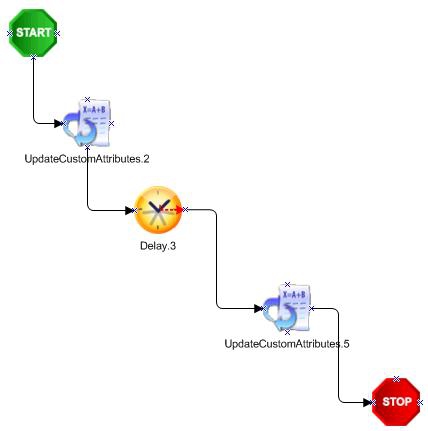
- Add a couple of Update Custom Attribute activities to change the Custom Attribute values. Add a Delay shape in between to observe the changes. The AgilePoint process will look something like this:
- Click the Data Population link to open the Configure Repository dialog. Select the Database as Repository and set the Database connection string and click the Connect button to display the list of tables present in the specified database.
- Select the tables that are required and set the Runtime address string (optional), then click OK.
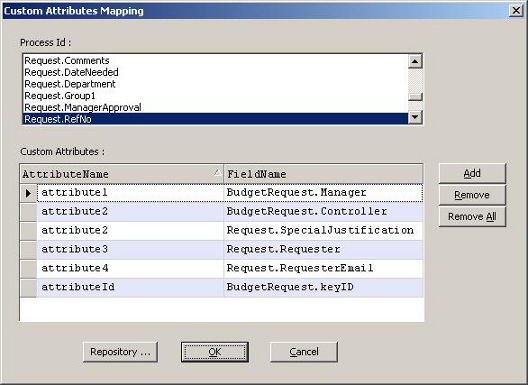
- In the Custom Attributes Mapping window, enter the attribute name in the AttributeName column and select the FieldName to which the attribute has to be mapped.